---
title: "Catio Chronicles 2: It’s happening!"
status: published
started_date: 2024-12-27T13:52:22+0000
date: 2025-08-25T13:39:39+0100
---
After many months of interruption, we have finally finished the catio. Recall
that, [last time](https://ninoan.com/catio1/), we left off at a rough sketch of
a plan:
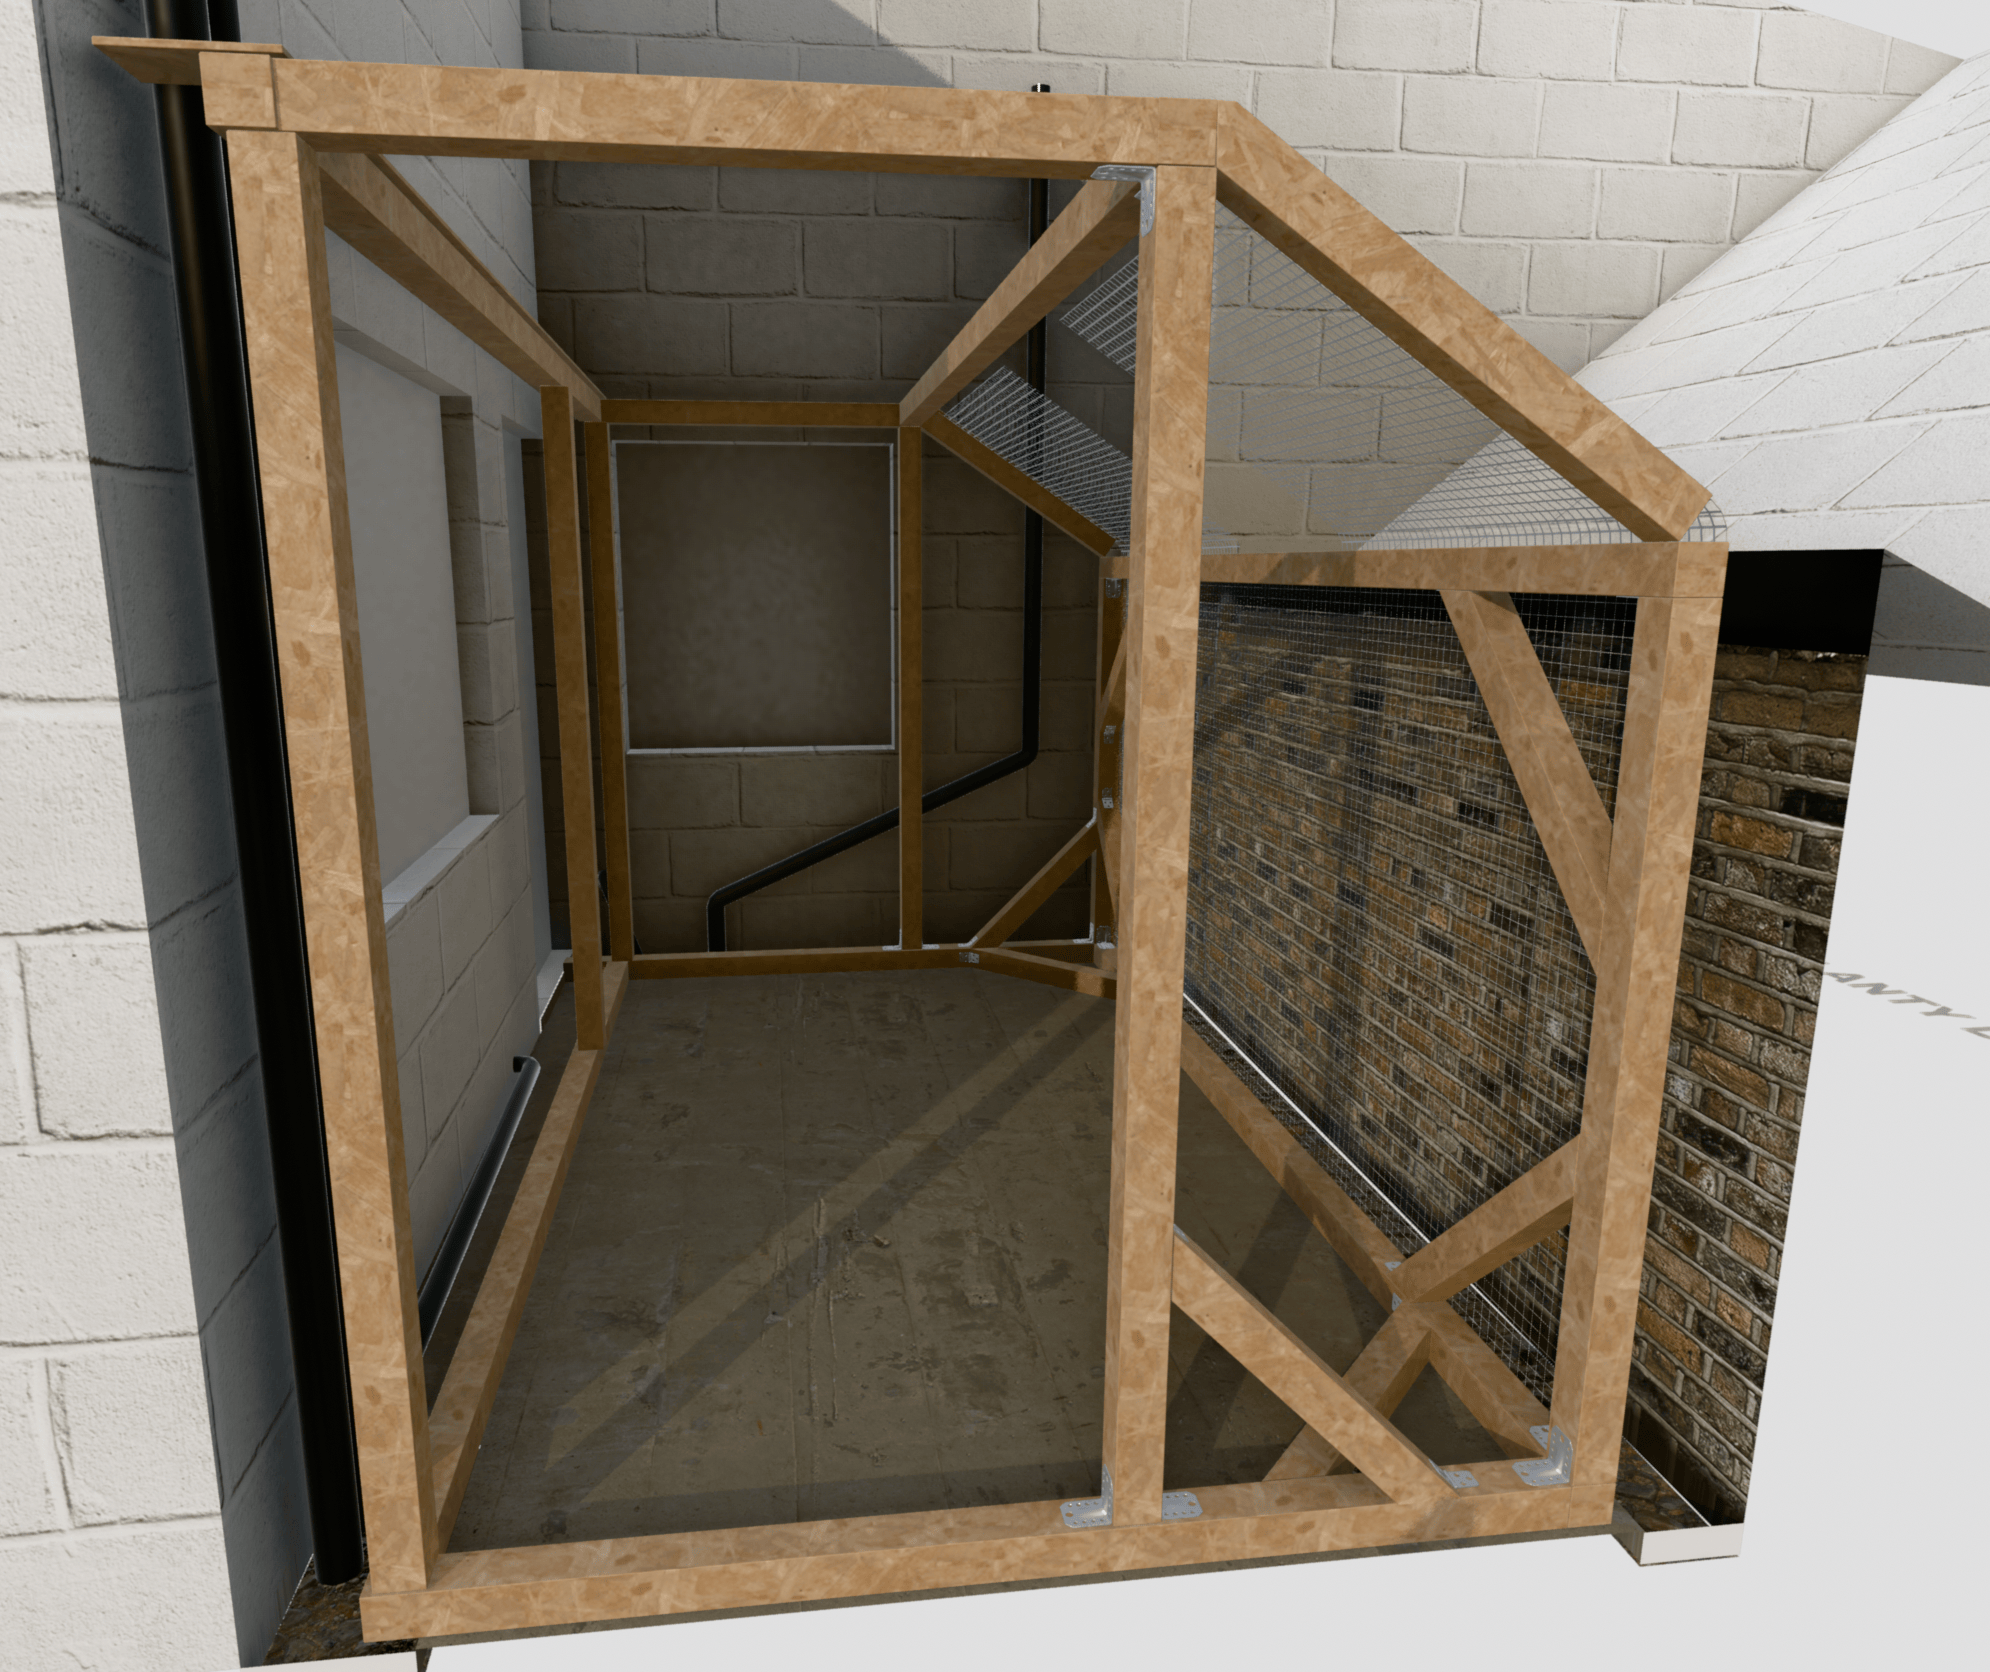
And all that was left was getting the materials and actually building the whole
thing.
Neither Katherine nor I had ever really done anything remotely like this project
before, and it was pretty scary for our first time ordering wood online to be
this pricey. We ended up buying about 50m of wooden beams, plus several
square-metres of thinner wooden sheets. The wood cost us about £500, and we
spent another £300 on random other stuff -- tools, hinges, the mesh, screws,
etc.
Click on any picture to enlarge.
## The wood arrives
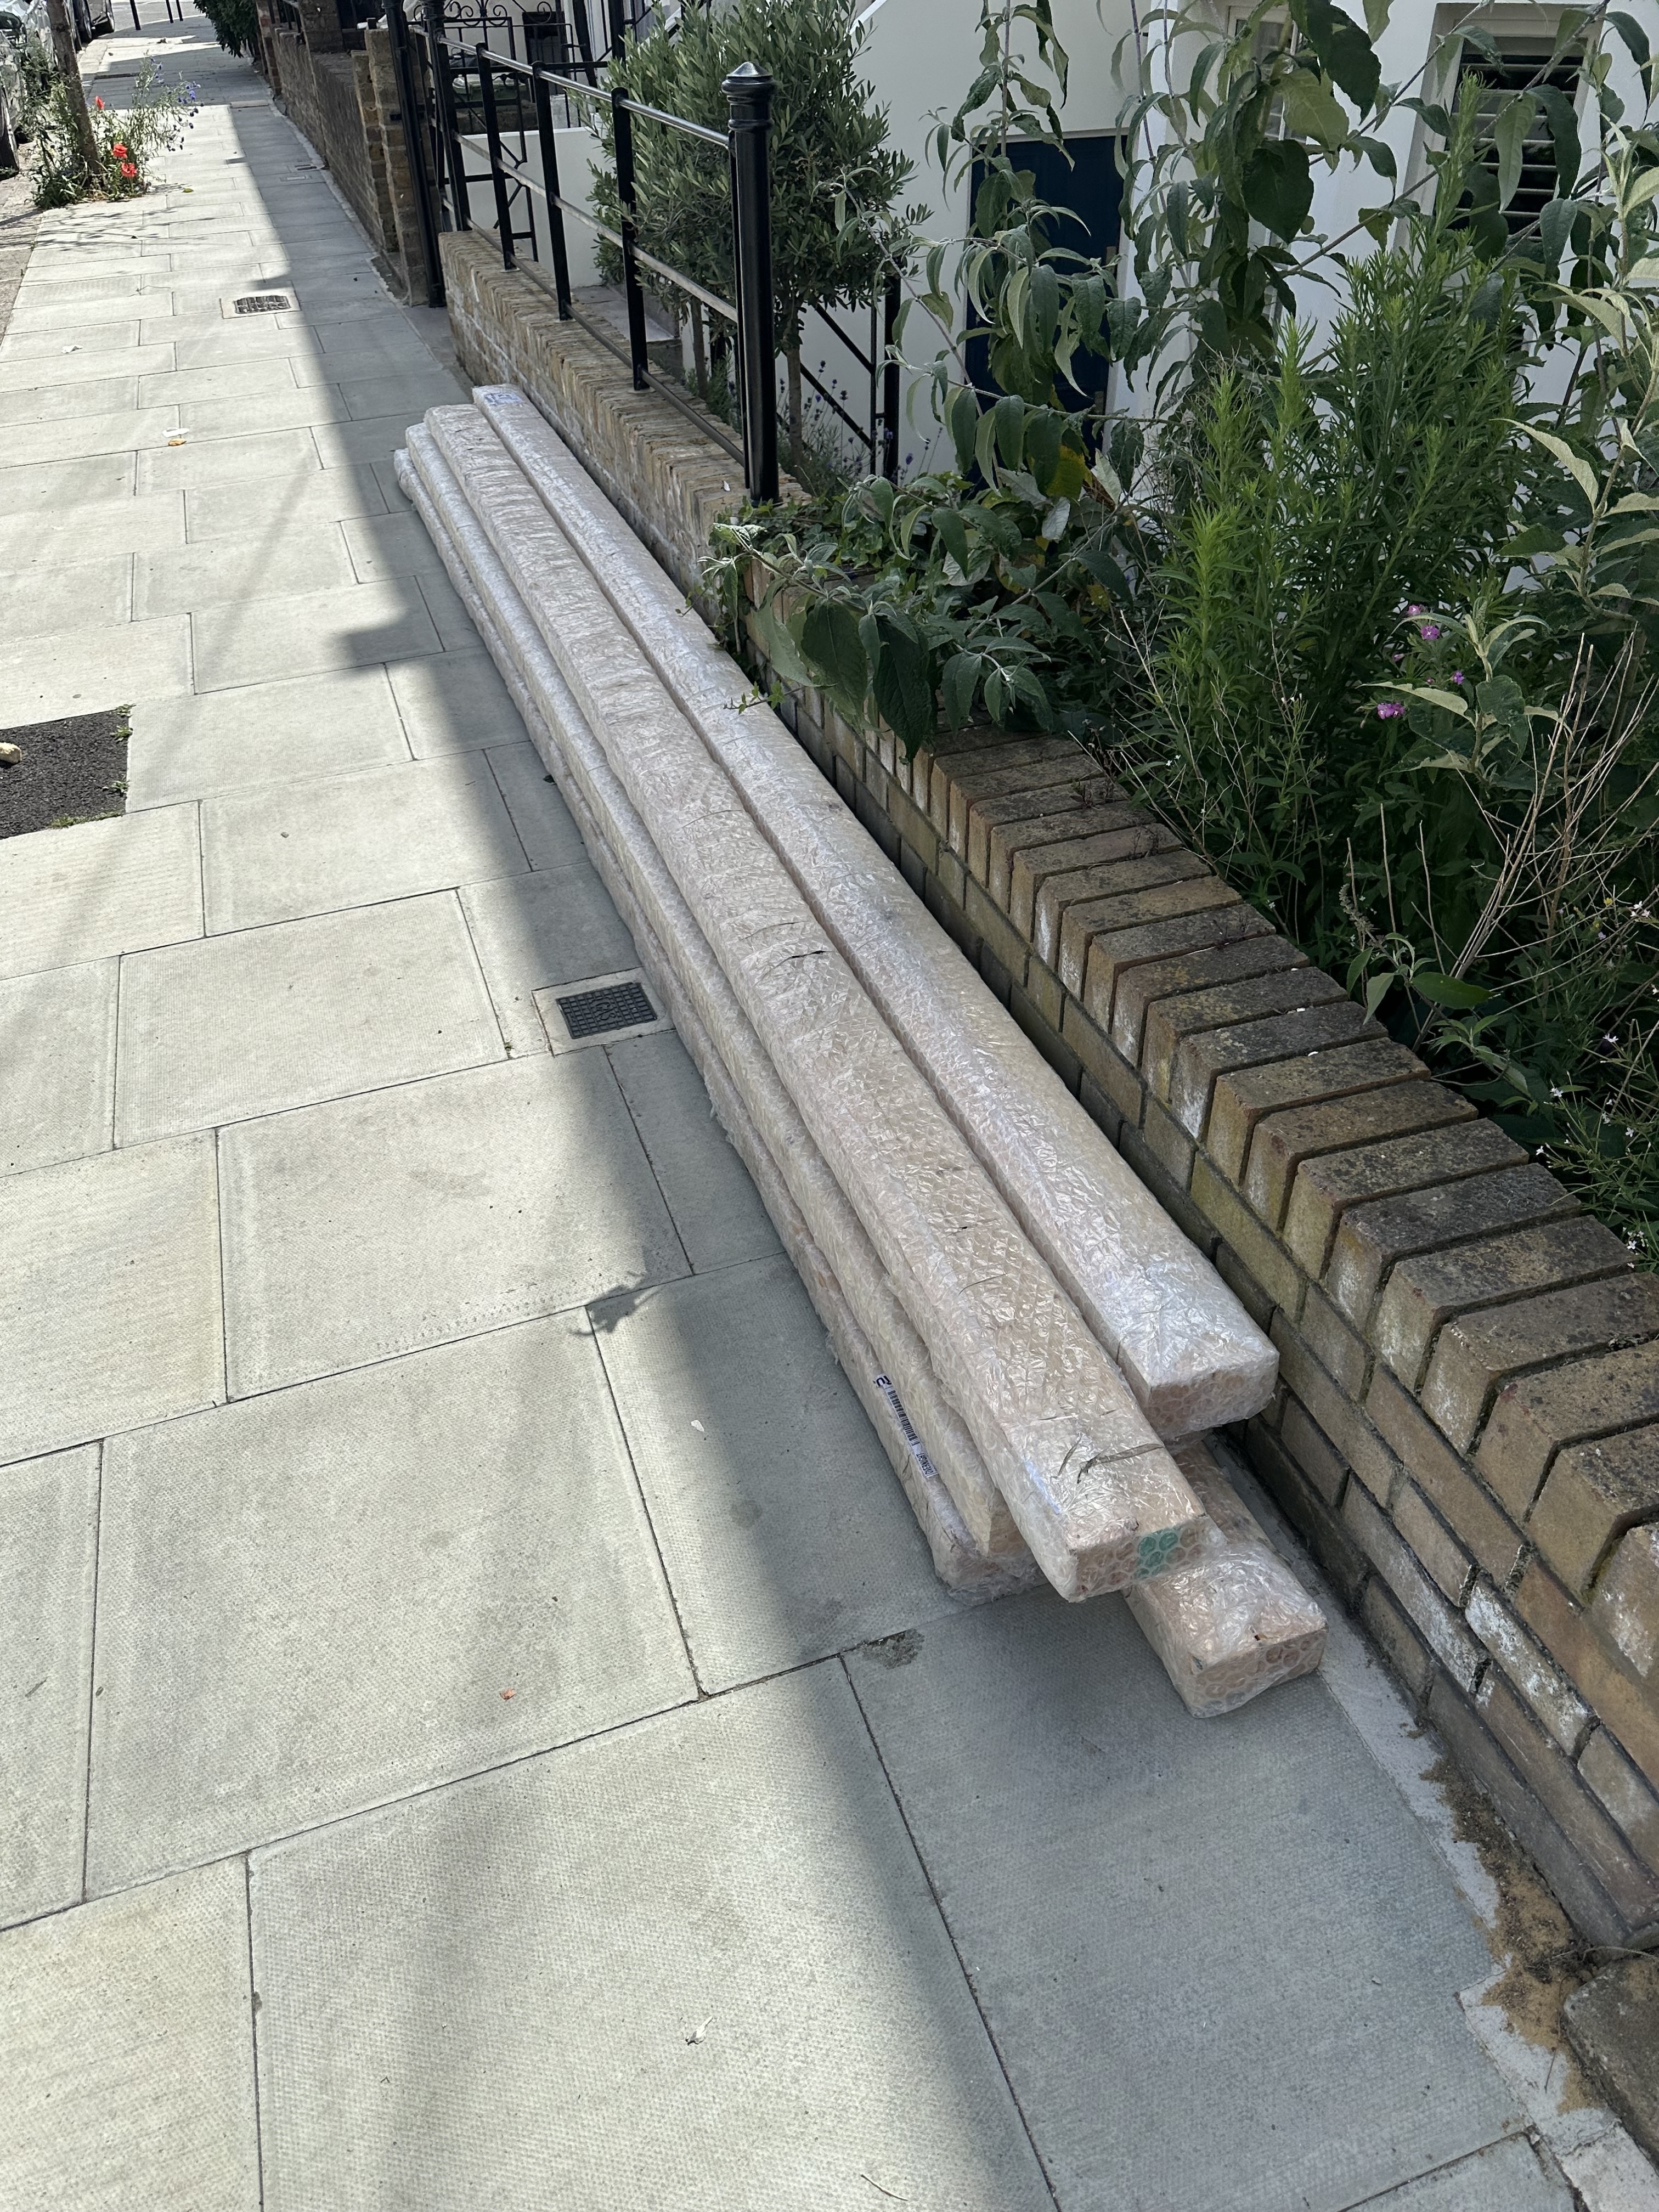
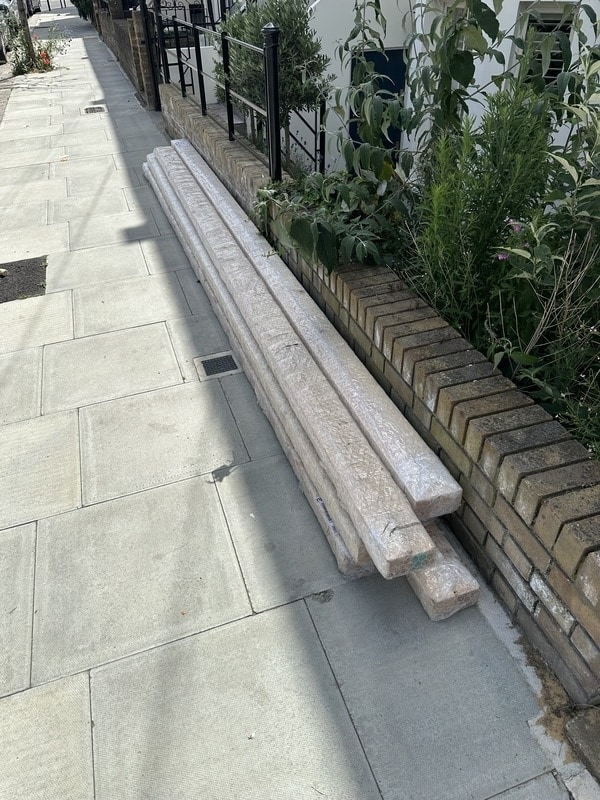 It doesn't look so bad lying on the street outside the house, but it was a real
pain to get it in: The pieces were about 4–5m each, far too long to fit around
all the corners needed to get them through the door, so we had to push them in
through the front window and be really careful not to smash the glass in the
process. Since we were only two people we had to push each piece in partway,
with one person on the inside of the house and one on the outside, then rest it
on the bottom window pane while the outside person rushes in, and manoeuvre it
the rest of the way with both of us indoors.
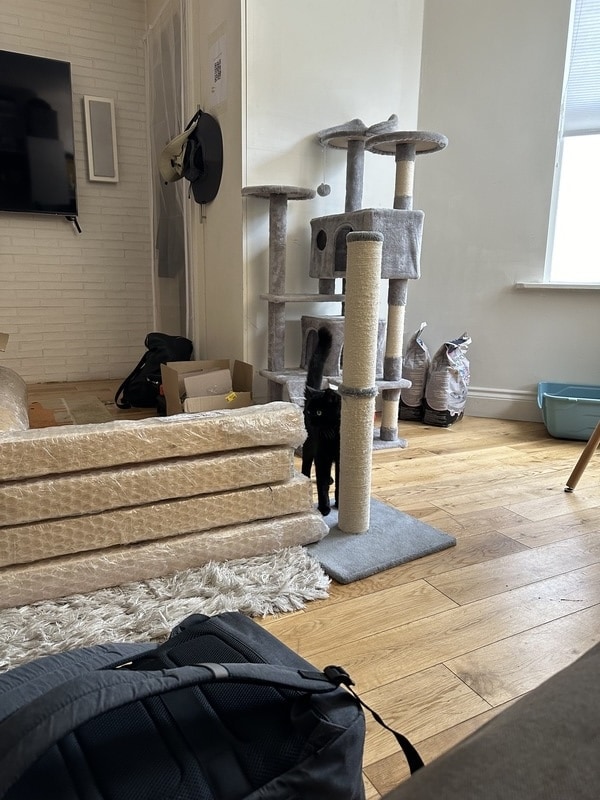
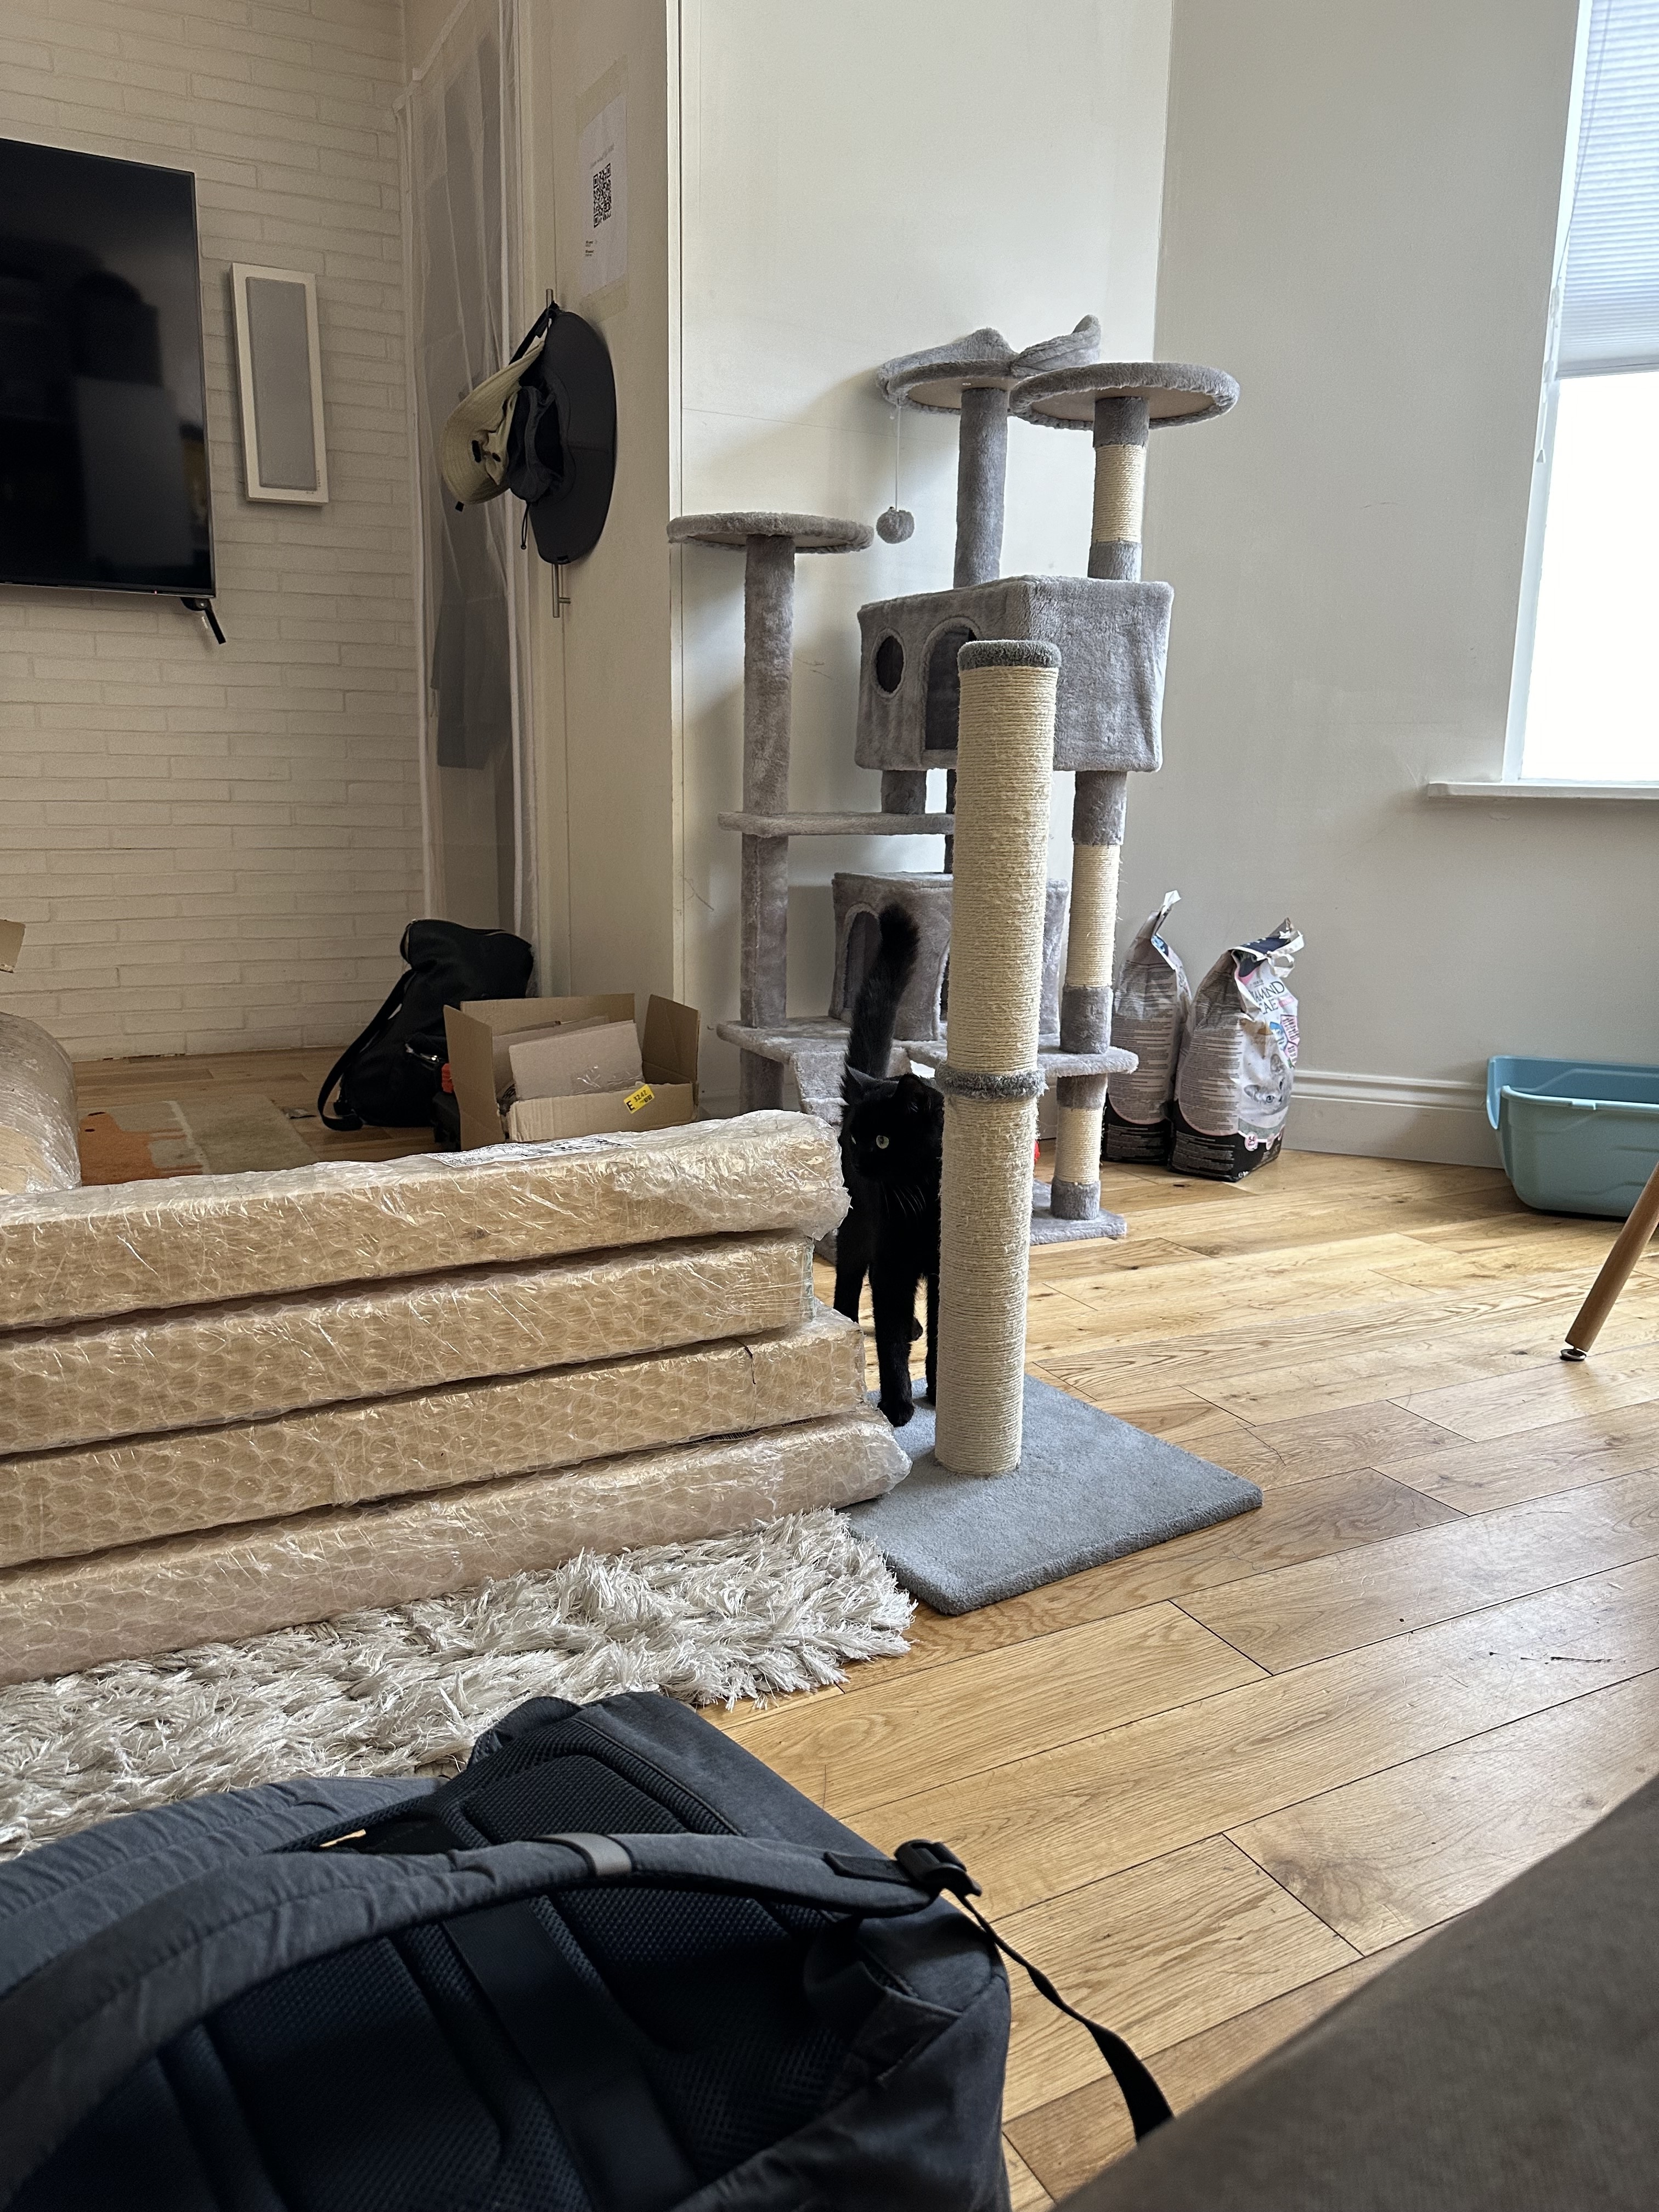
Jinx was very confused about all this new stuff in the flat:
It doesn't look so bad lying on the street outside the house, but it was a real
pain to get it in: The pieces were about 4–5m each, far too long to fit around
all the corners needed to get them through the door, so we had to push them in
through the front window and be really careful not to smash the glass in the
process. Since we were only two people we had to push each piece in partway,
with one person on the inside of the house and one on the outside, then rest it
on the bottom window pane while the outside person rushes in, and manoeuvre it
the rest of the way with both of us indoors.
Jinx was very confused about all this new stuff in the flat:
 (I don't think I have any pictures of the big sheets of thin wood in the flat.)
And with
(I don't think I have any pictures of the big sheets of thin wood in the flat.)
And with all some of the materials gathered, it was time to
start the construction.
The general approach was:
1. Cut up the wood into beams of the right lengths (which means we needed to
figure out exactly how everything would fit together.)
2. Varnish all the wood so it'll be protected from the weather.
3. Assemble each wall separately, adding mesh as needed.
4. Put it all together.
## Step 1: Cutting stuff up and yet more planning (ugh)
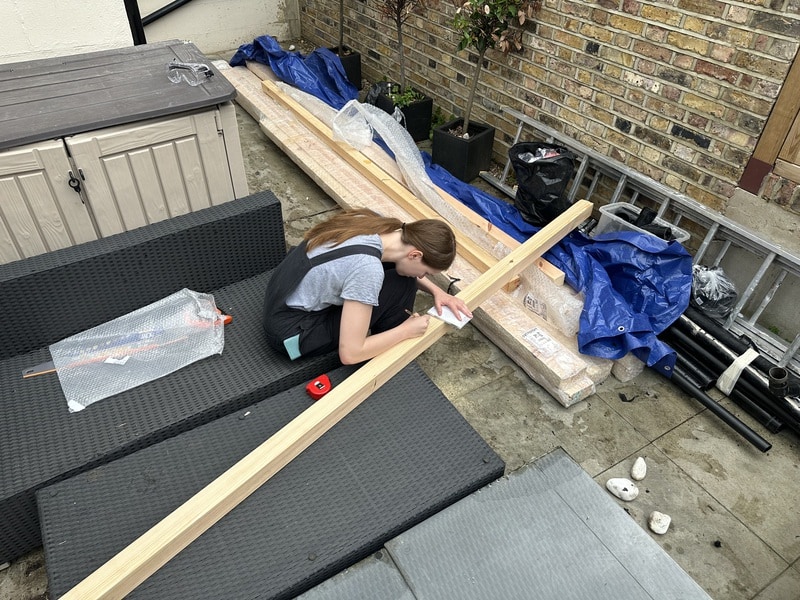
Here, Katherine is doing some measurements:
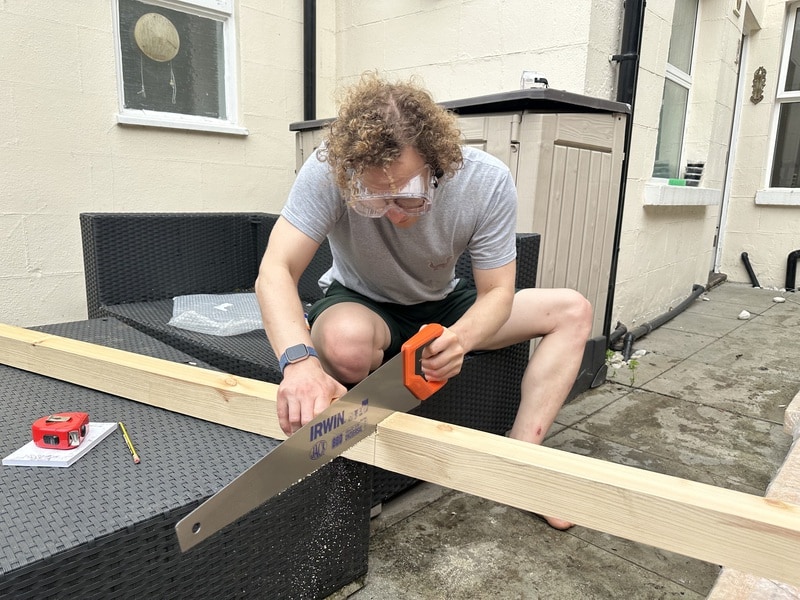
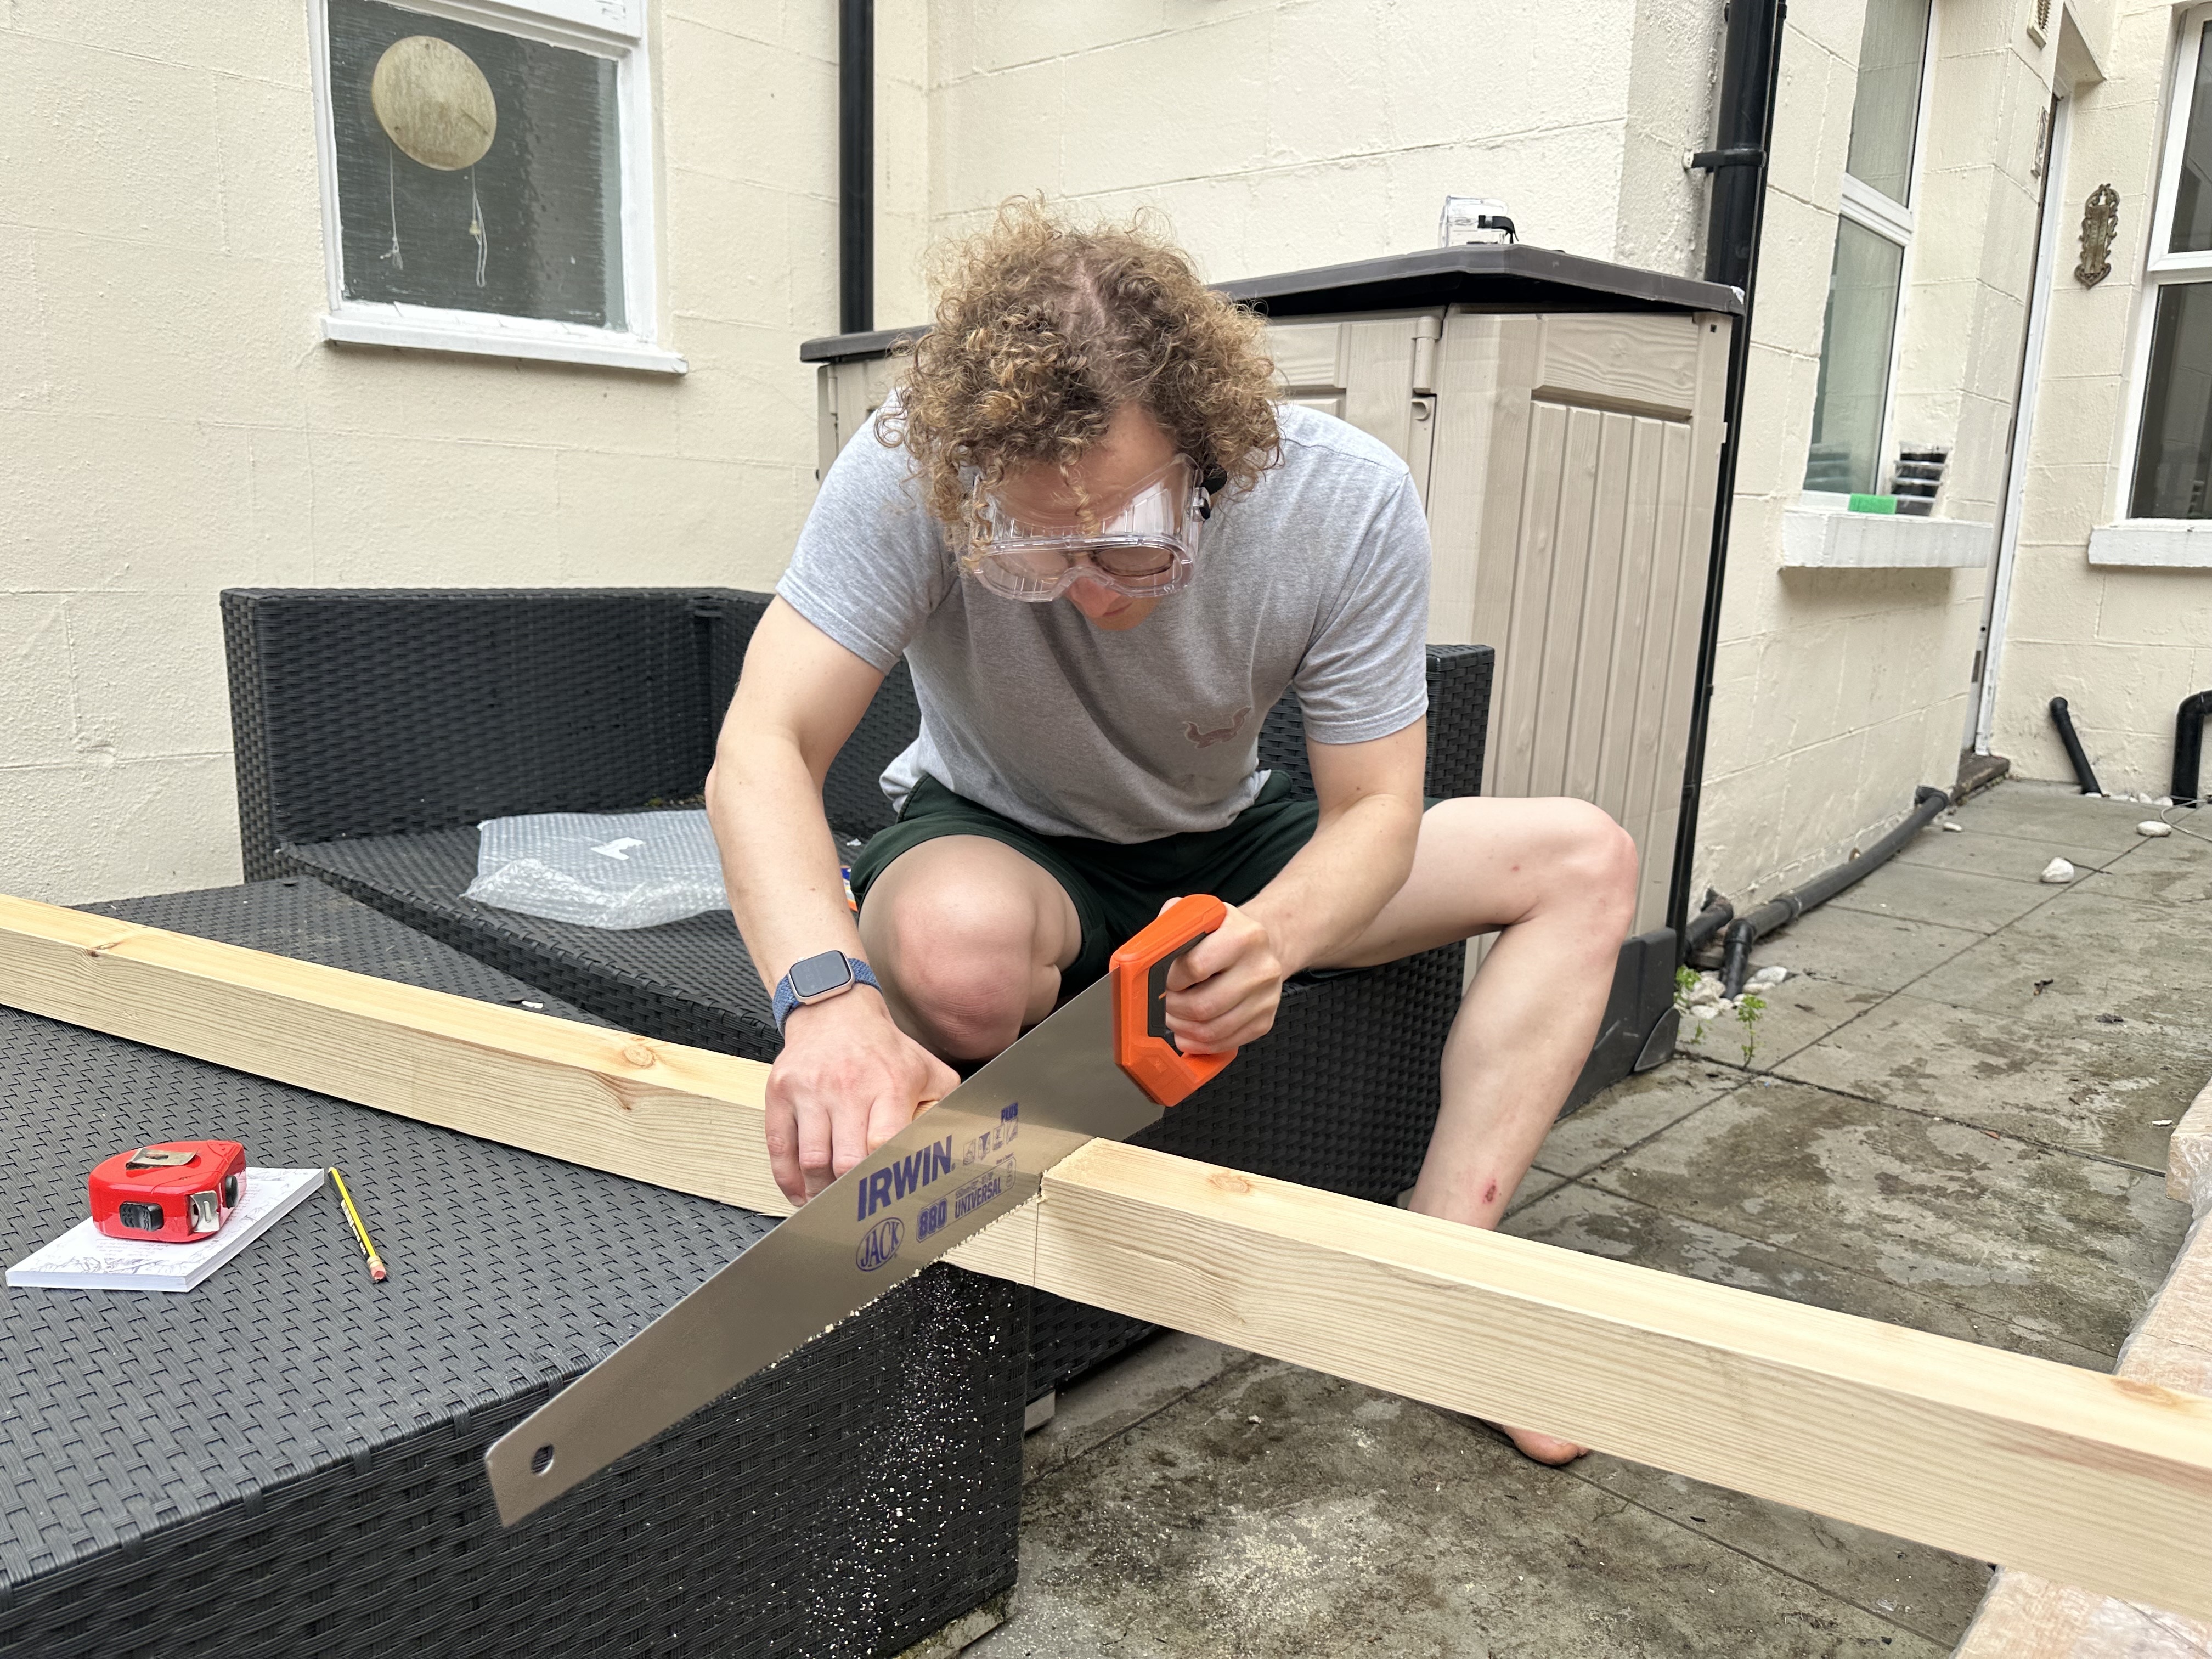
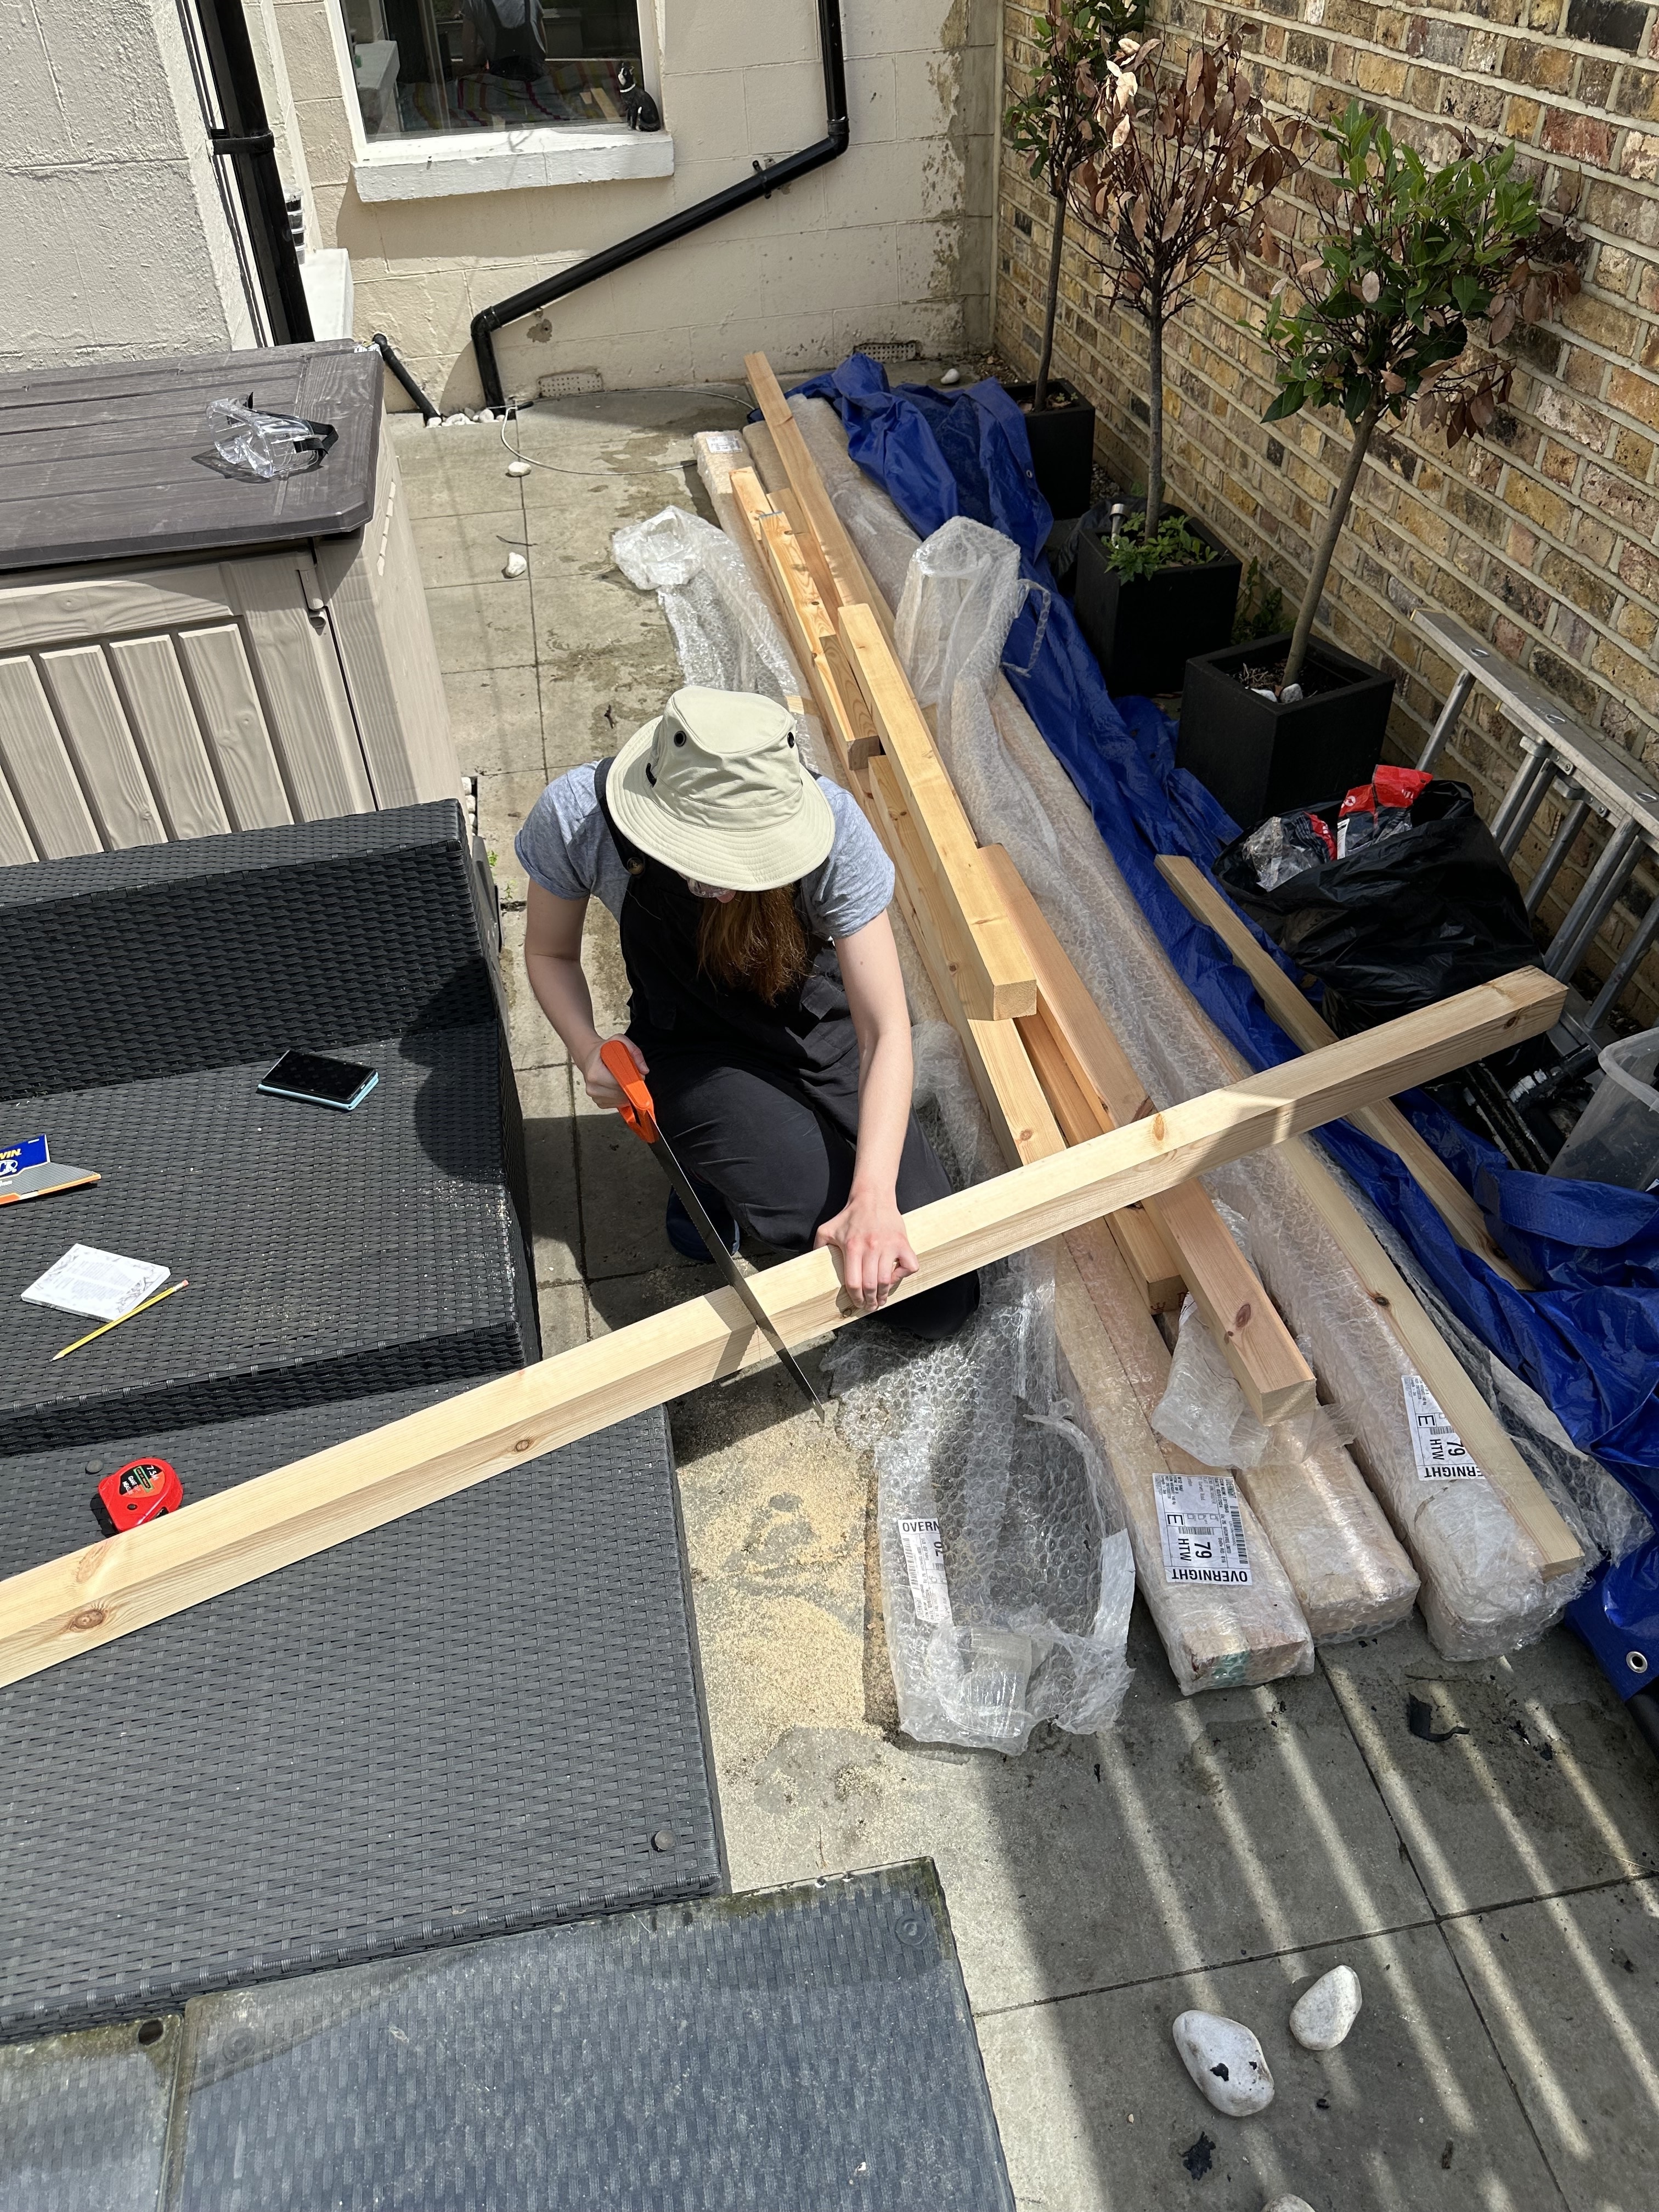
 And I'm doing some very professional-looking sawing:
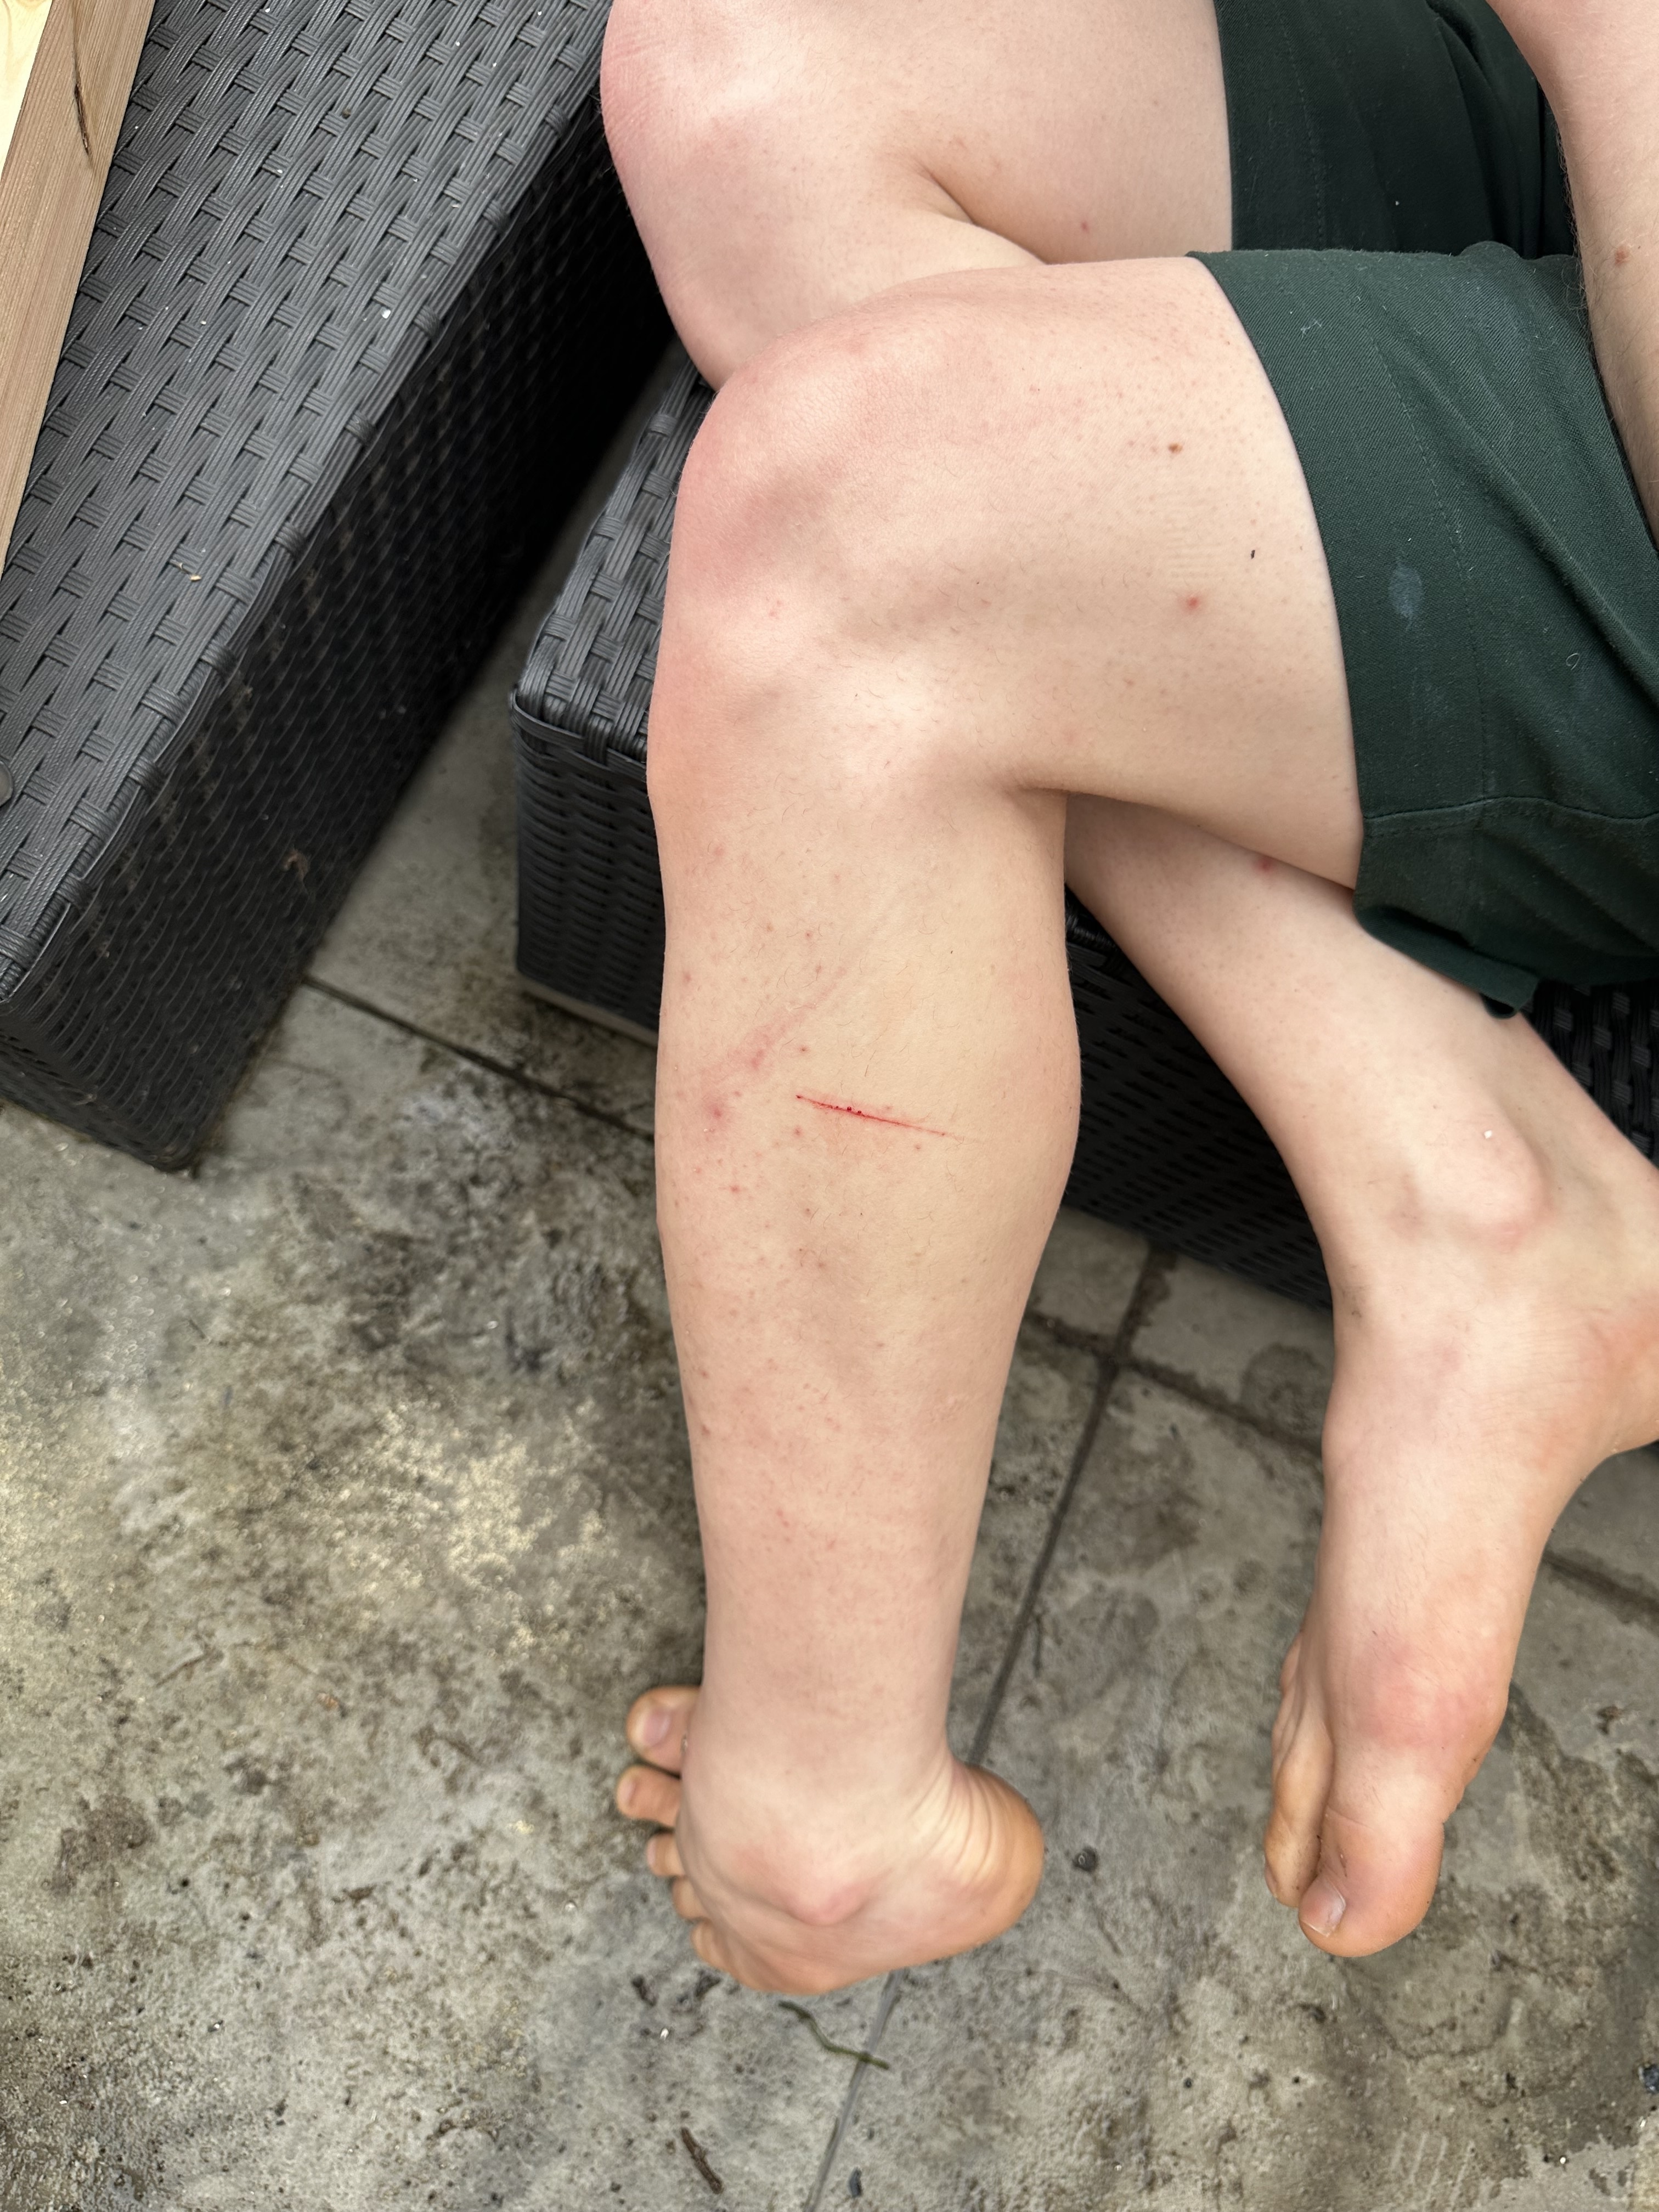
 Though that was quickly interrupted when I scraped my leg with the saw:
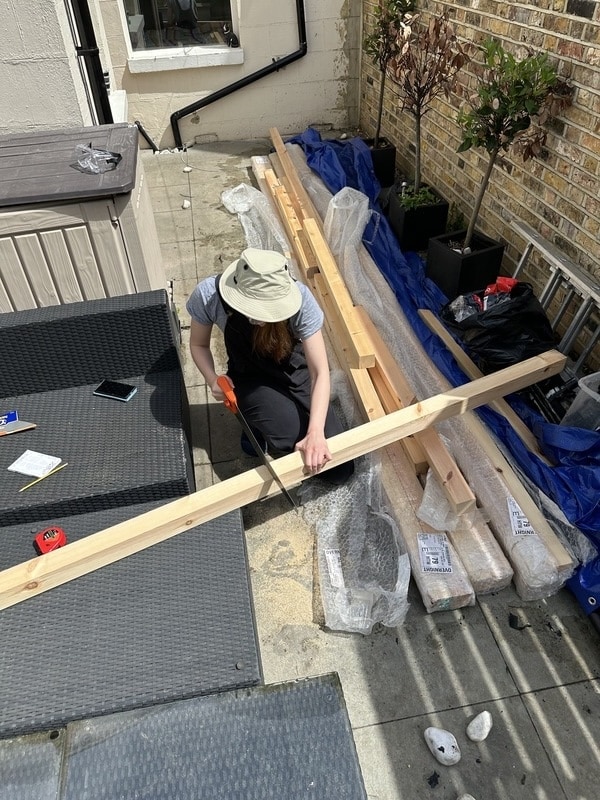
 Katherine does sawing too:
 ## Step 1.5: Practice time!
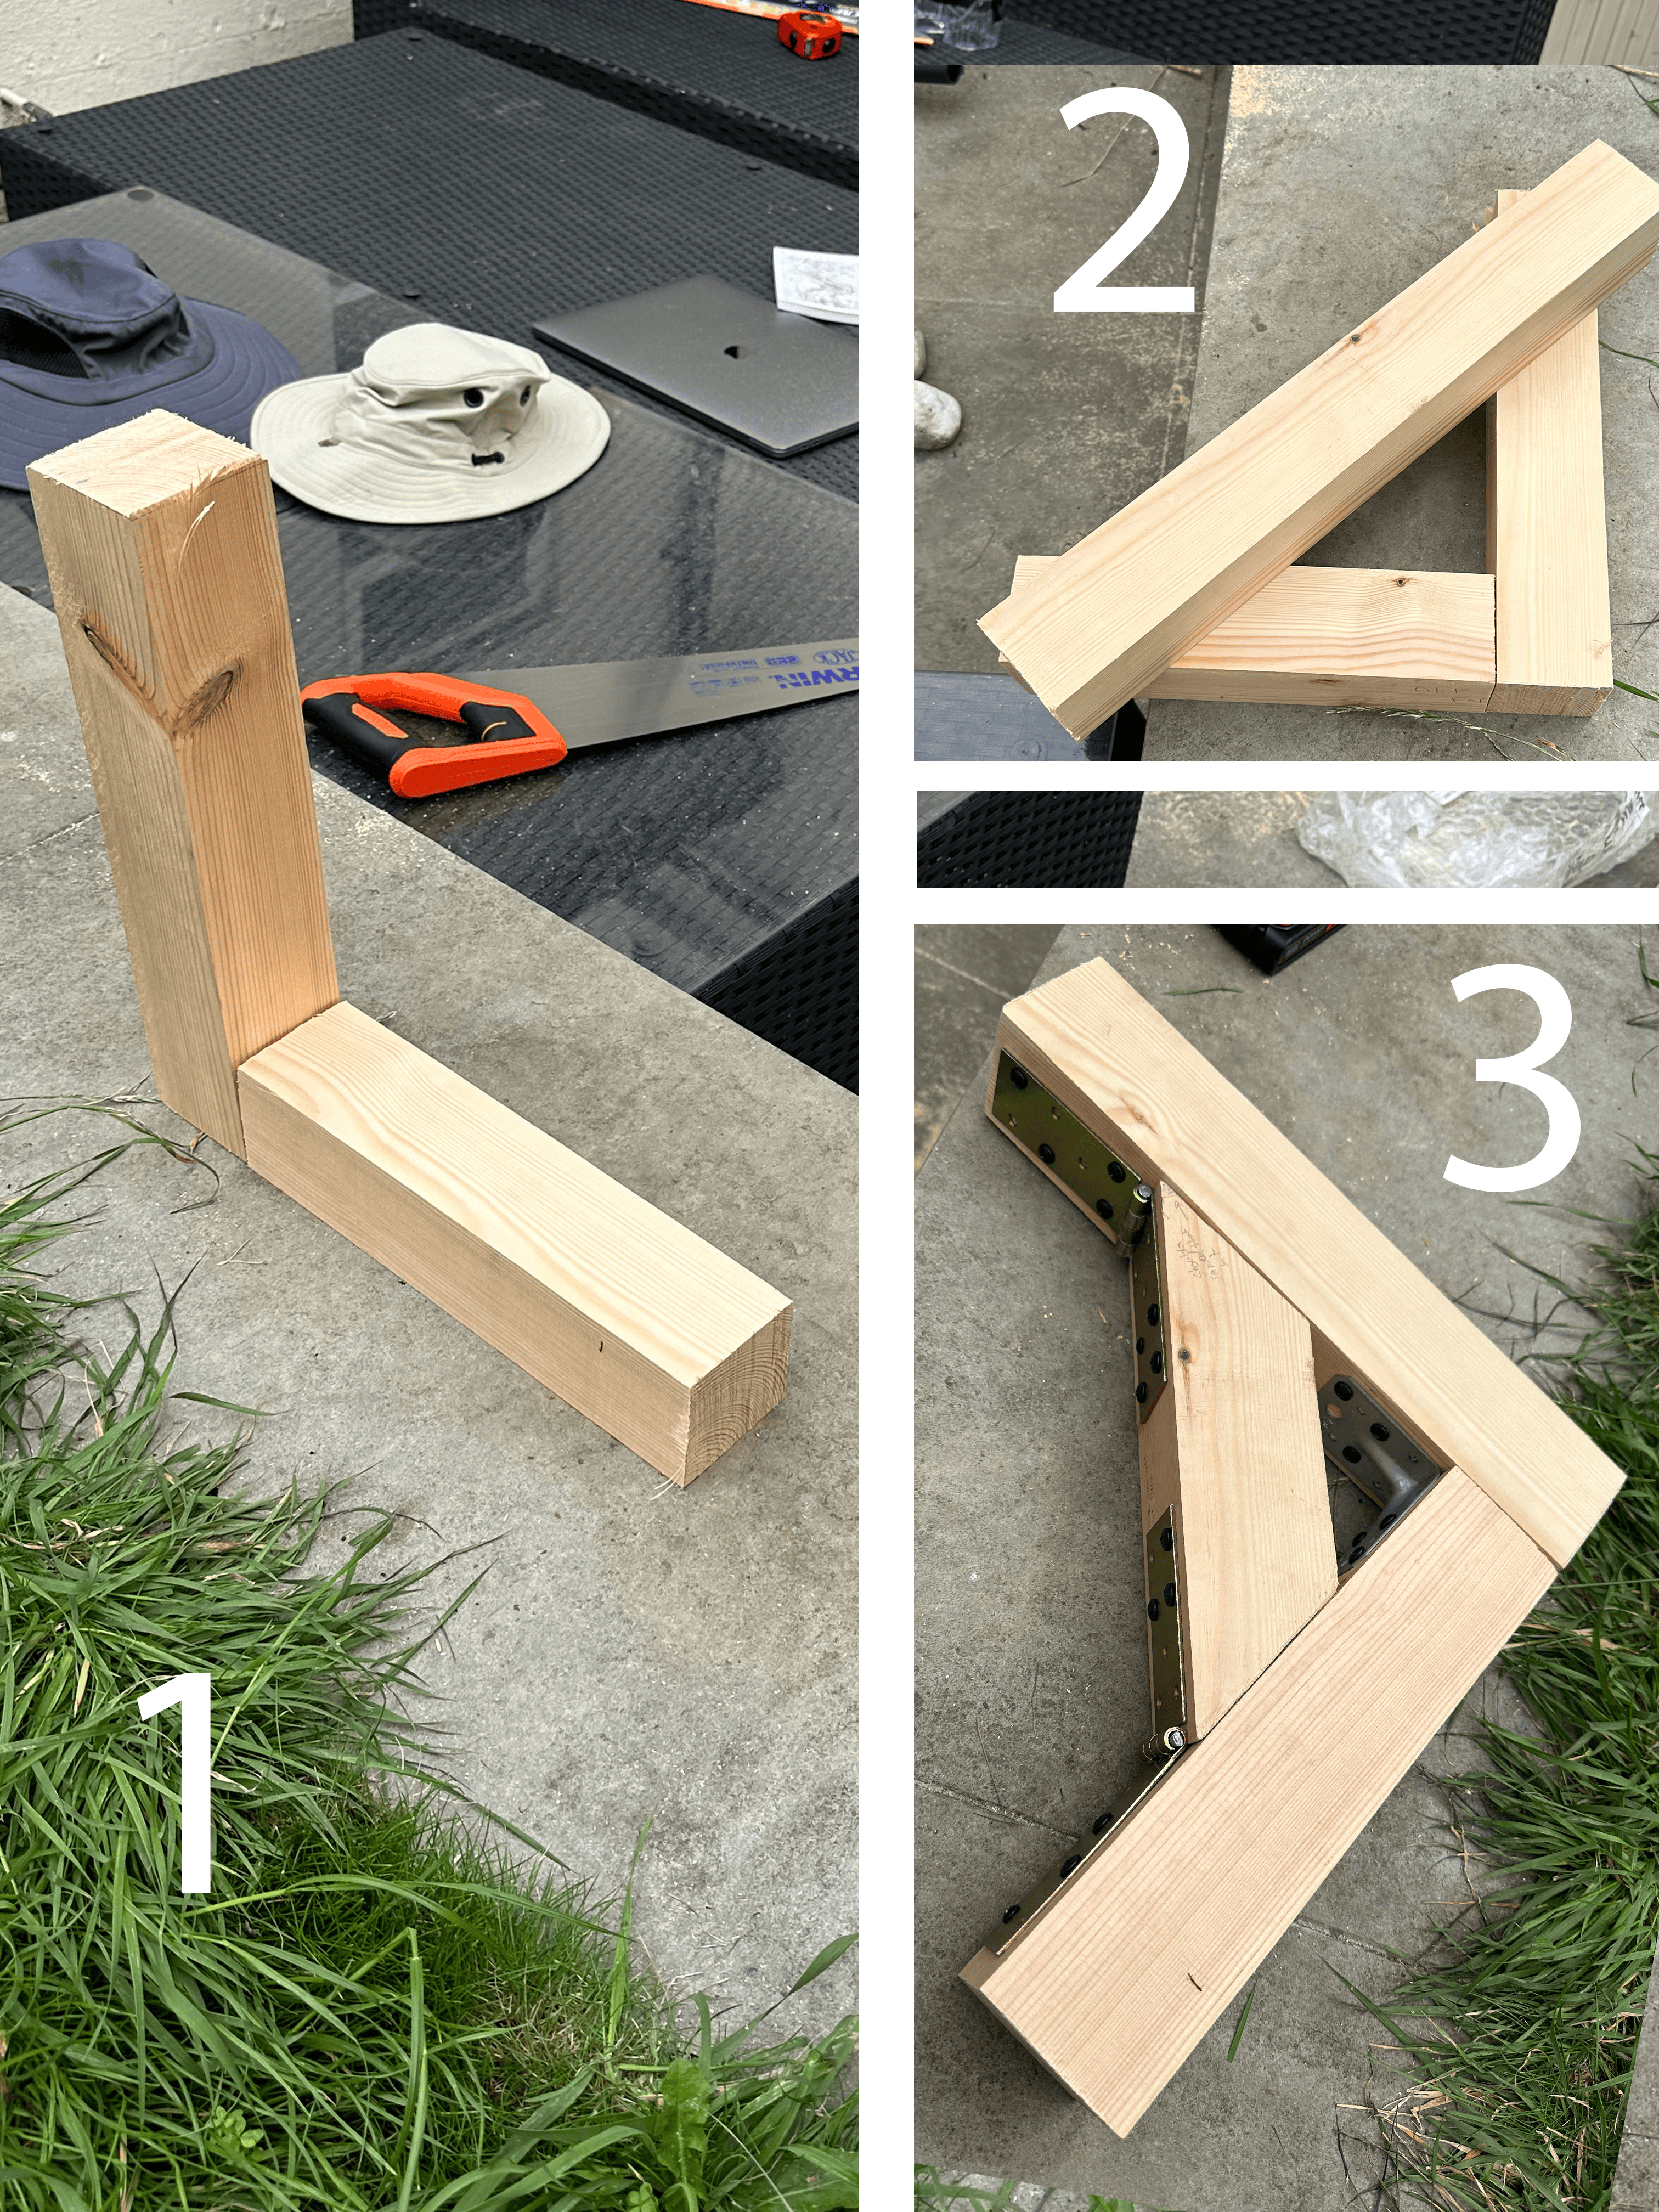
Step 1.5: Time for a little diversion! We wanted to practice putting things
together on a smaller scale, to see if it would even work at all. So we used
some of the surplus from the big beams to make a little practice corner out of
two pieces, connected with a 90° bracket, and reinforced with a diagonal bit
held in place by hinges:
## Step 1.5: Practice time!
Step 1.5: Time for a little diversion! We wanted to practice putting things
together on a smaller scale, to see if it would even work at all. So we used
some of the surplus from the big beams to make a little practice corner out of
two pieces, connected with a 90° bracket, and reinforced with a diagonal bit
held in place by hinges:
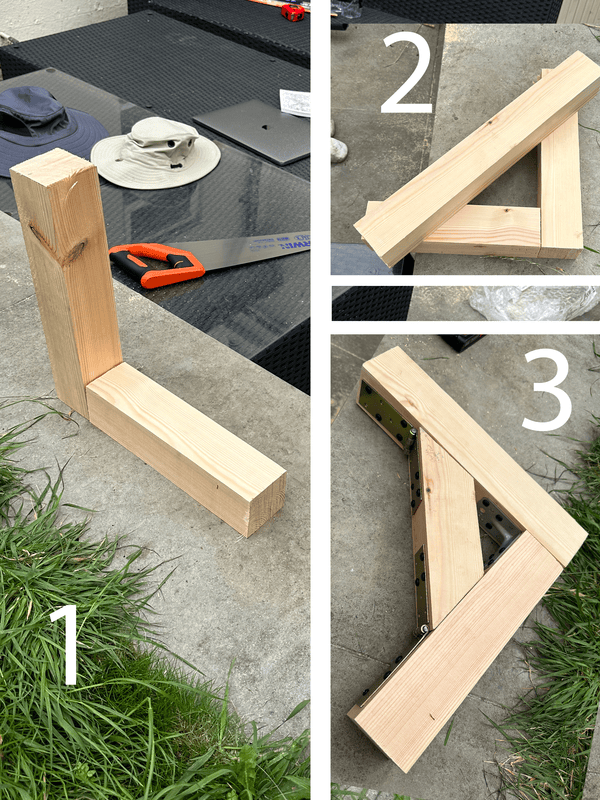 It actually turned out a lot sturdier than I had expected.
## Steps 2 & 3: It's varnish o'clock
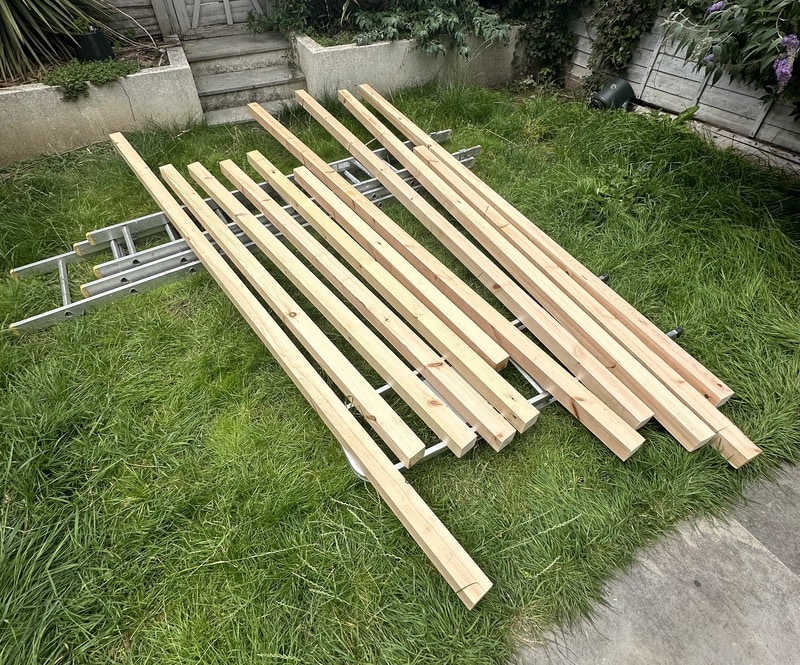
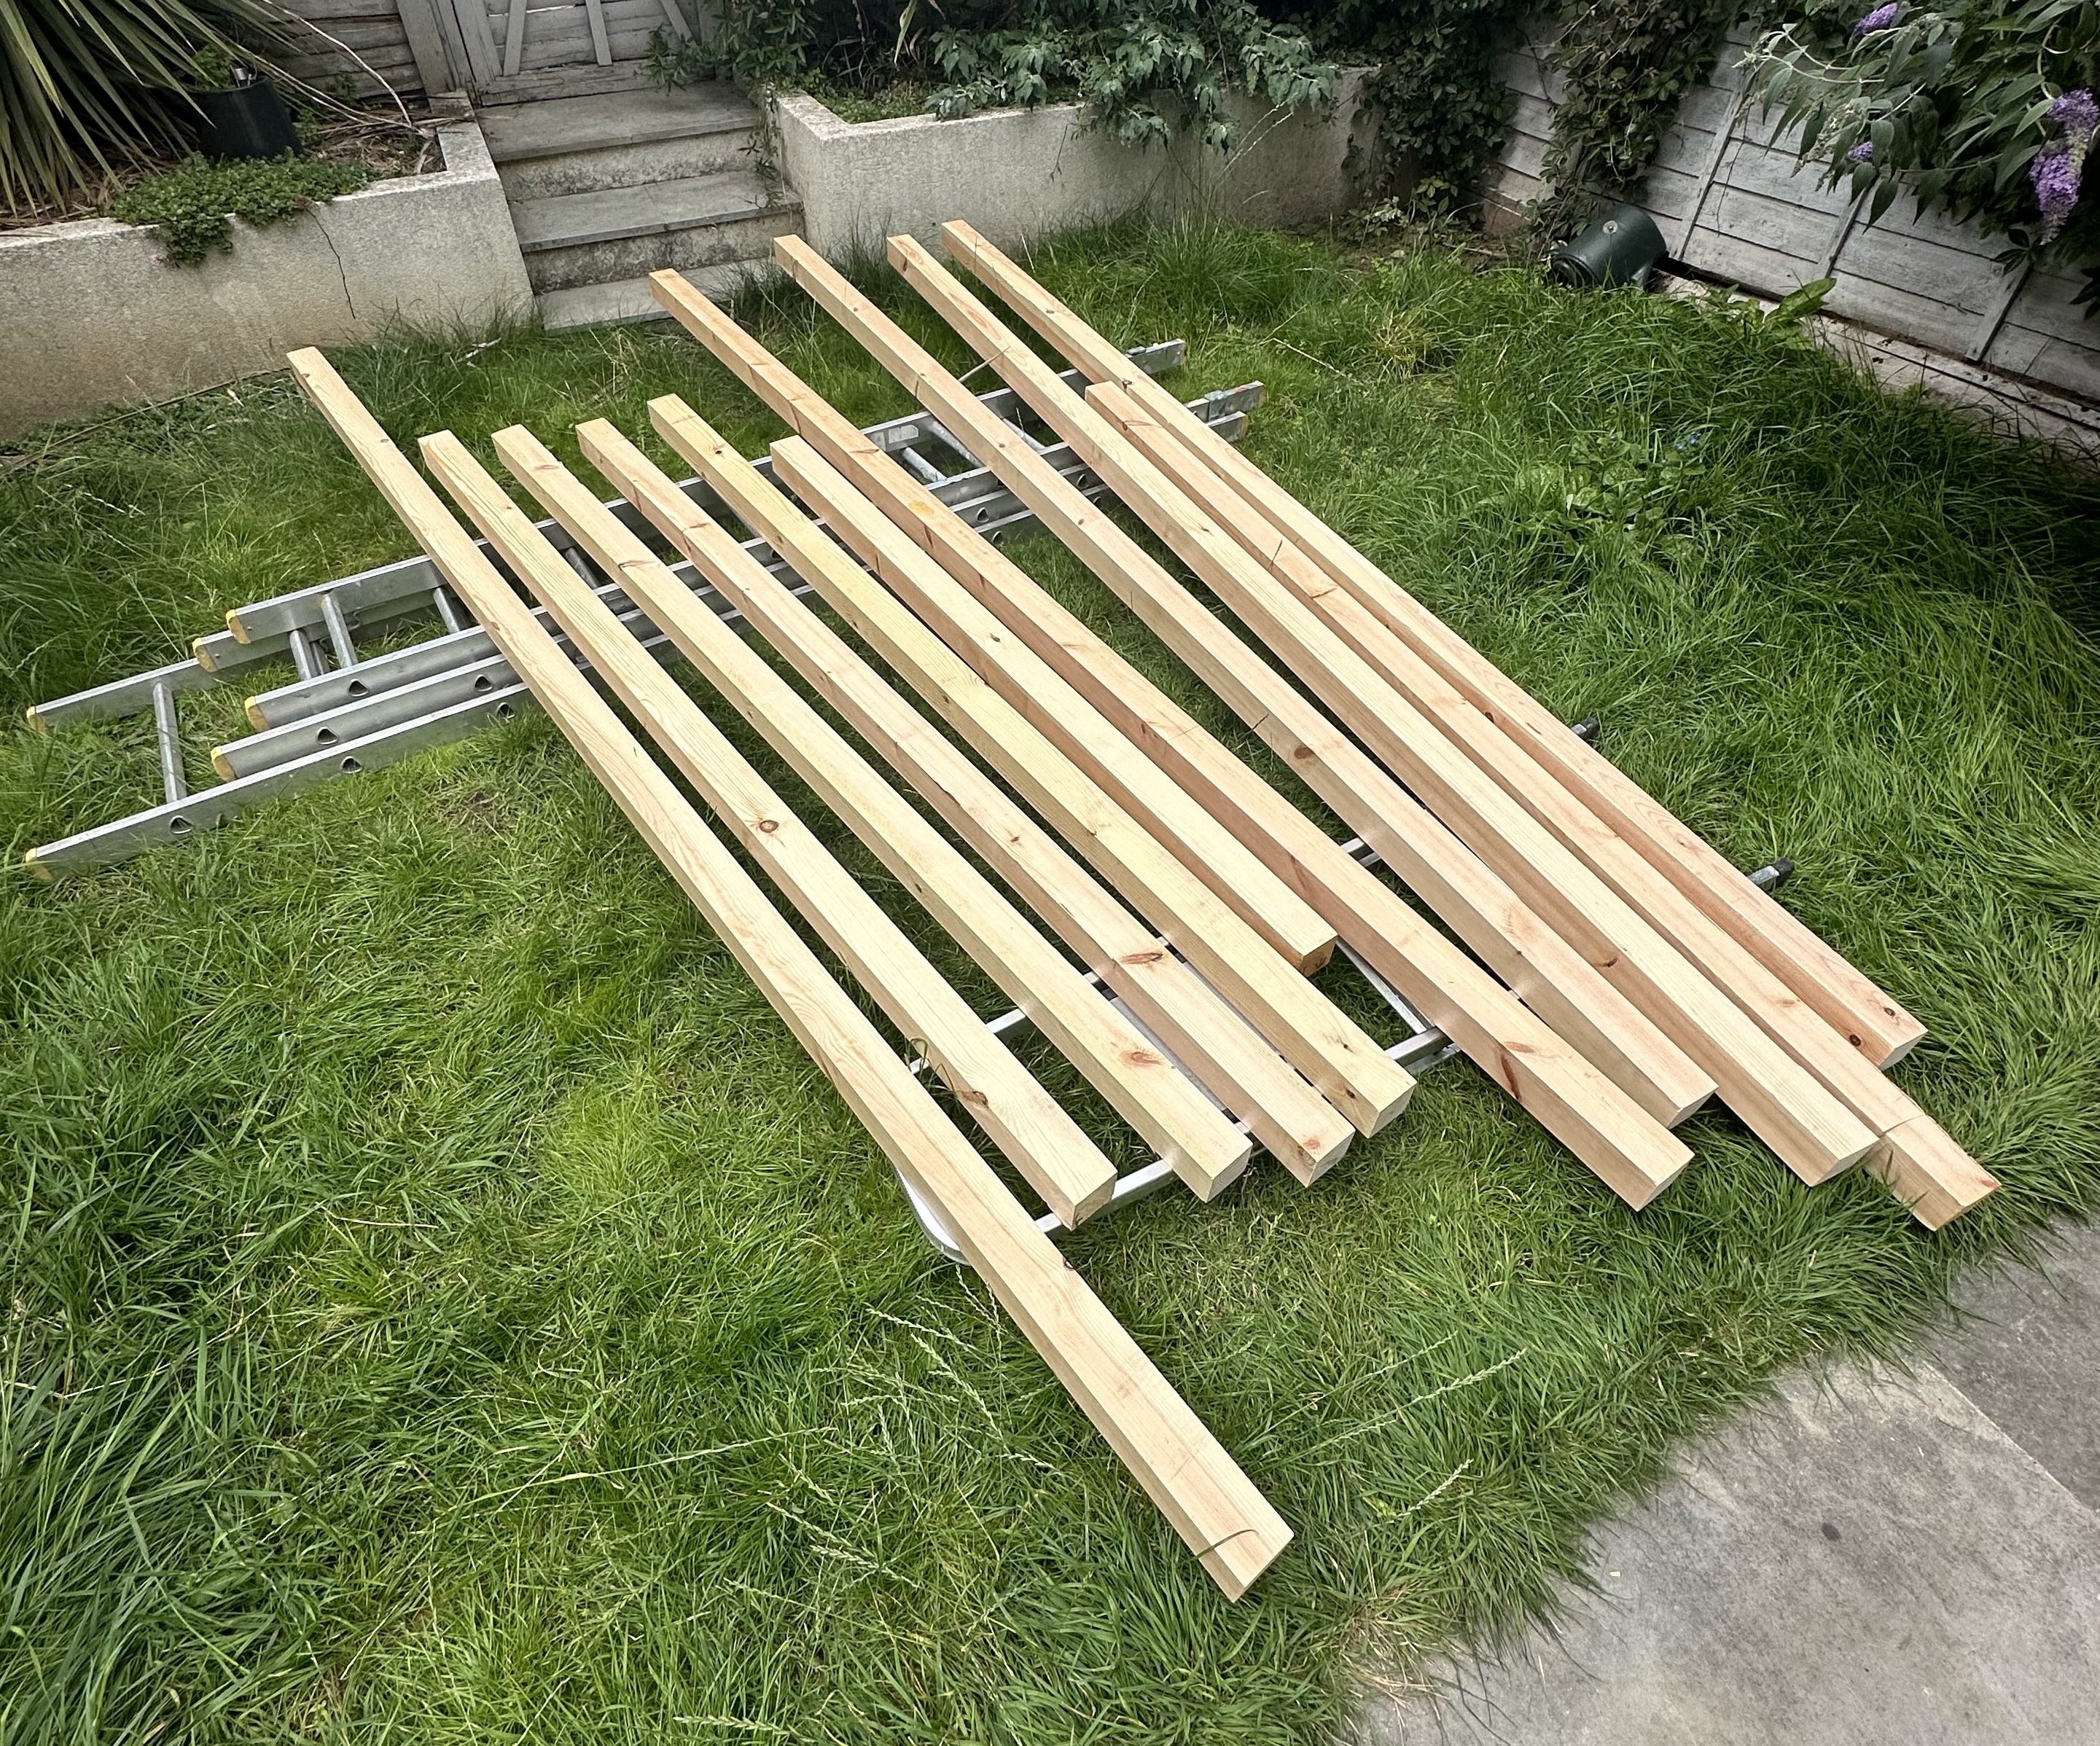
Happy with the outcome of the practice corner, it was time to take all the
cut-up wood, lay them out in the garden, and varnish them, so we didn't have to
be as careful about covering them with a tarp every night. In England, it
sometimes rains. Who knew. See how pale they are in this picture:
It actually turned out a lot sturdier than I had expected.
## Steps 2 & 3: It's varnish o'clock
Happy with the outcome of the practice corner, it was time to take all the
cut-up wood, lay them out in the garden, and varnish them, so we didn't have to
be as careful about covering them with a tarp every night. In England, it
sometimes rains. Who knew. See how pale they are in this picture:
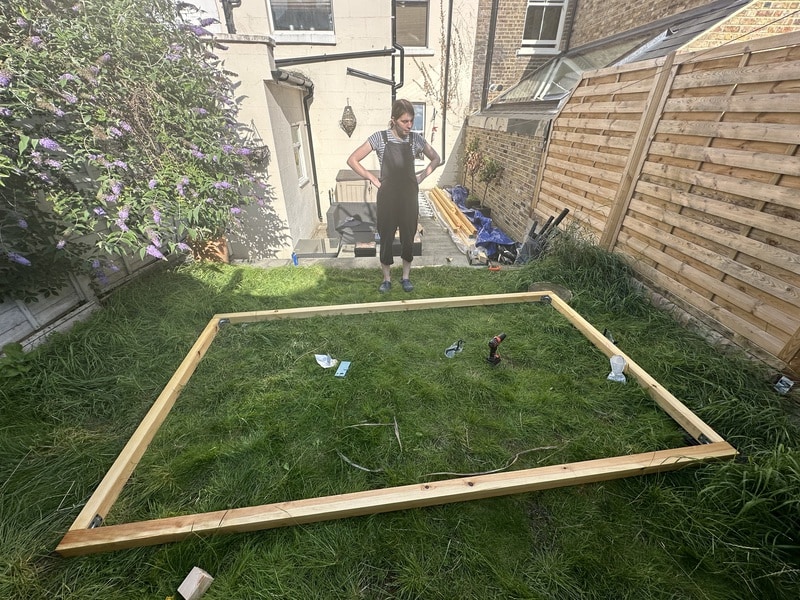
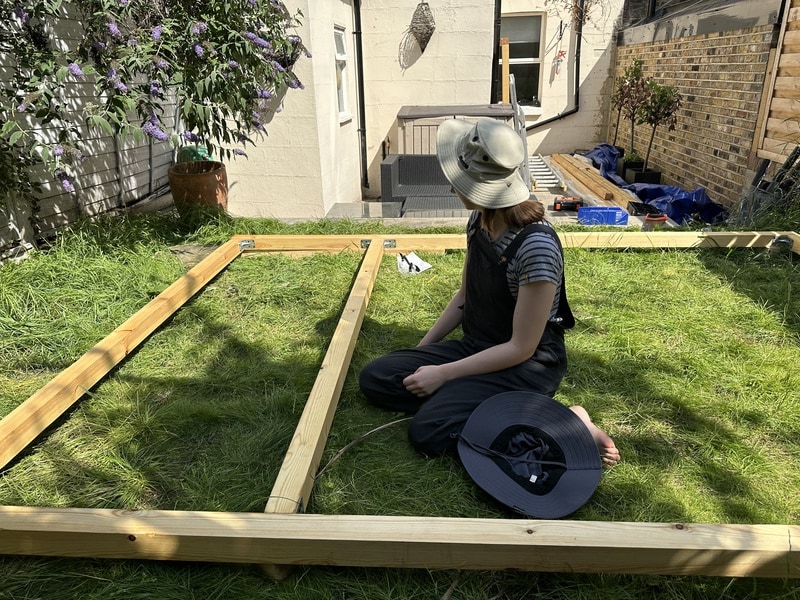
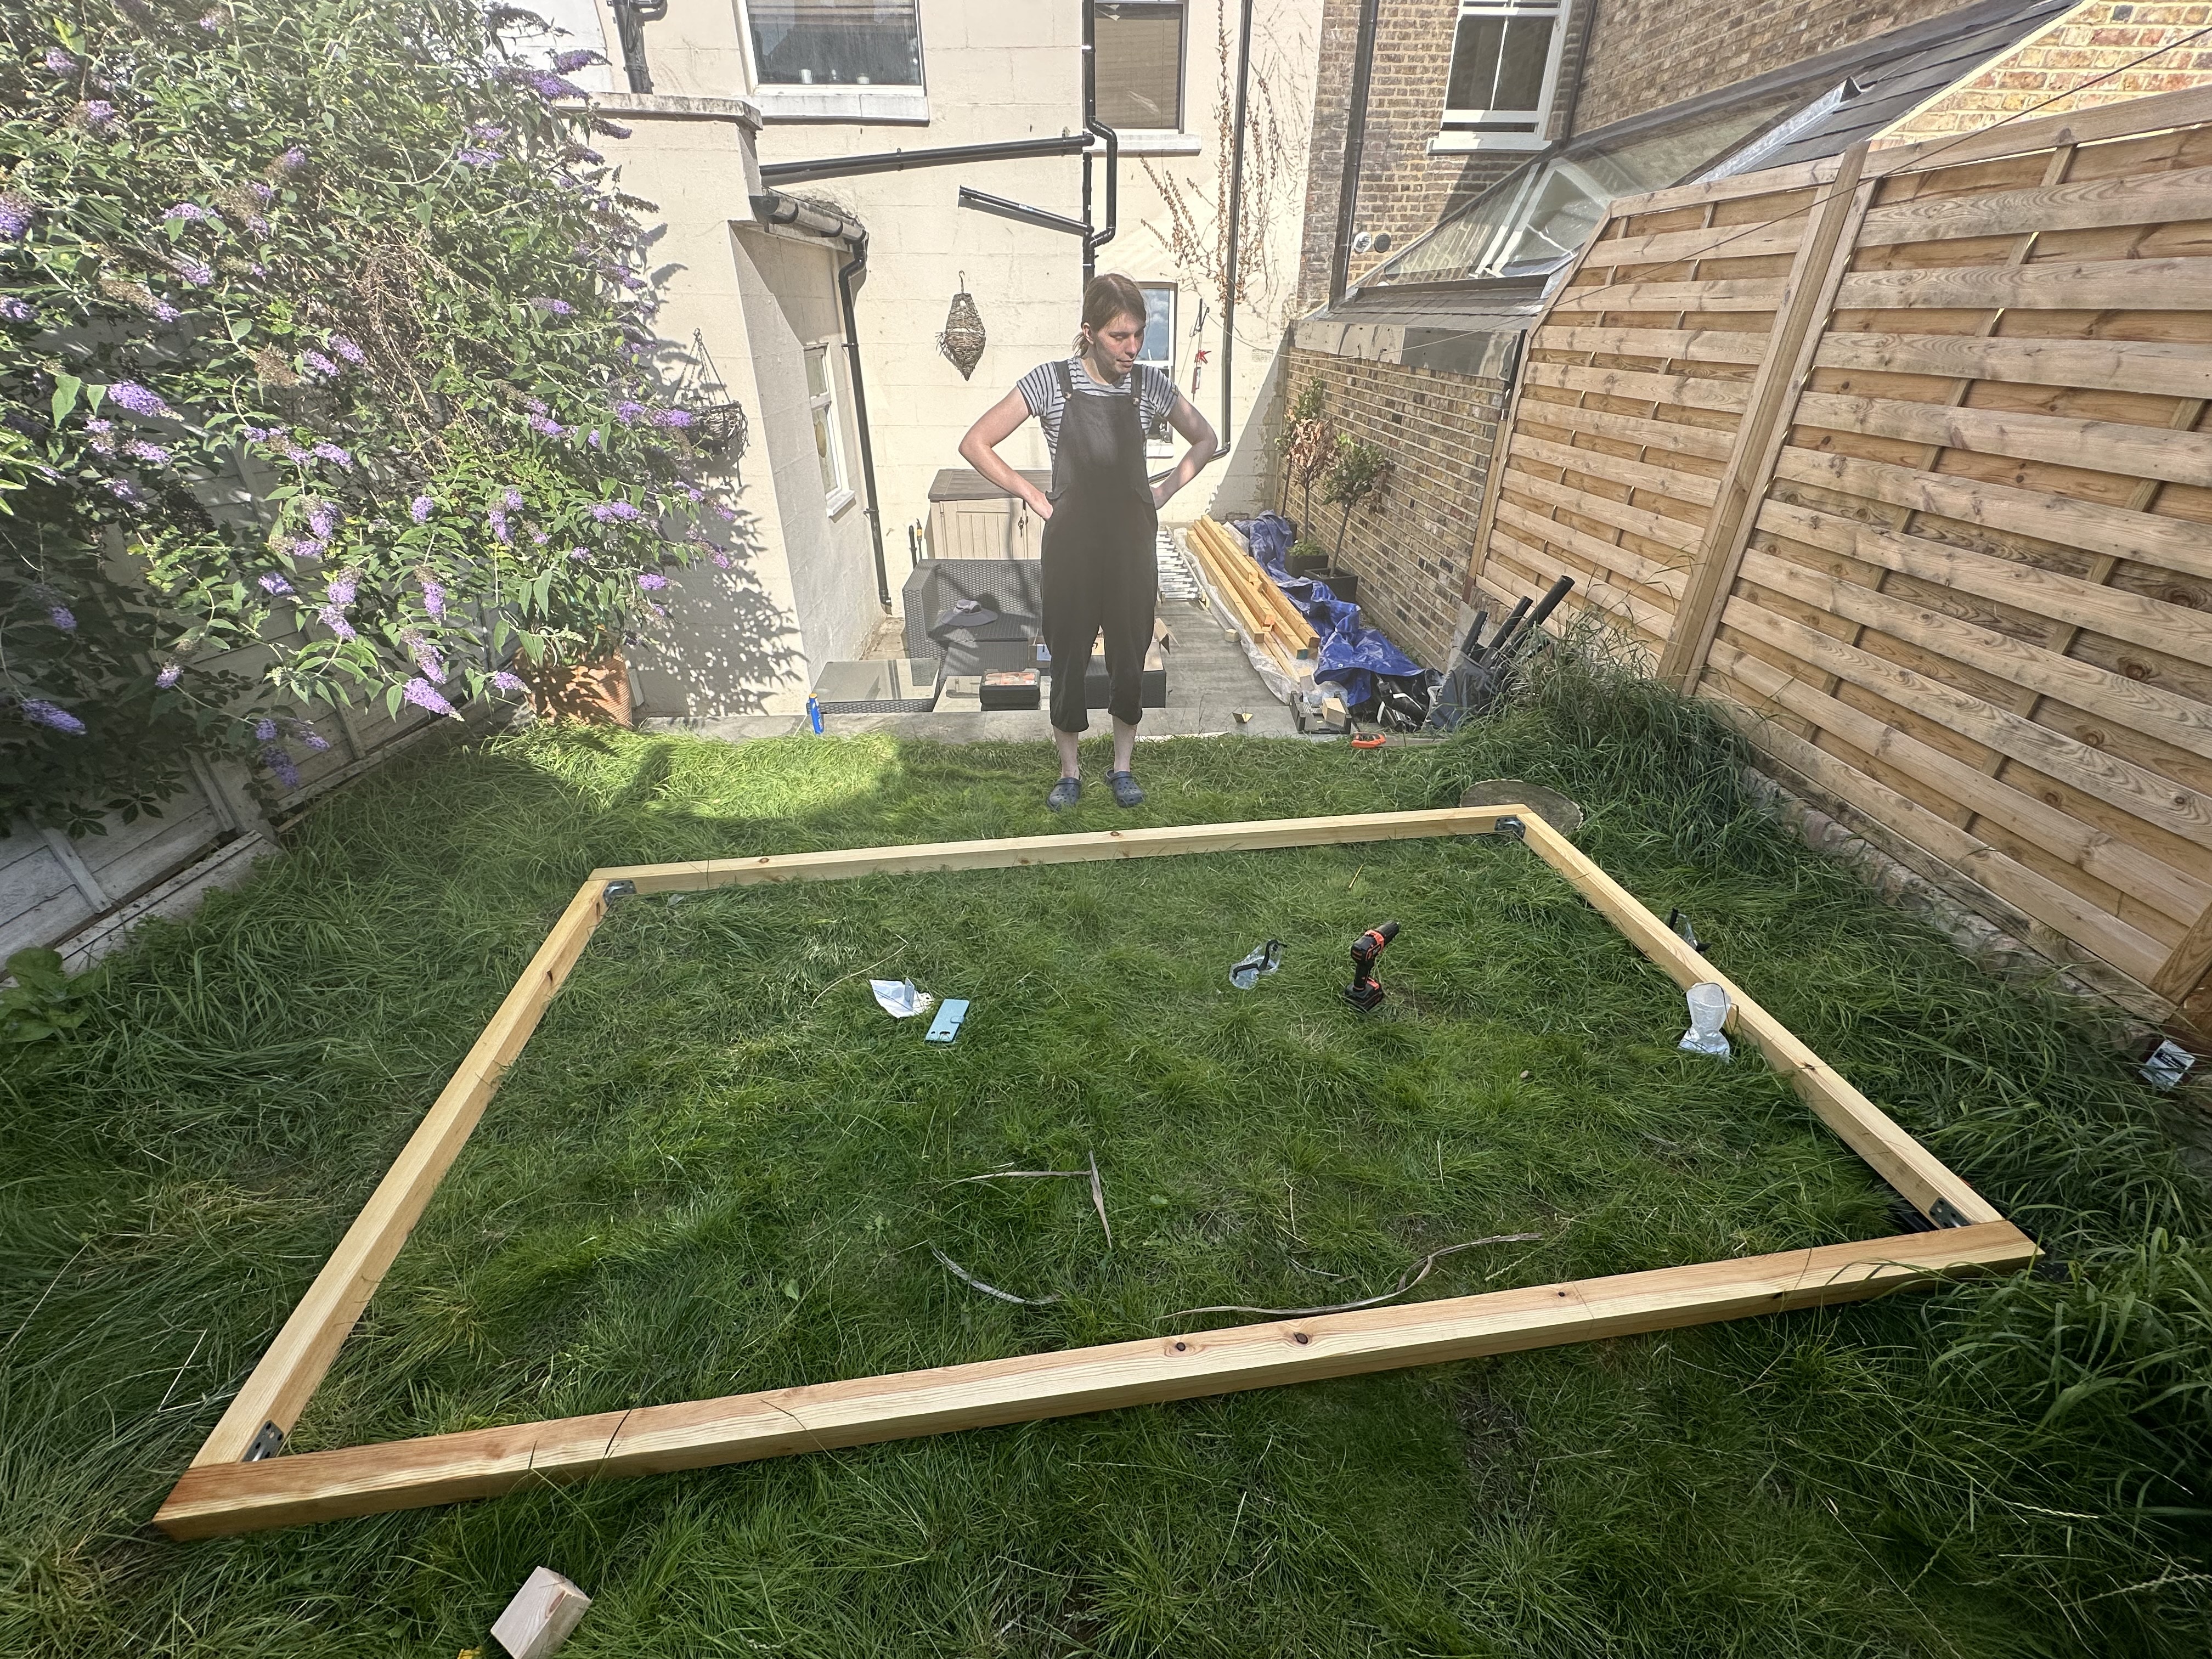
 Once all the big bits were varnished, we started putting together the frames for
the walls. Here's our first rectangle:
Once all the big bits were varnished, we started putting together the frames for
the walls. Here's our first rectangle:
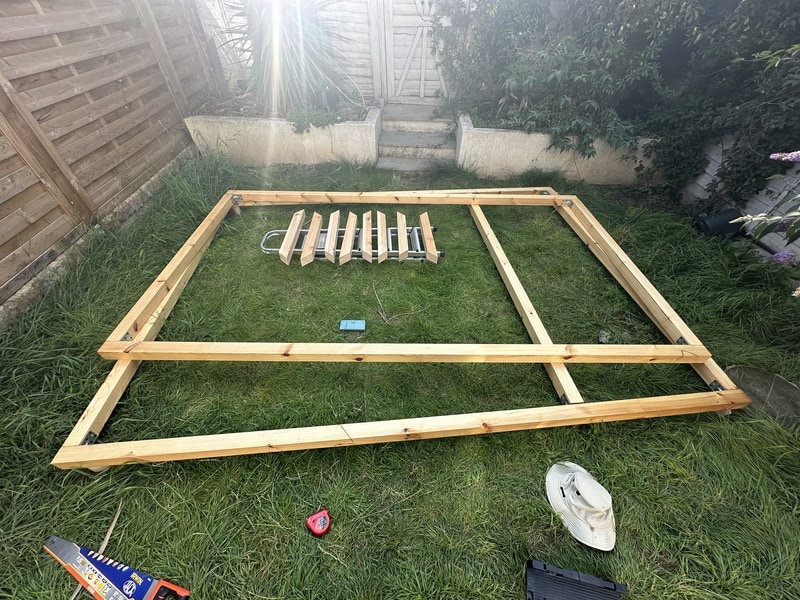
 Here you can see the effect of the oil coating a little better; the rectangles
are kind of a nice golden colour:
Here you can see the effect of the oil coating a little better; the rectangles
are kind of a nice golden colour:
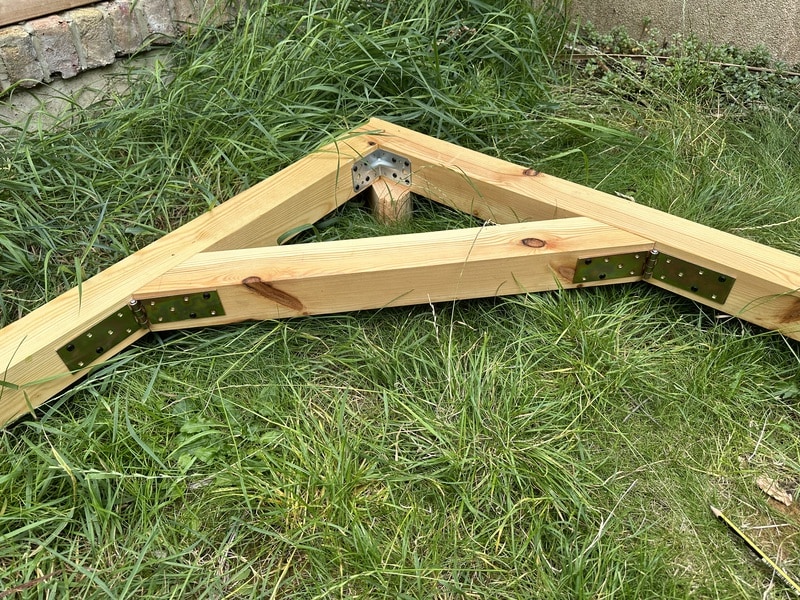
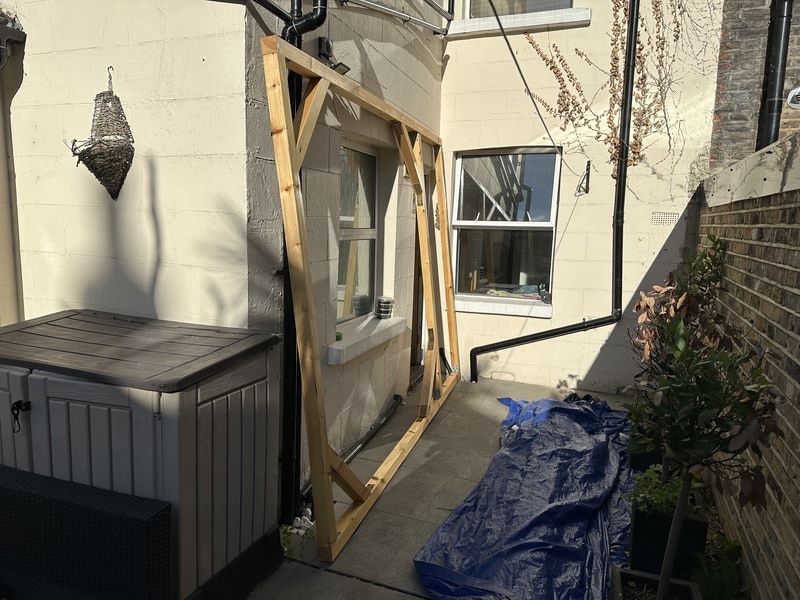
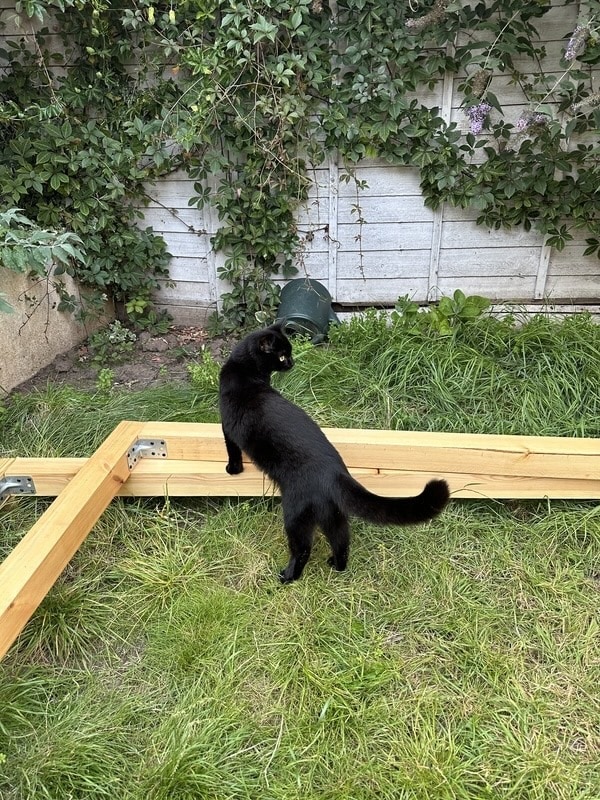 We added some diagonal bits to stabilise the whole structure:
 After the first wall was done, we put it aside, so (1) we could marvel at its
beauty in the context of where it would one day be assembled, and (2) so we'd
have space on the grass to assemble the next wall.
After the first wall was done, we put it aside, so (1) we could marvel at its
beauty in the context of where it would one day be assembled, and (2) so we'd
have space on the grass to assemble the next wall.
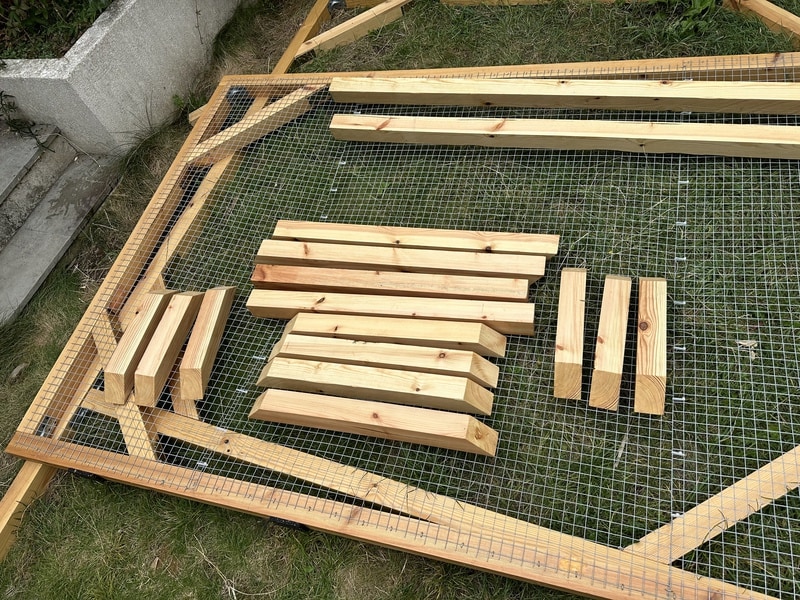
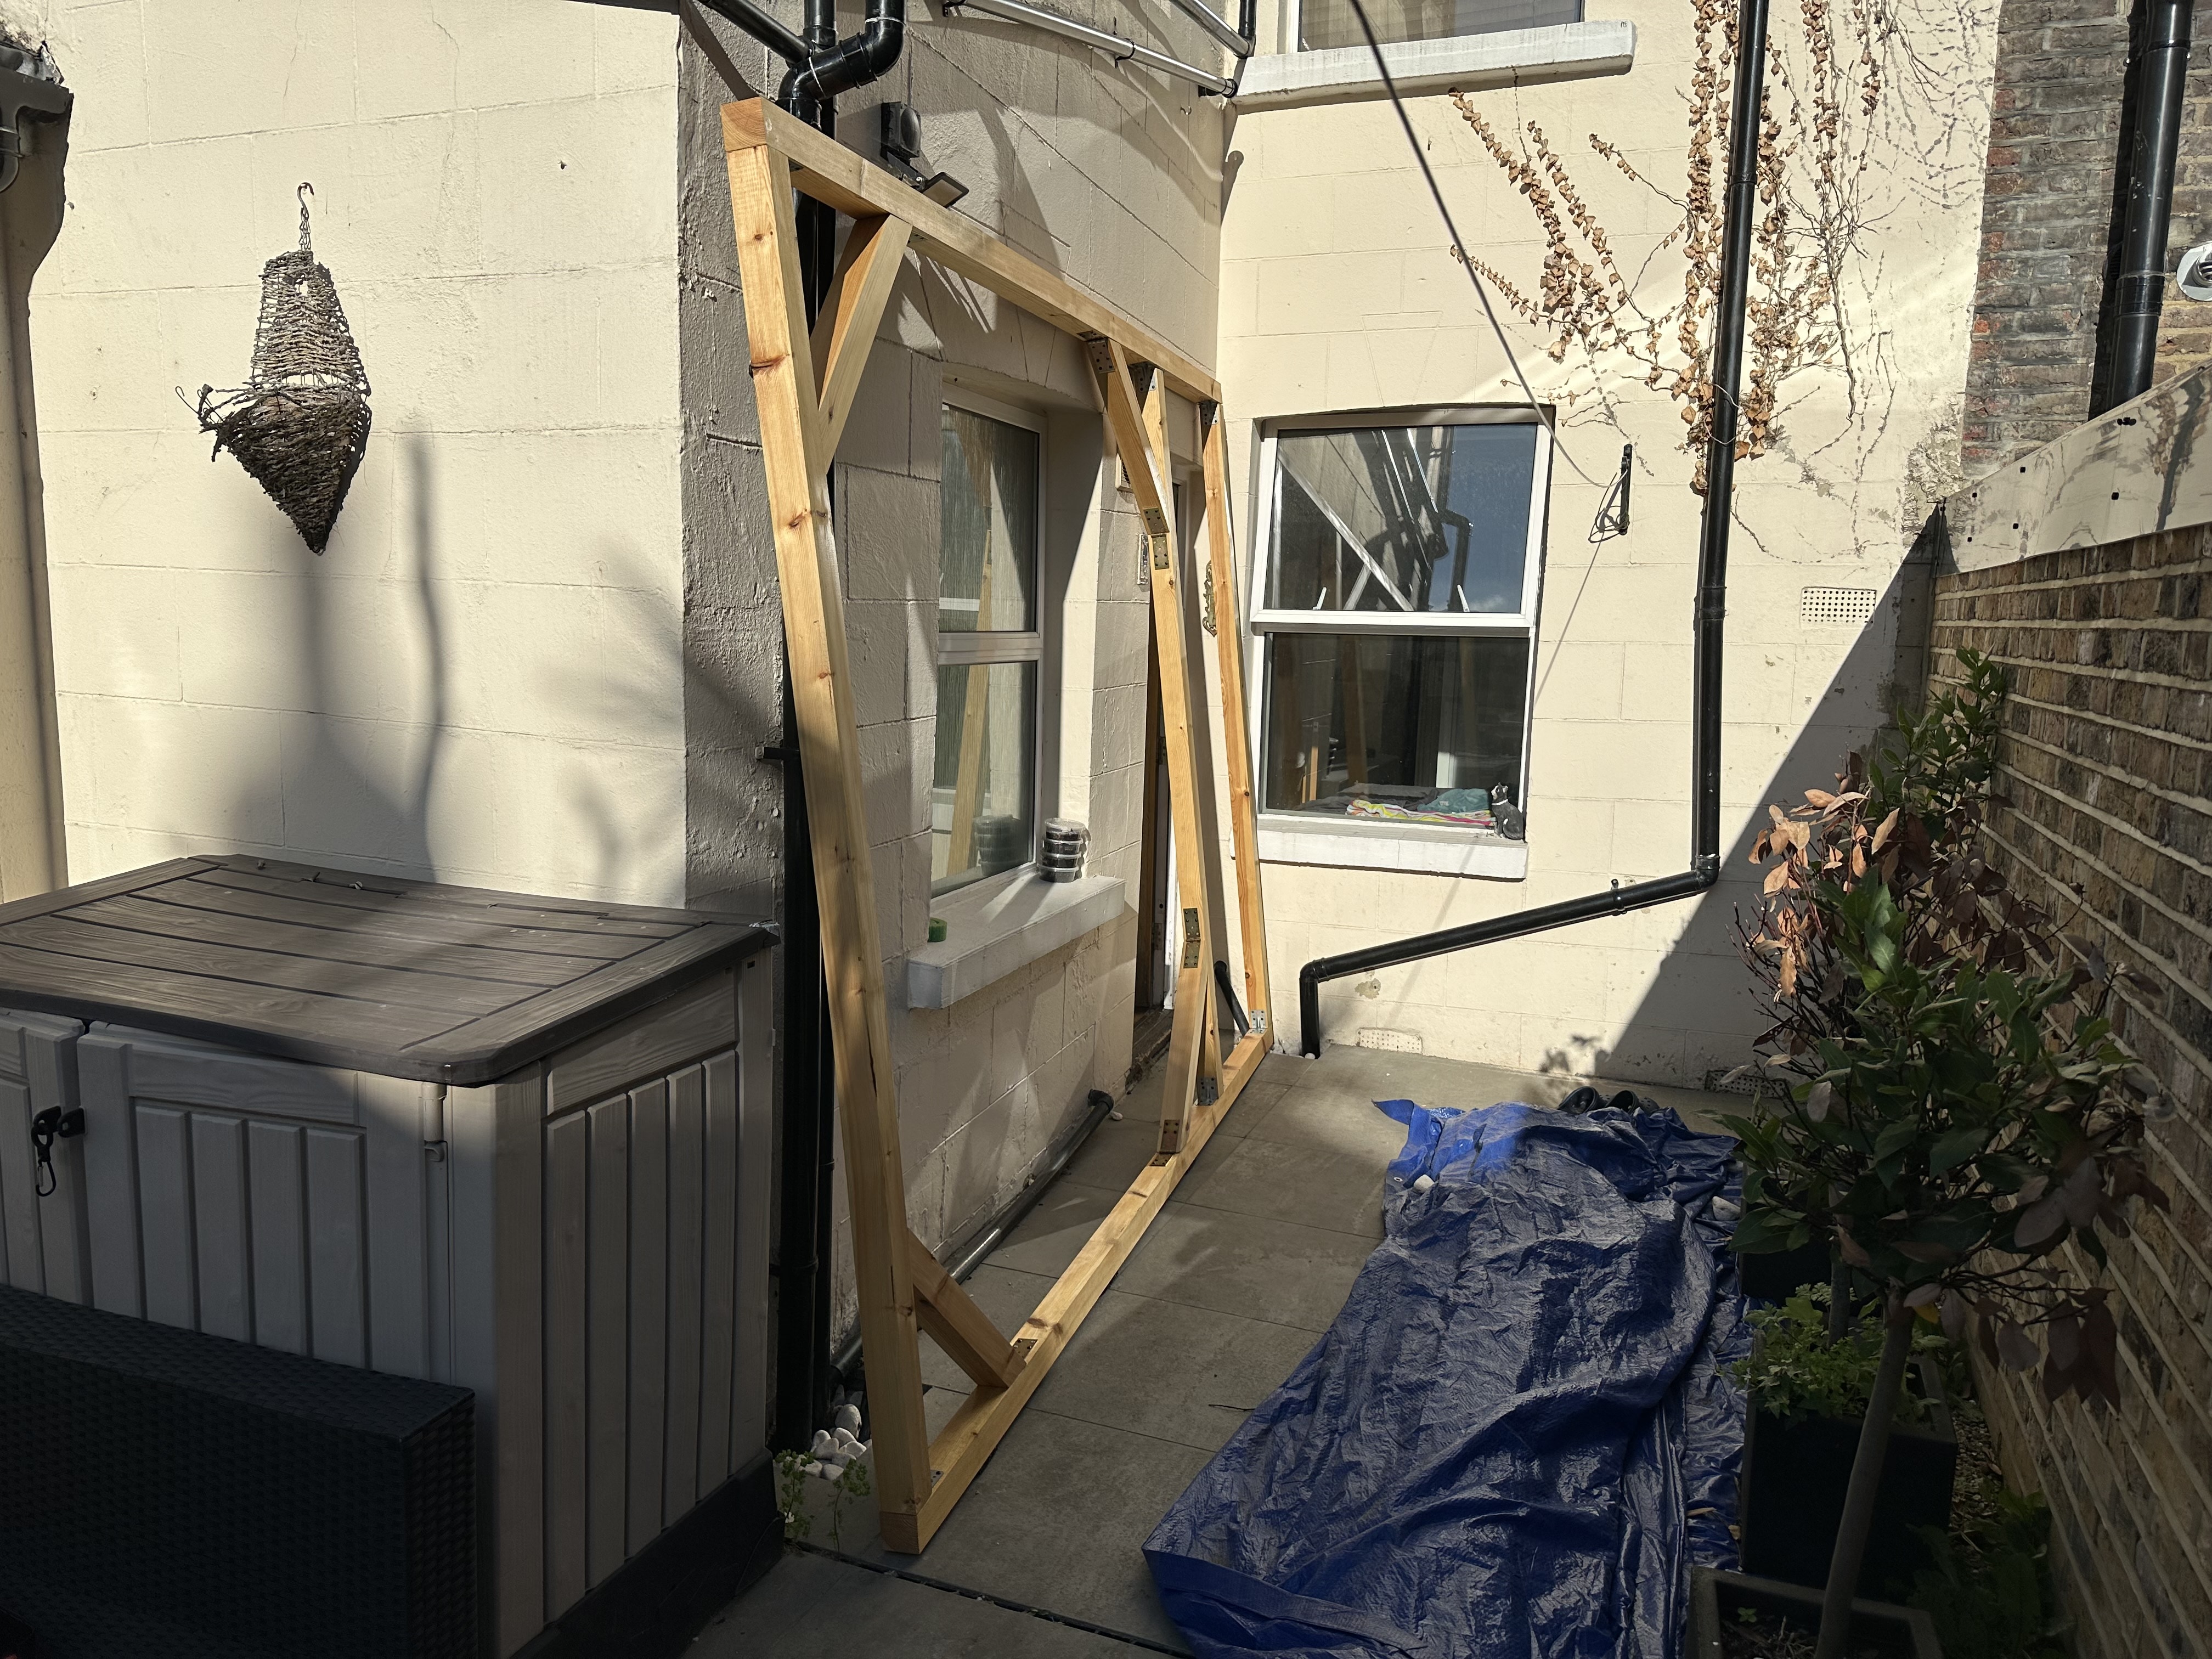
 Here's the next wall. This one won't be flush to a building wall, so we need
mesh to cover it.
Here's the next wall. This one won't be flush to a building wall, so we need
mesh to cover it.
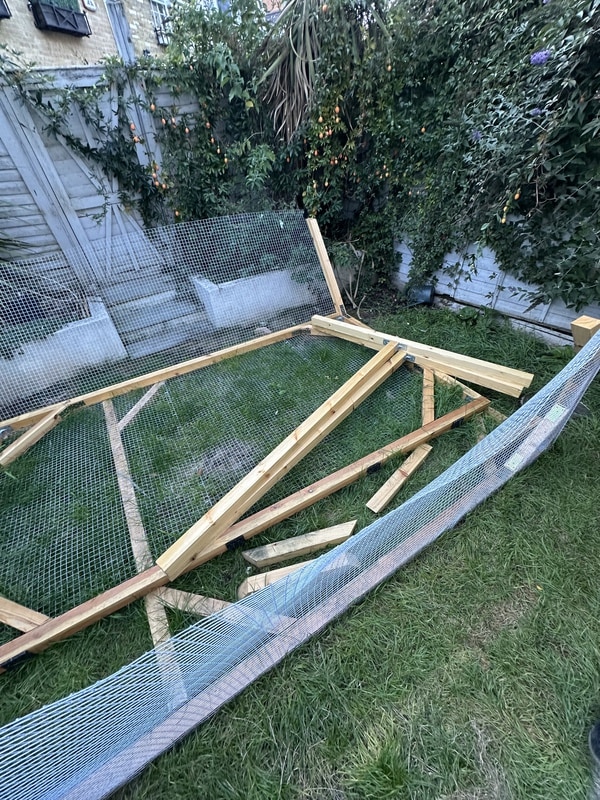
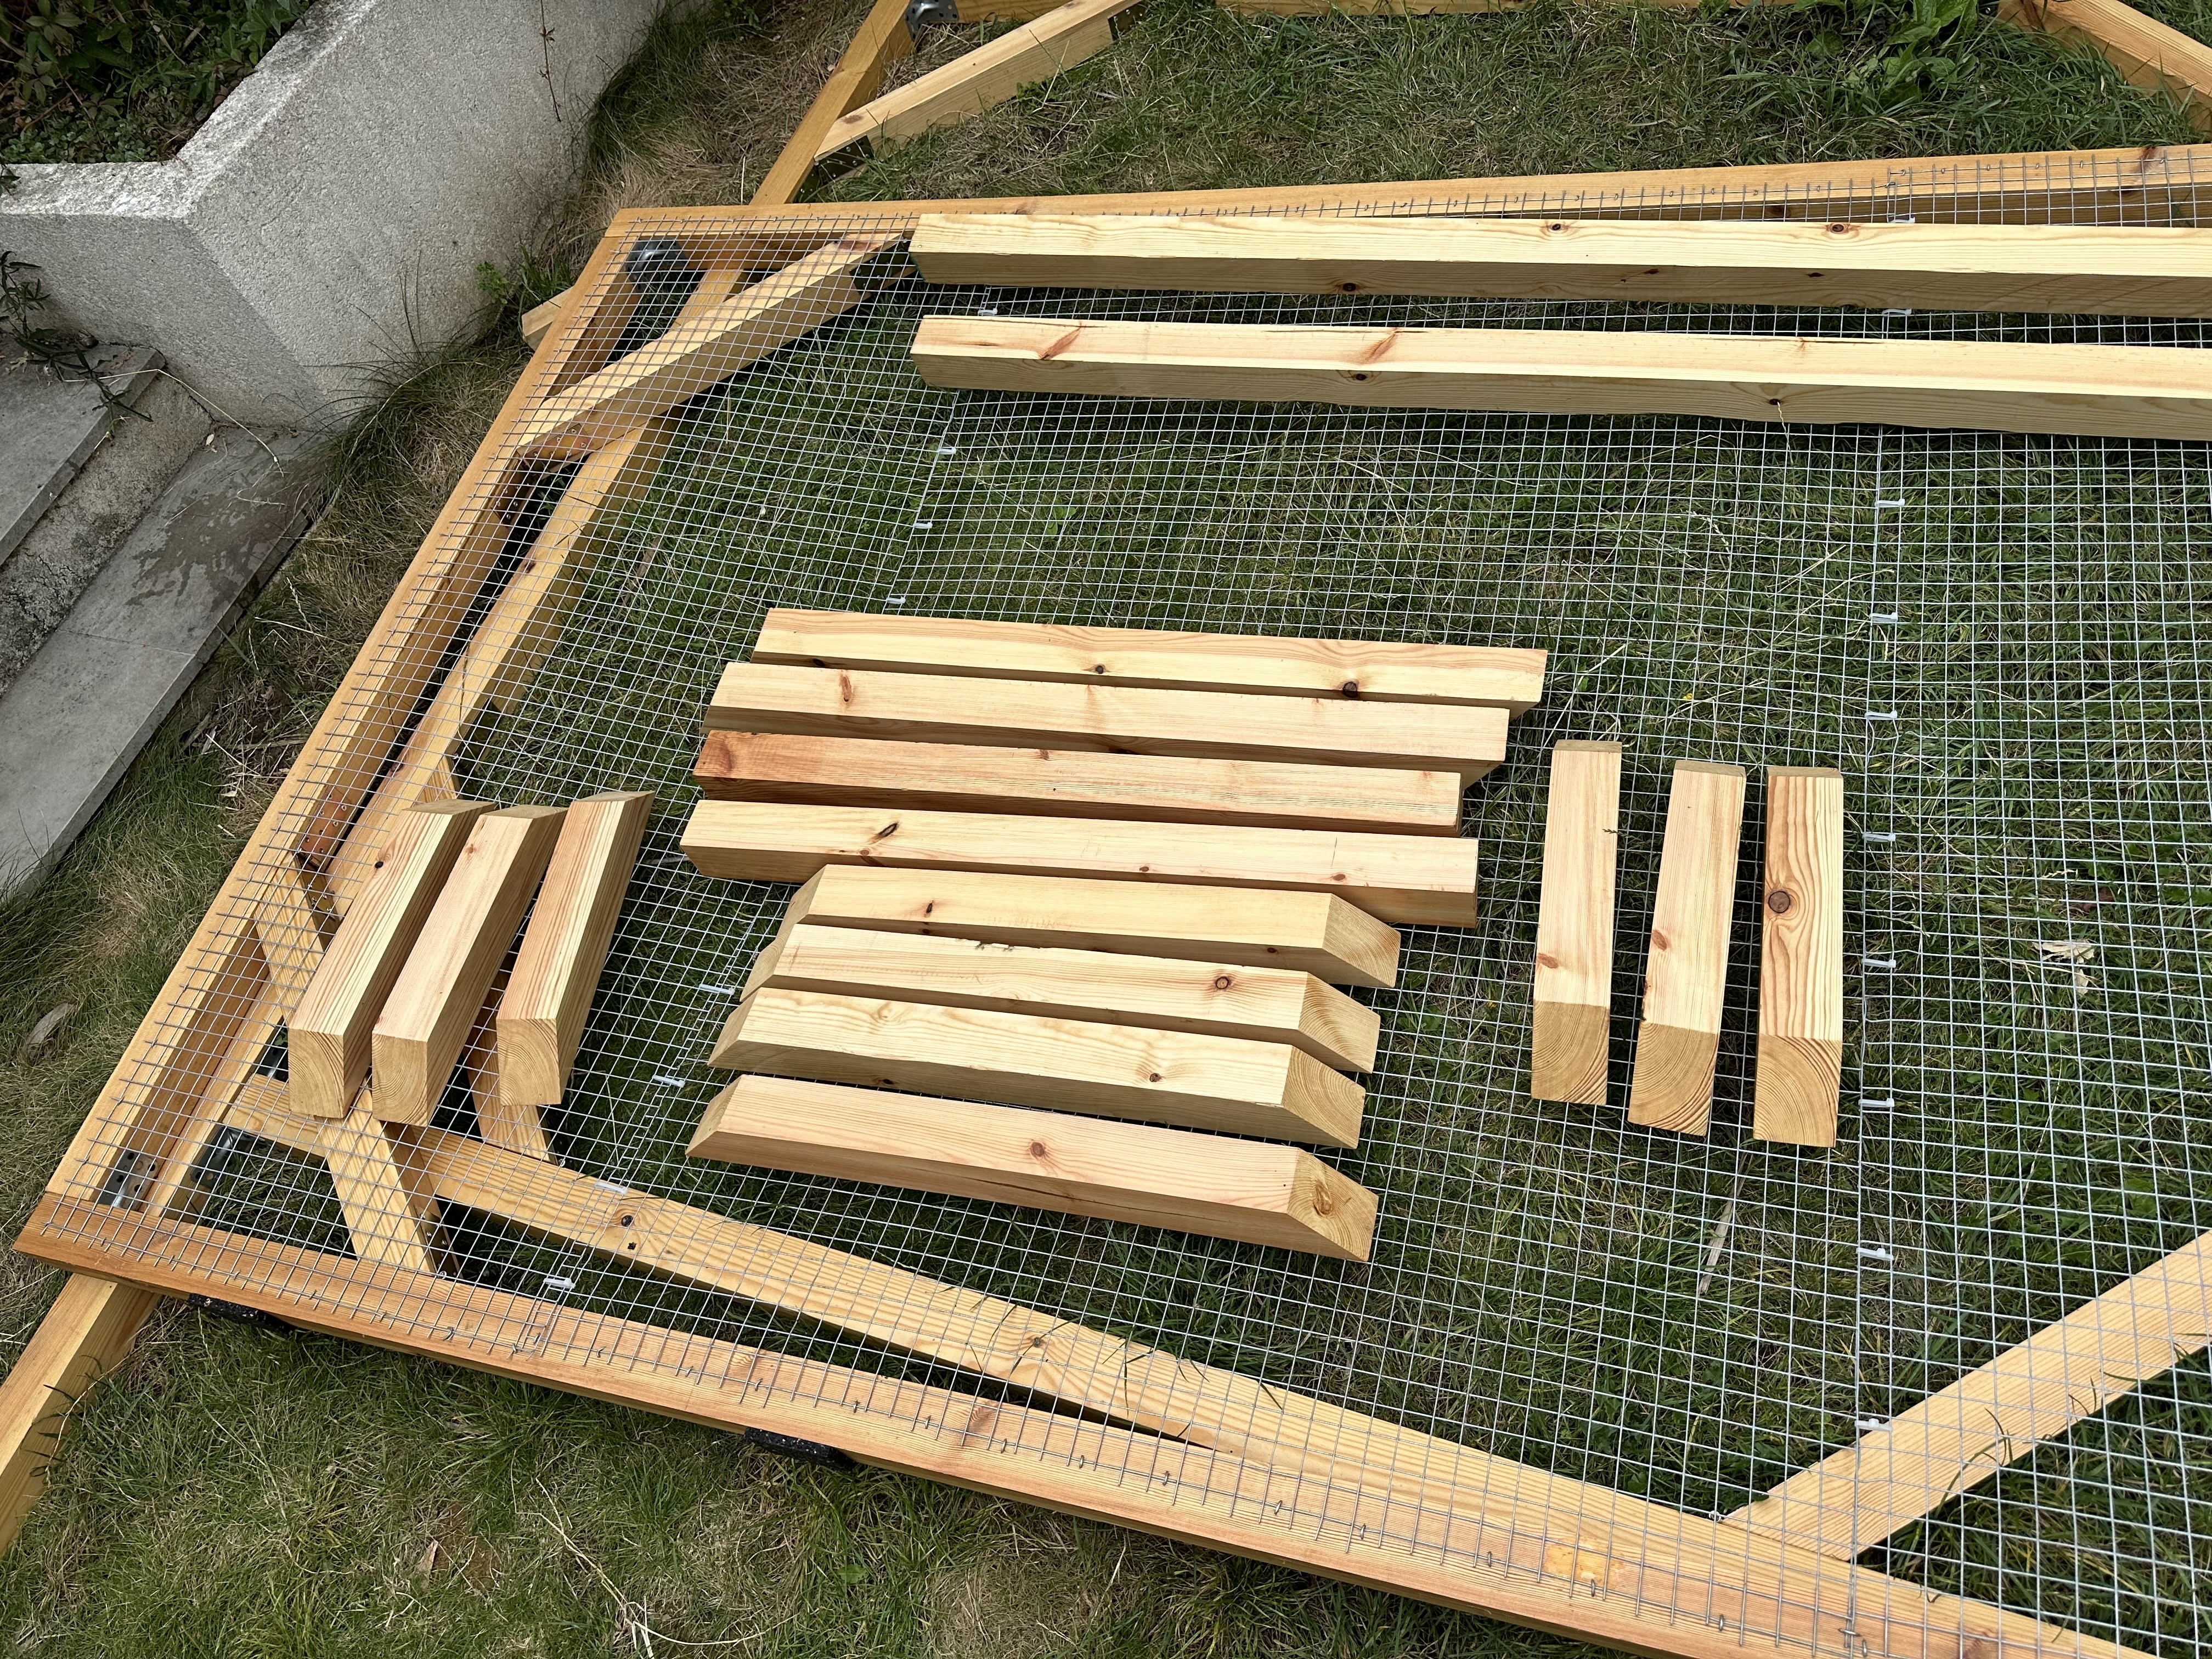
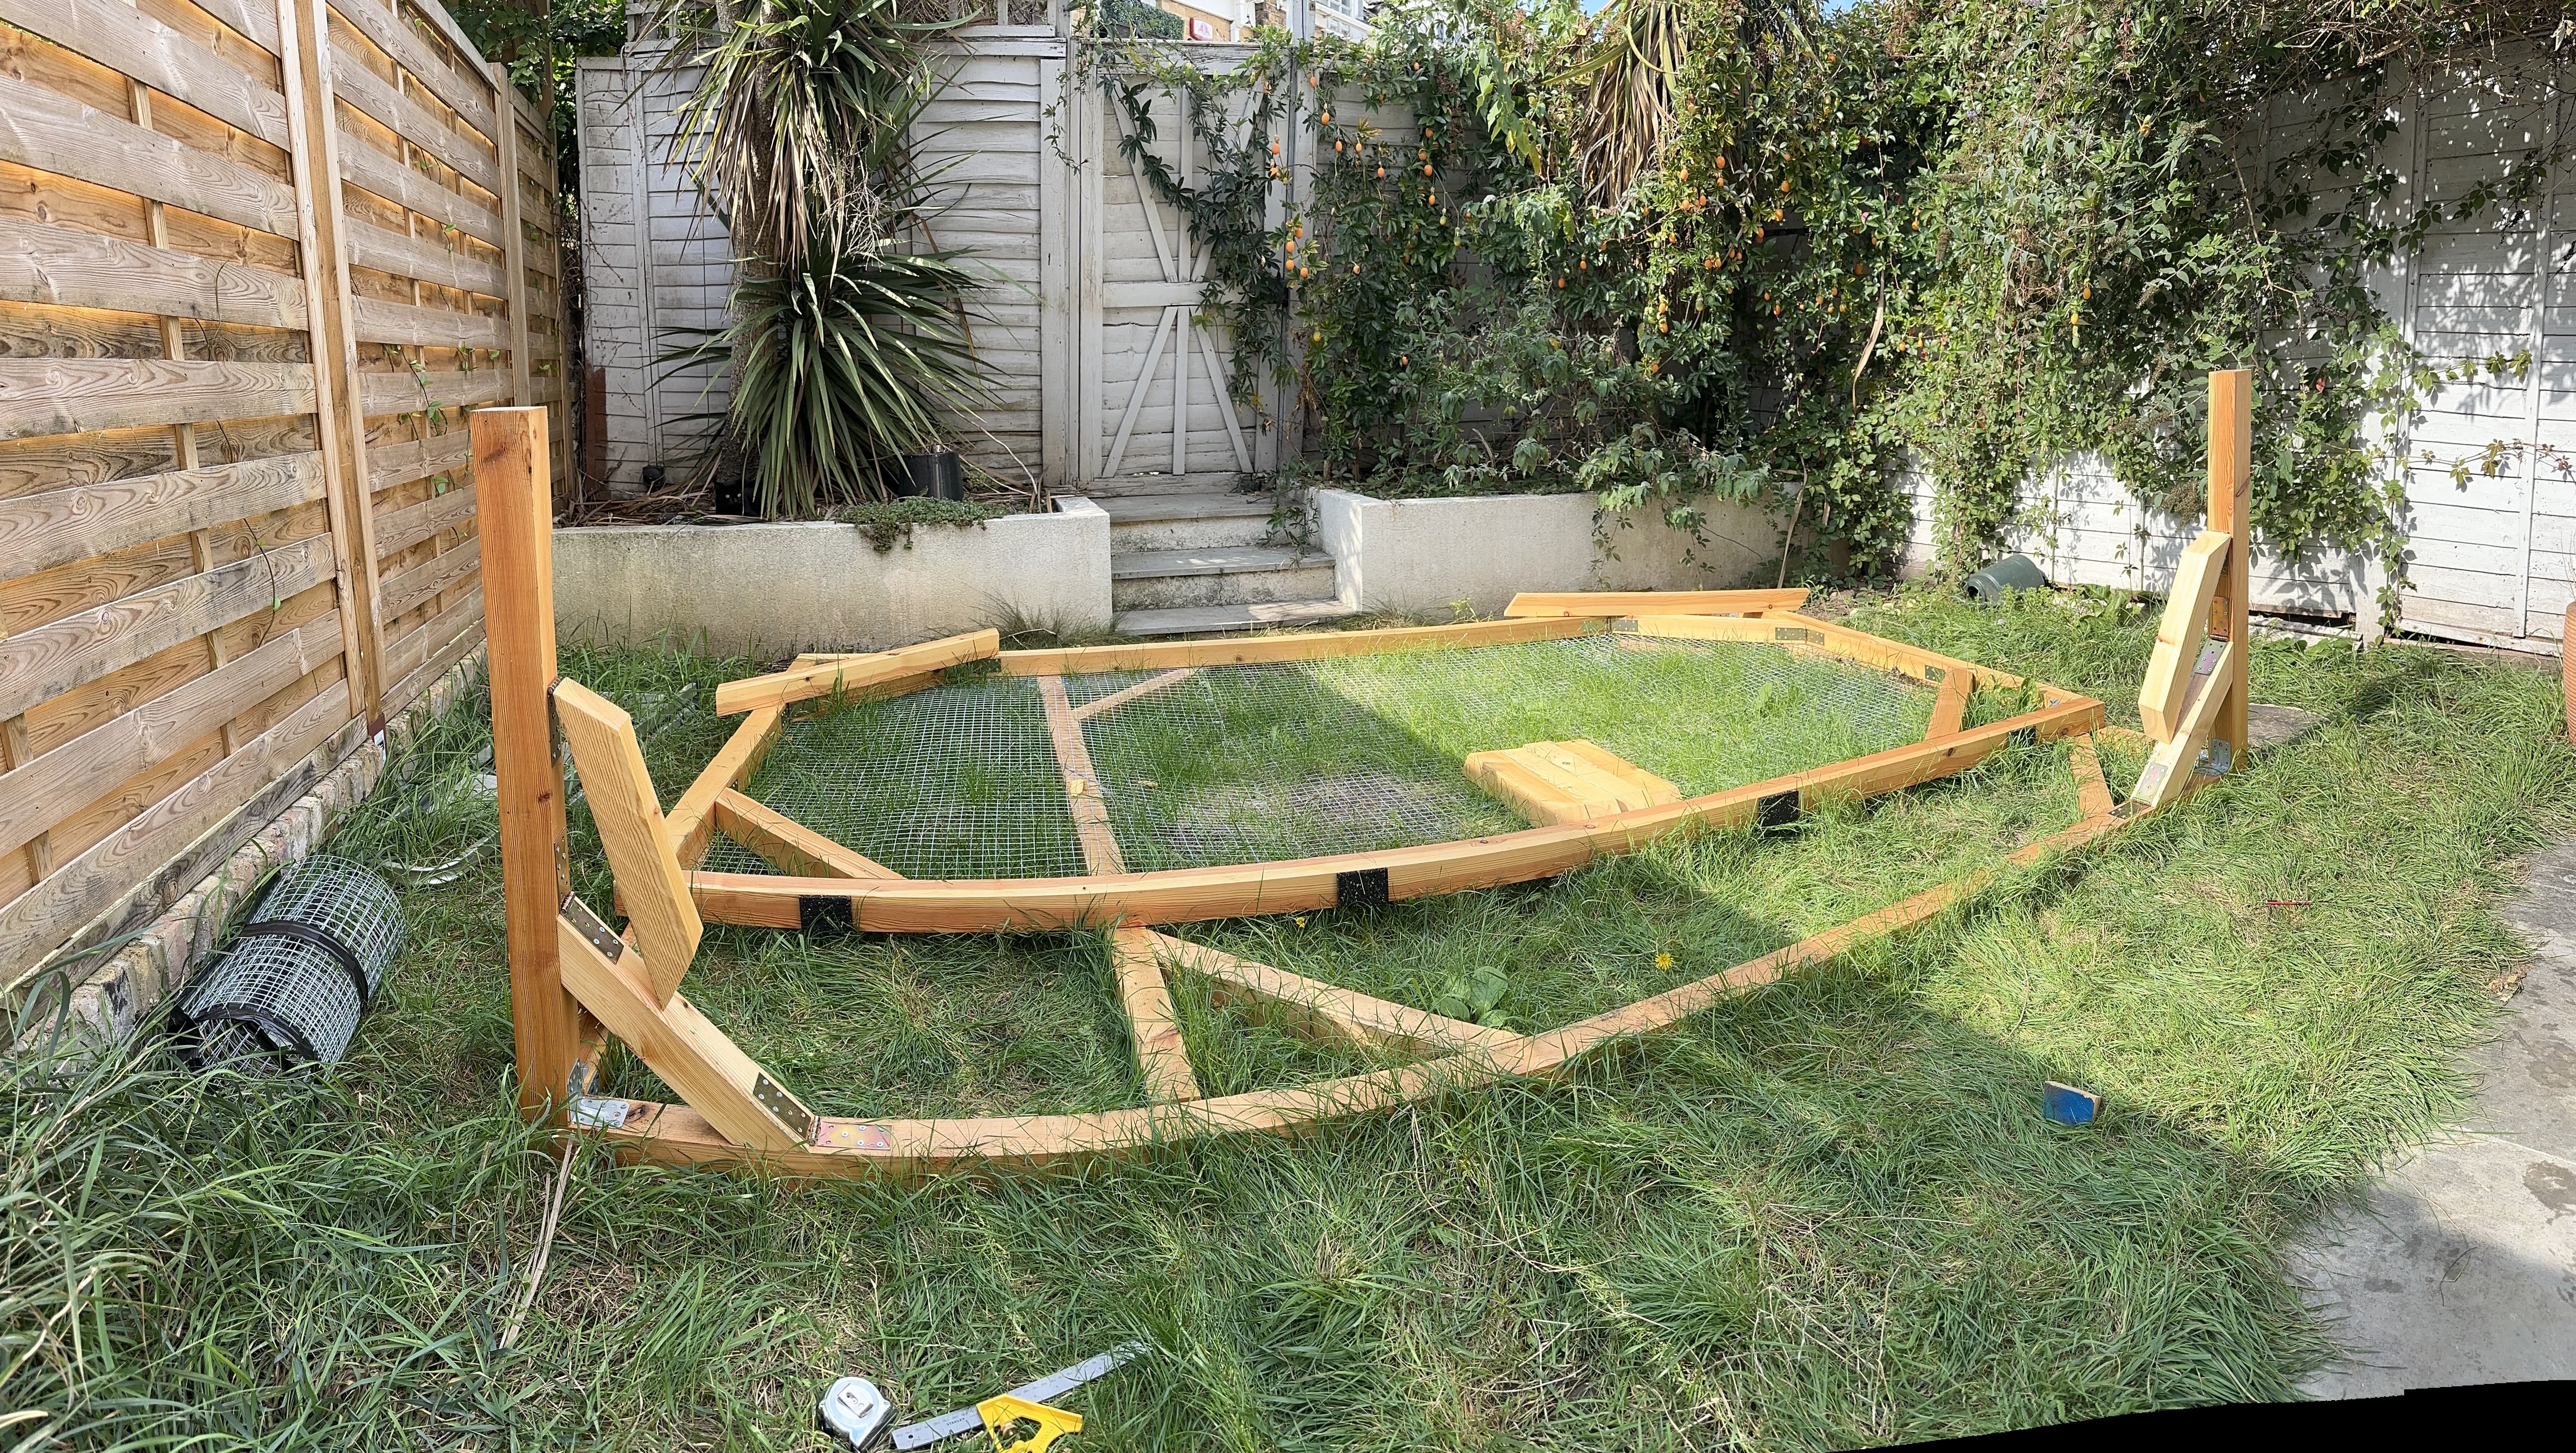
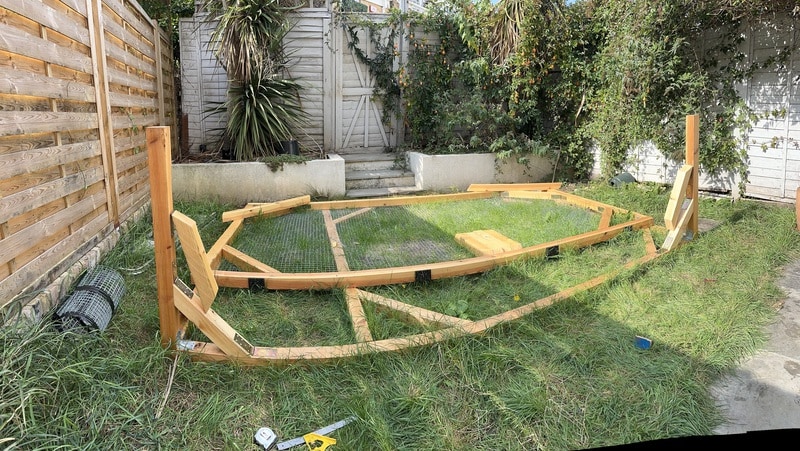 I think this is the point at which we're delayed for months and months due to
bad weather, so suddenly we go from summer to the middle of winter:
I think this is the point at which we're delayed for months and months due to
bad weather, so suddenly we go from summer to the middle of winter:
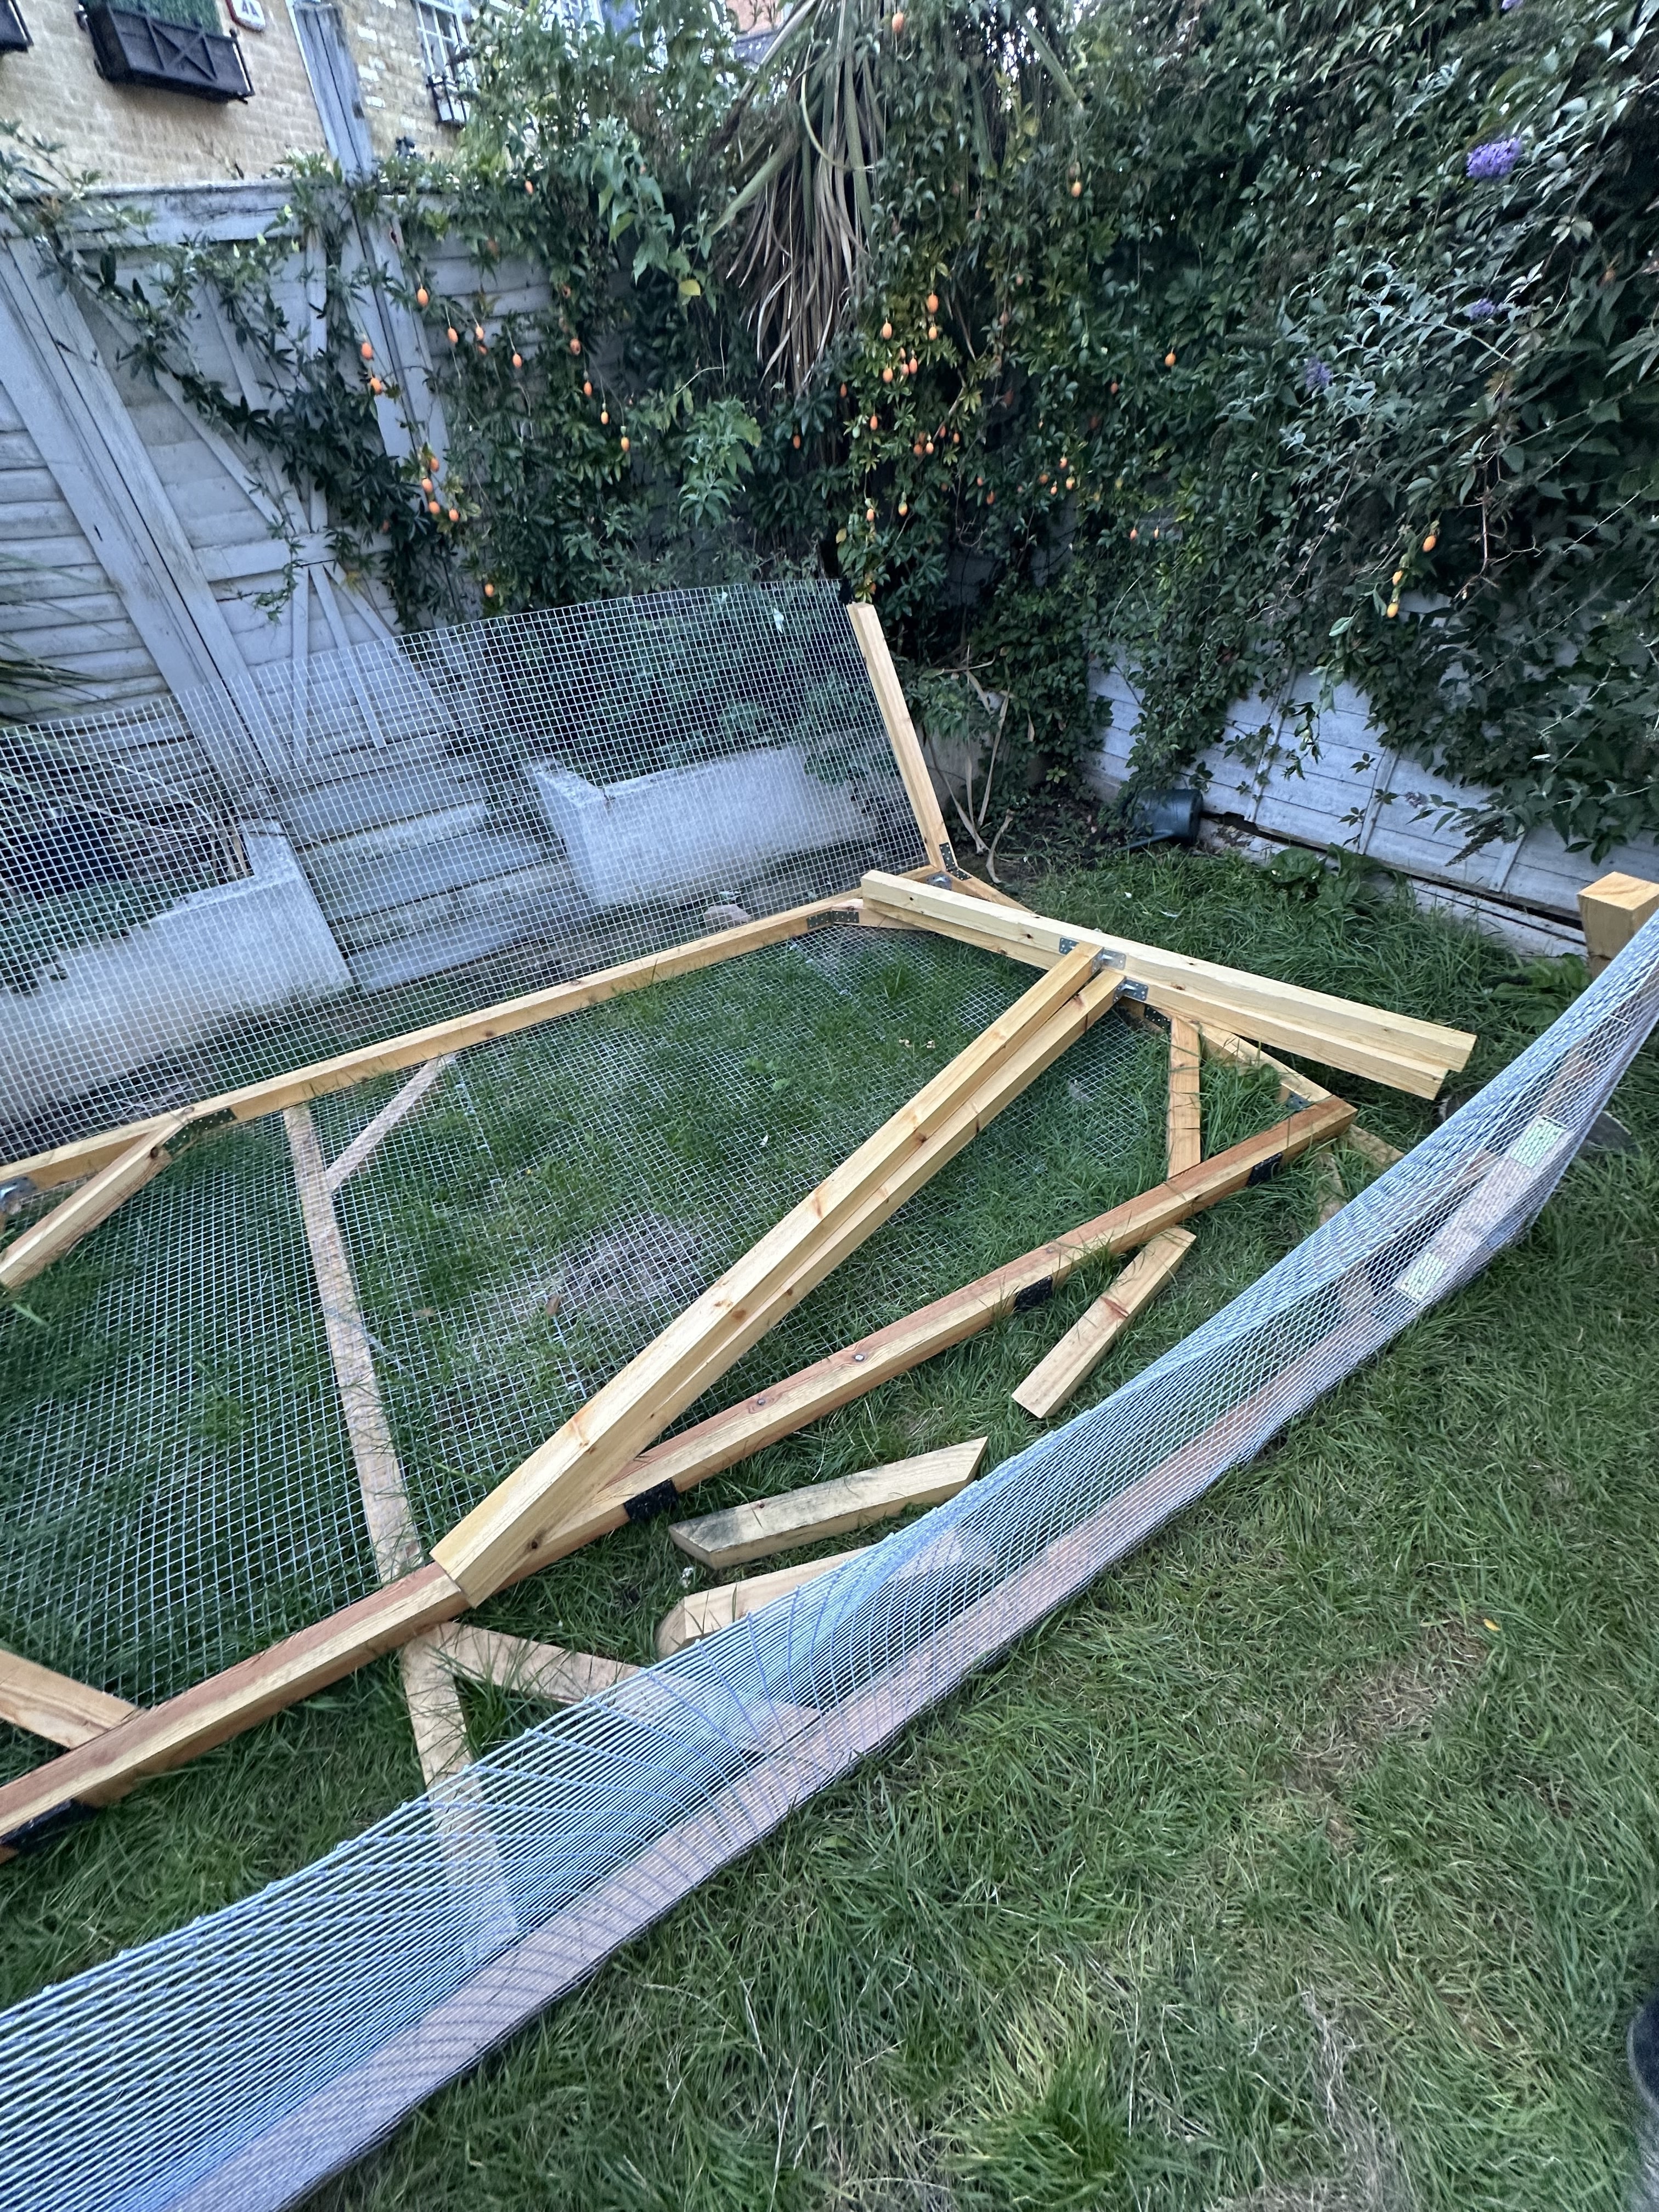
 Around this time we also started to get worried about the fact that we hadn't
_really_ planned all the way through how we would assemble the walls, and we
were discovering that the fact that the patio area is far from rectangular was
actually going to be a problem. Katherine's dad came over to help us do some
exciting trigonometry and decide whether to make the final foundation
rectangular or some crazy shape.
Around this time we also started to get worried about the fact that we hadn't
_really_ planned all the way through how we would assemble the walls, and we
were discovering that the fact that the patio area is far from rectangular was
actually going to be a problem. Katherine's dad came over to help us do some
exciting trigonometry and decide whether to make the final foundation
rectangular or some crazy shape.
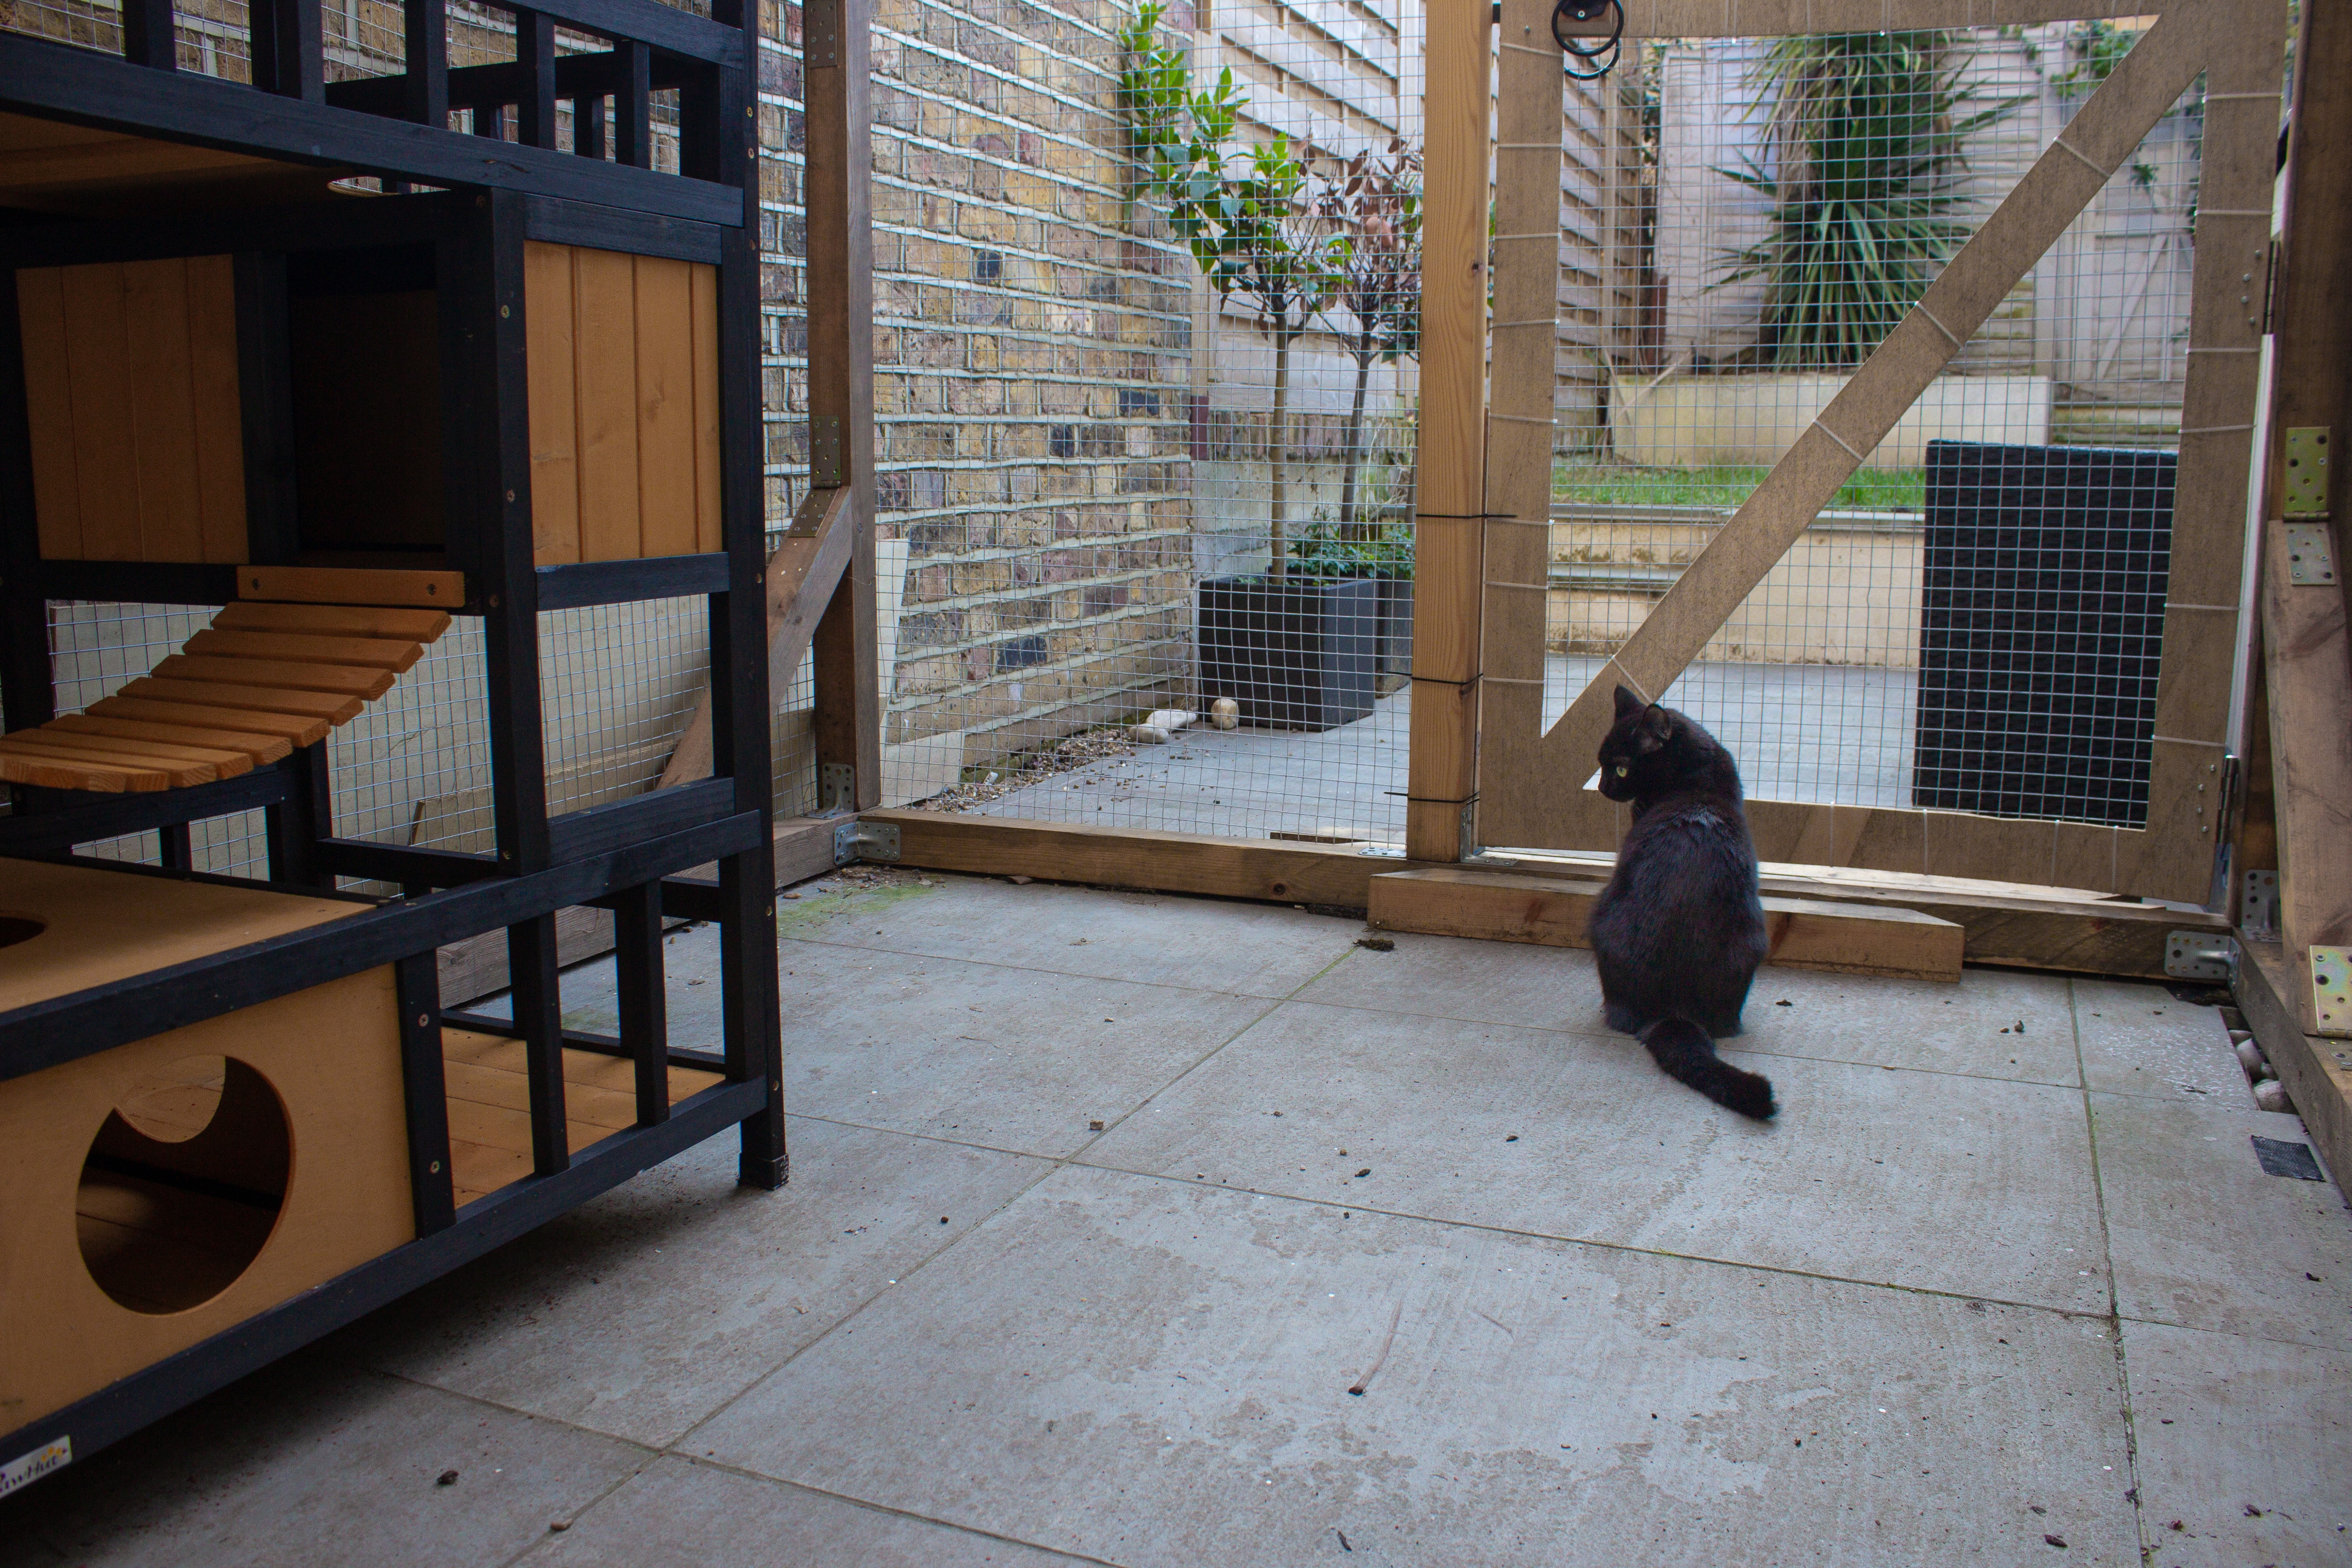
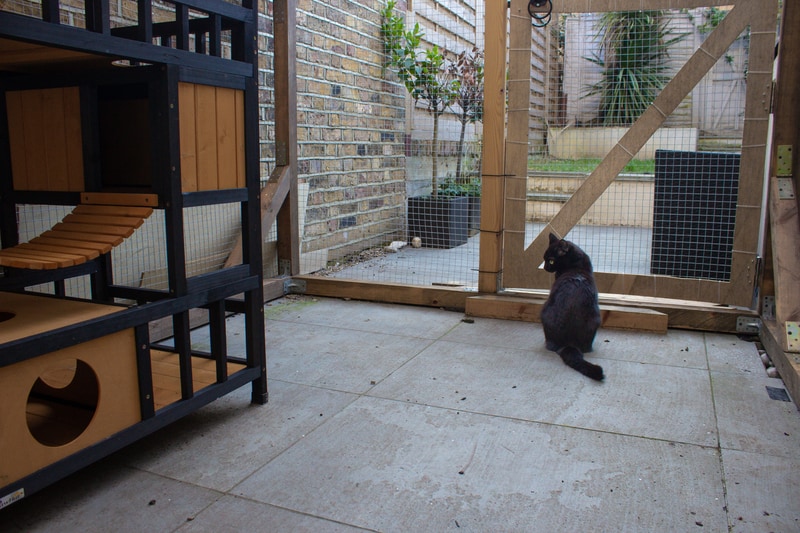
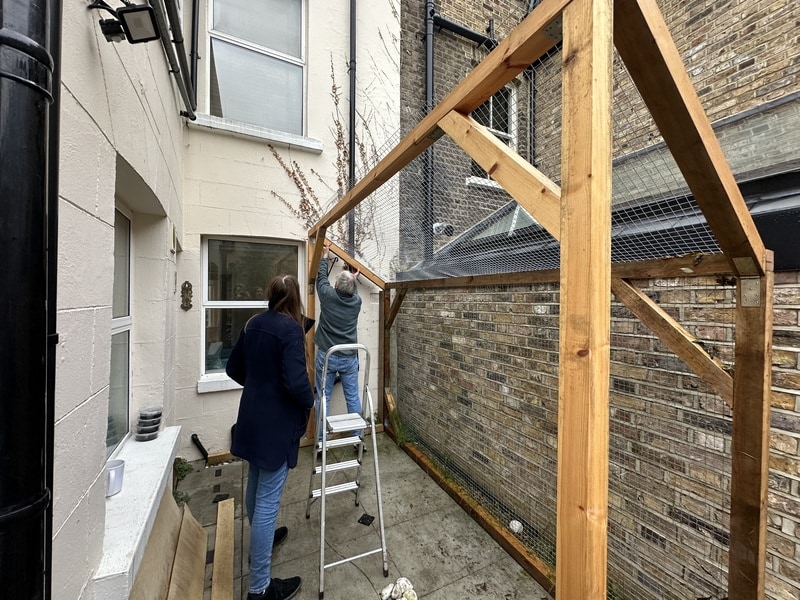 In the end, we decided to make the frame rectangular, to make it easier for us
to connect all the corners. Here's the finished catio, with Jinx inside looking
forlorn. (In the meantime, he even got that nice house within a house!)
In the end, we decided to make the frame rectangular, to make it easier for us
to connect all the corners. Here's the finished catio, with Jinx inside looking
forlorn. (In the meantime, he even got that nice house within a house!)
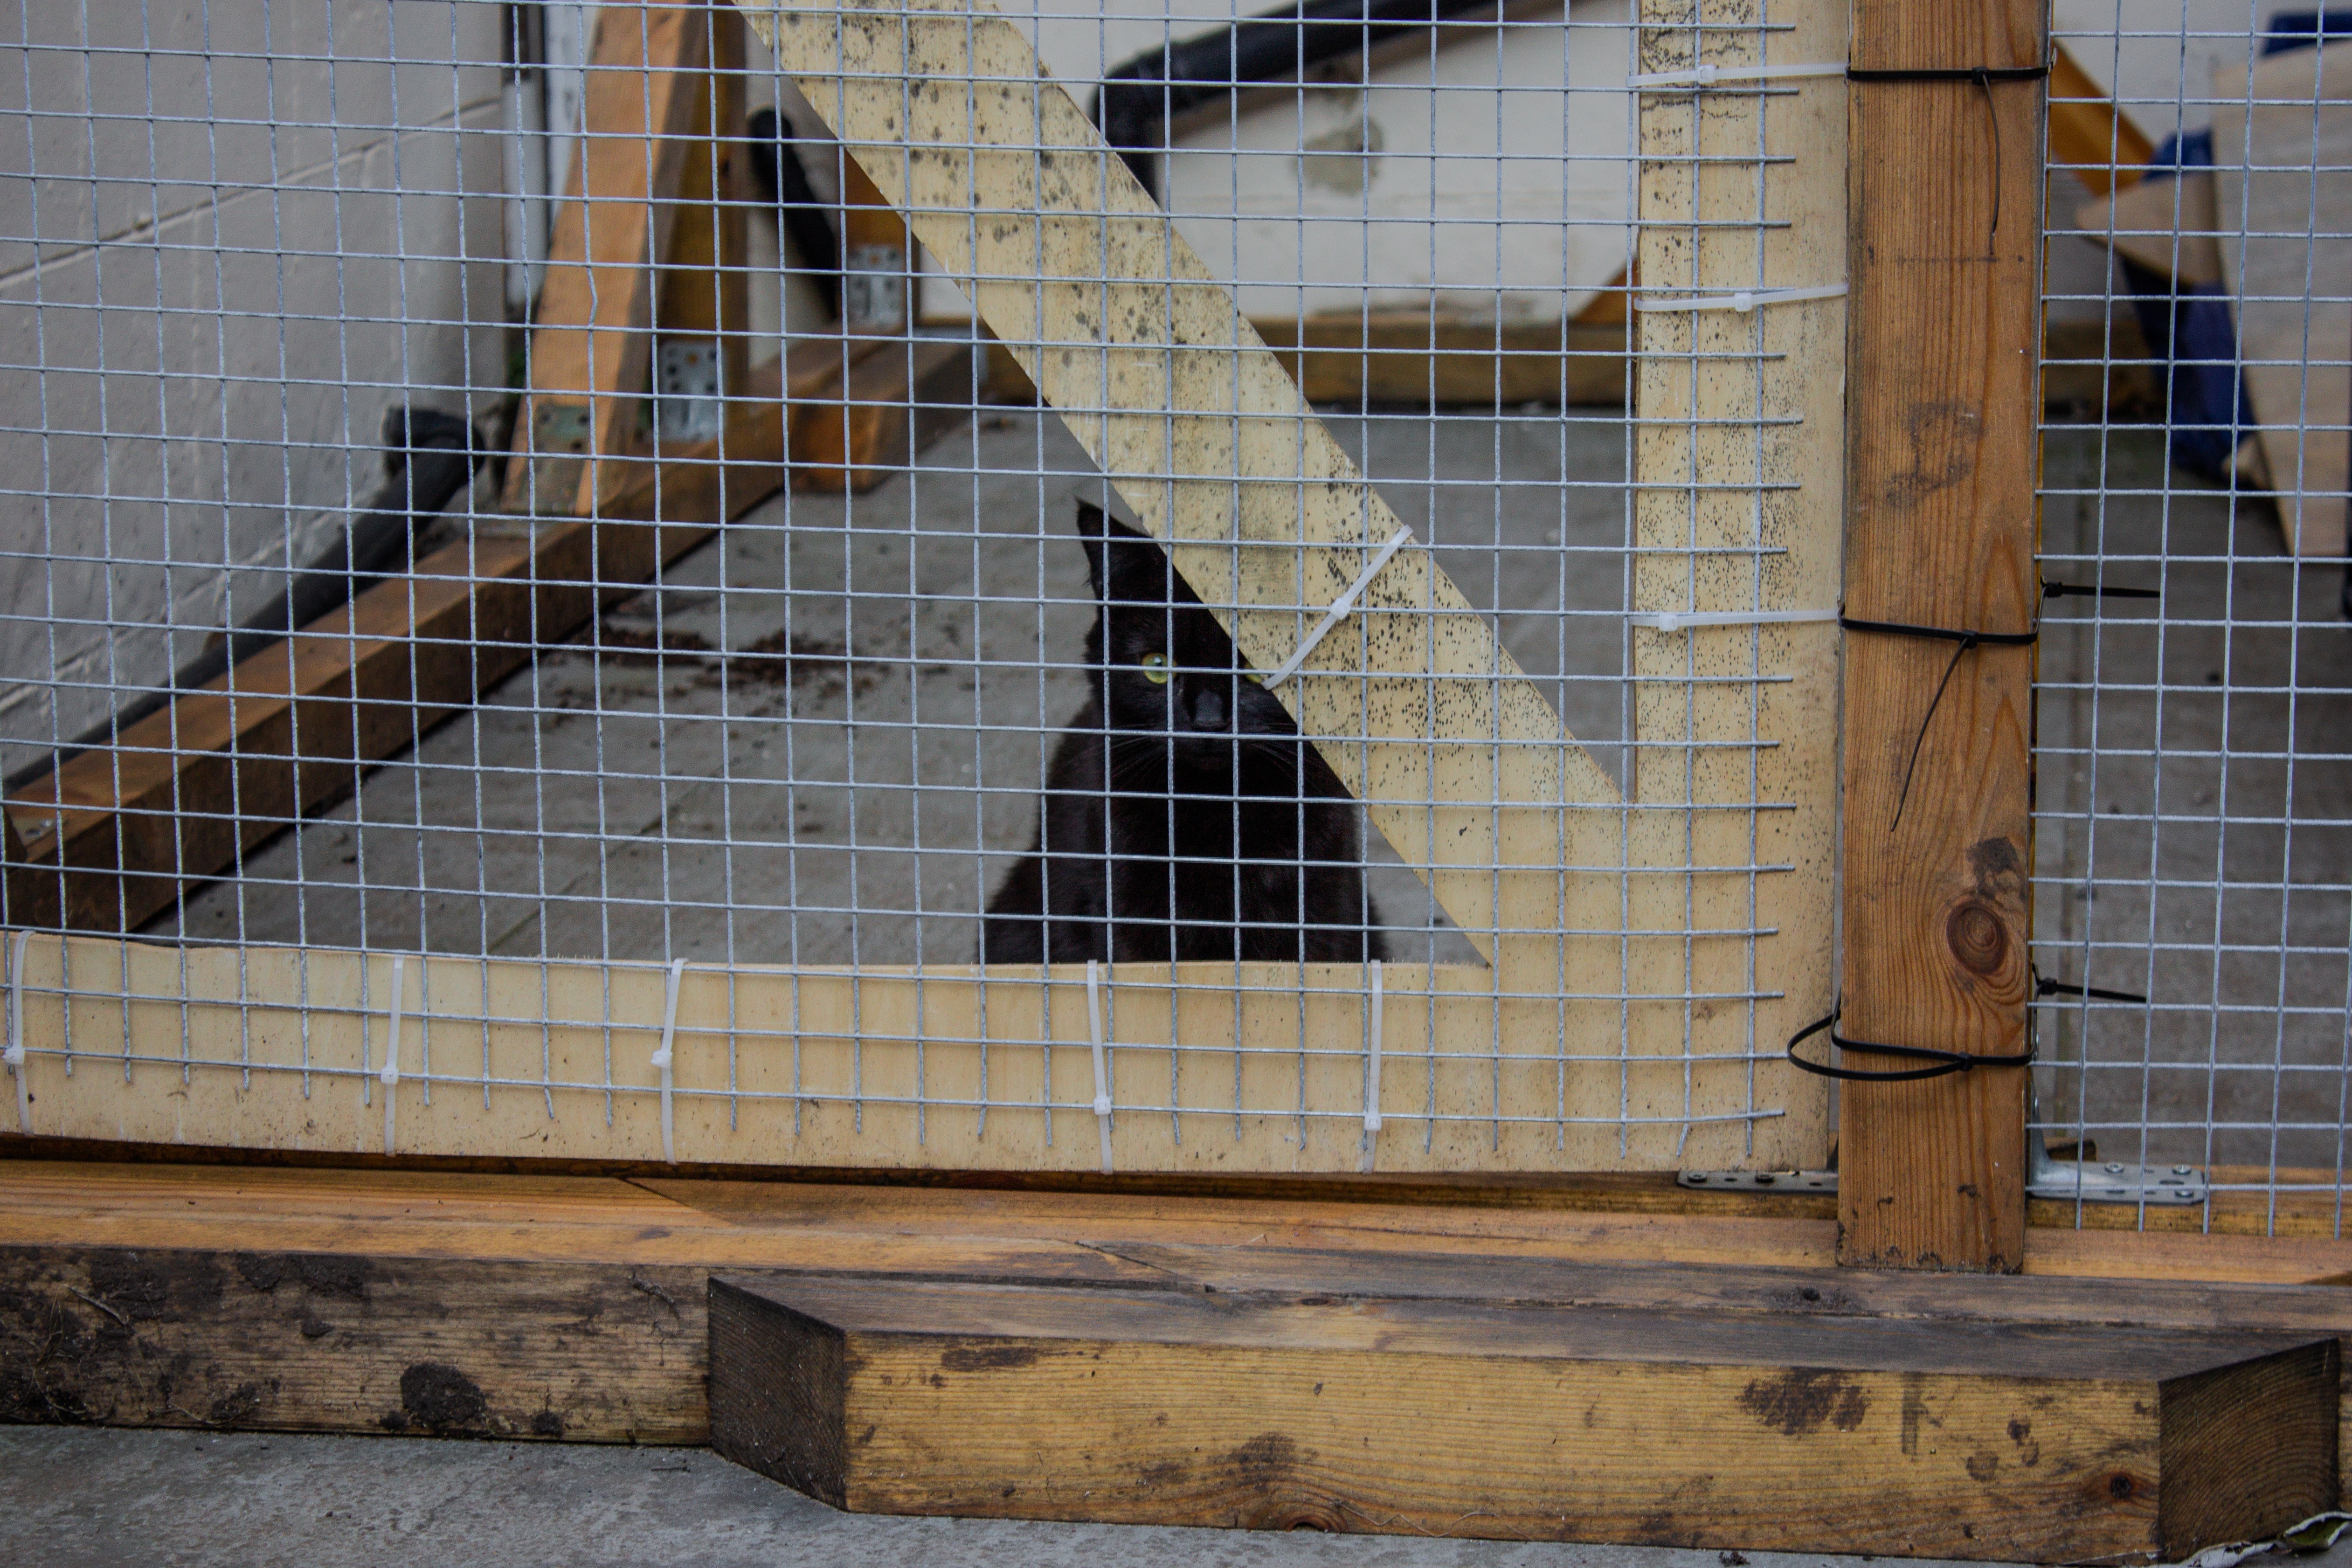
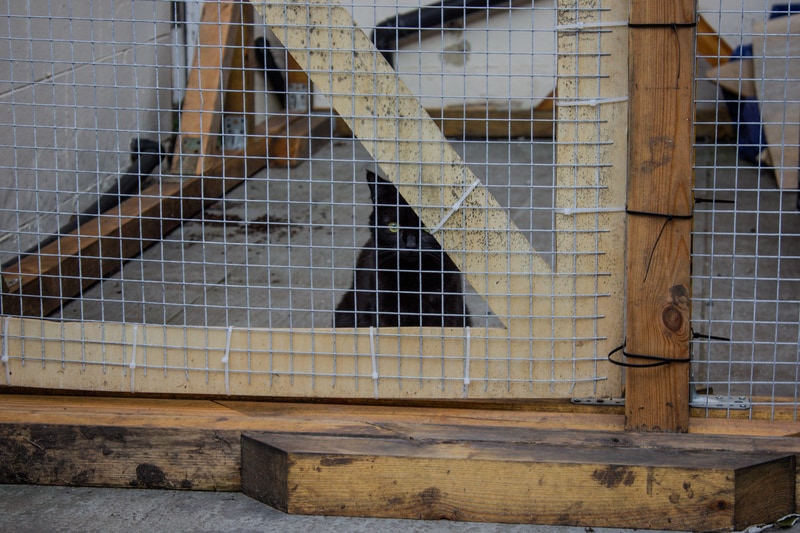
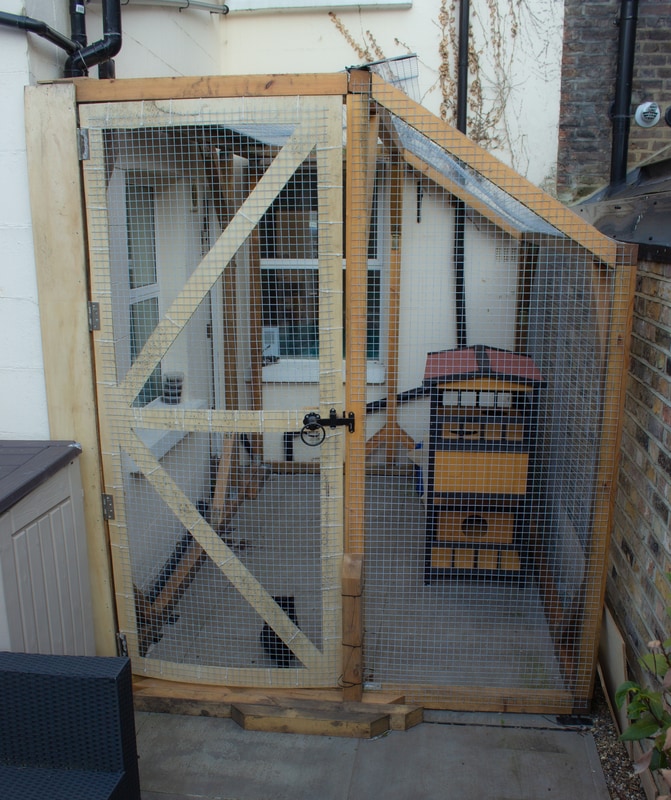 The door is made of a big plane of thin wood, with sections cut out, and mesh
zip-tied over it. I was most worried that the hinges or locking mechanism would
be a problem, but they worked a charm. The real challenge with the door is that
it's bending quite a bit.
The door is made of a big plane of thin wood, with sections cut out, and mesh
zip-tied over it. I was most worried that the hinges or locking mechanism would
be a problem, but they worked a charm. The real challenge with the door is that
it's bending quite a bit.
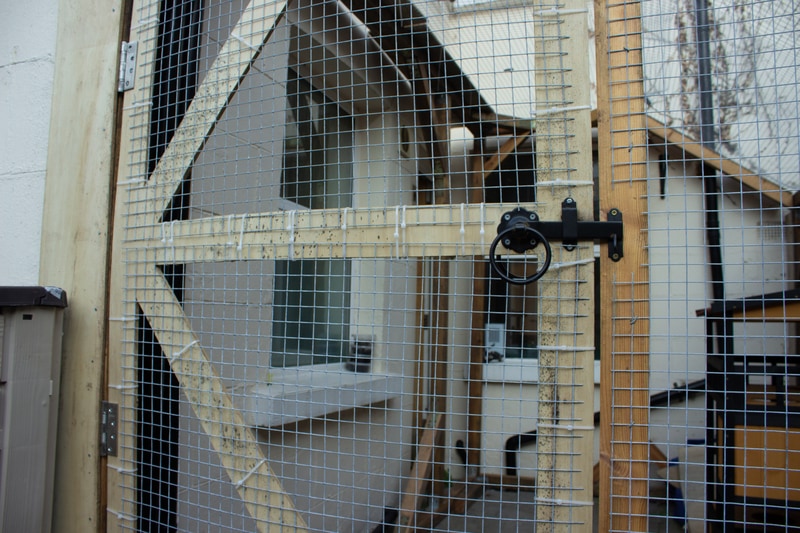 You can already see it in the picture above, but over the months it's gotten a
lot more severe. Without any better solution in hand, we've added some metal
pipes to straighten the door. Maybe that will help:
You can already see it in the picture above, but over the months it's gotten a
lot more severe. Without any better solution in hand, we've added some metal
pipes to straighten the door. Maybe that will help:
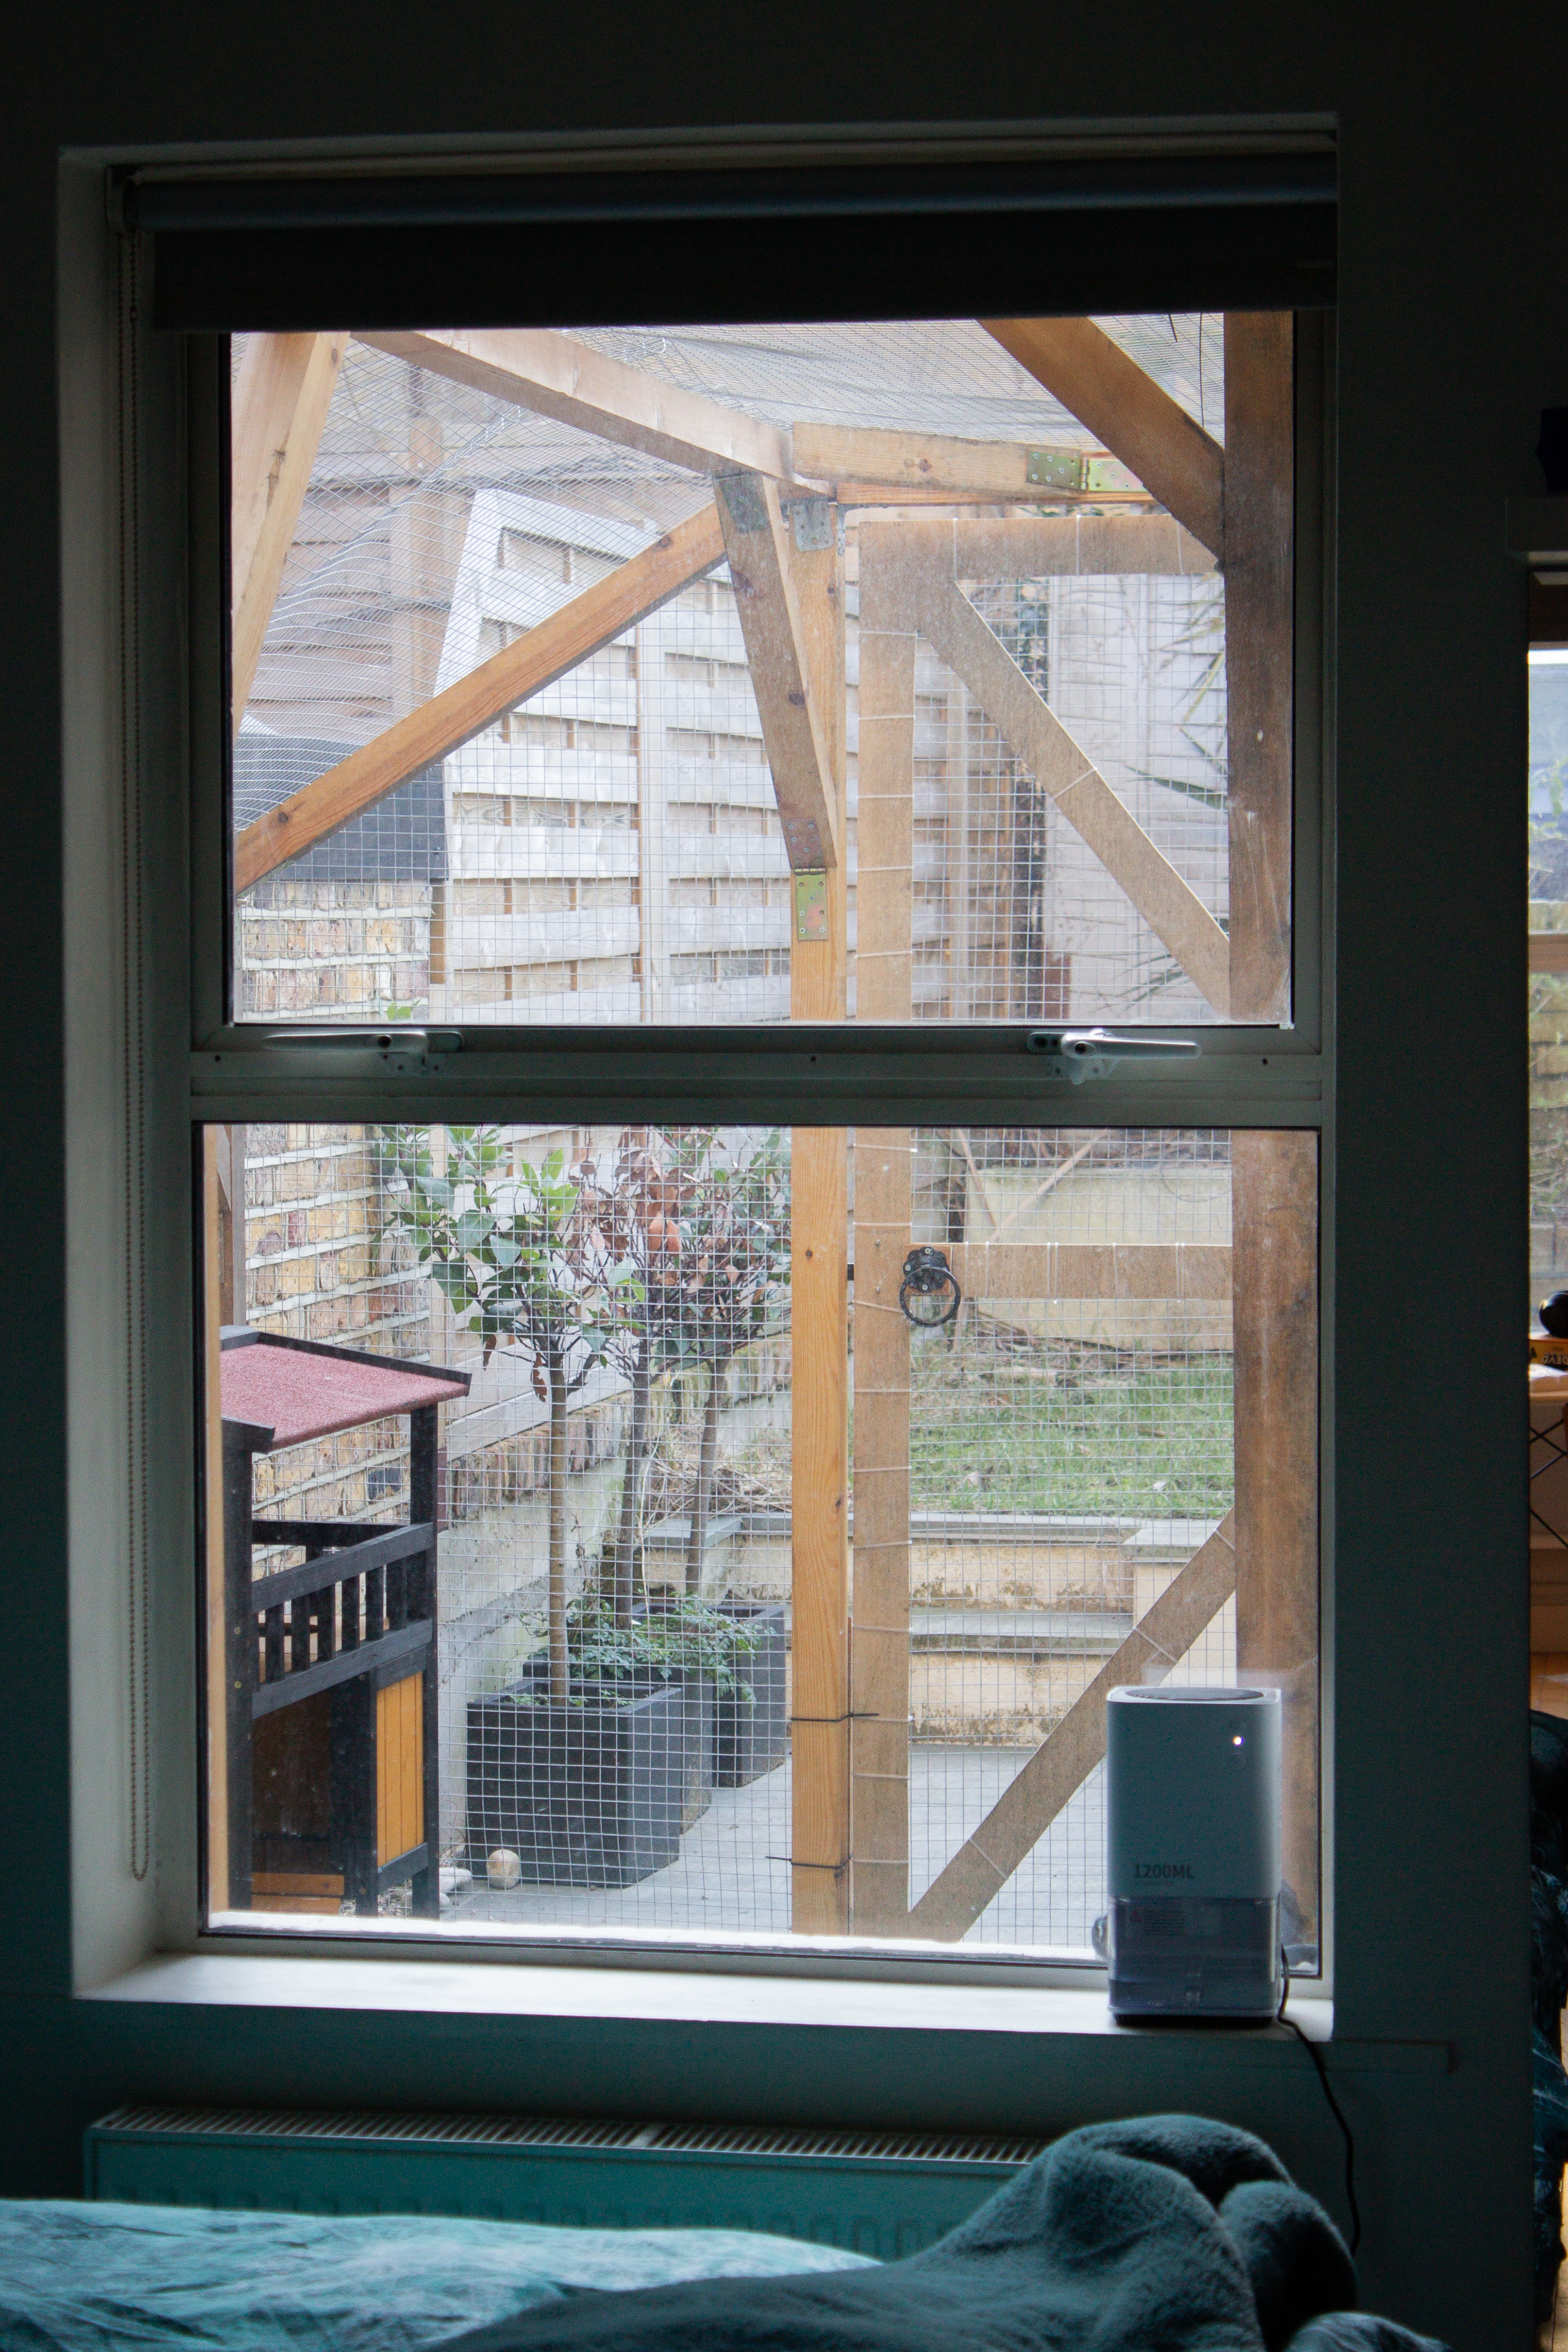
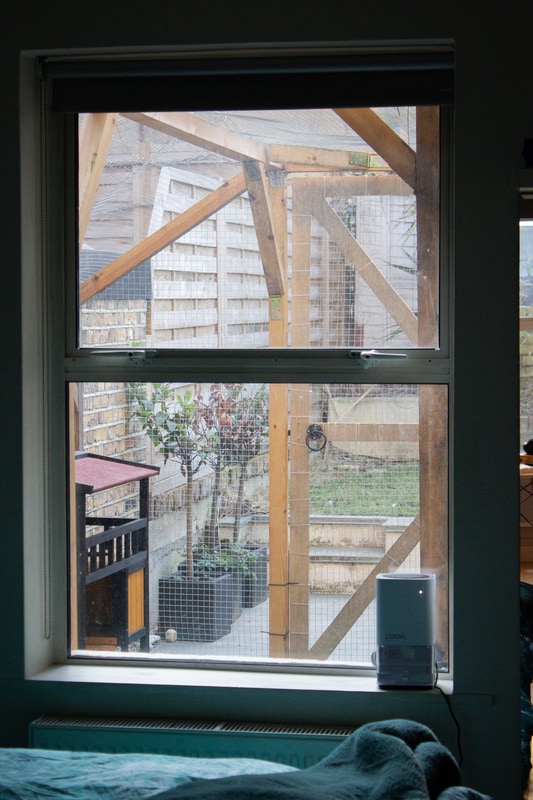
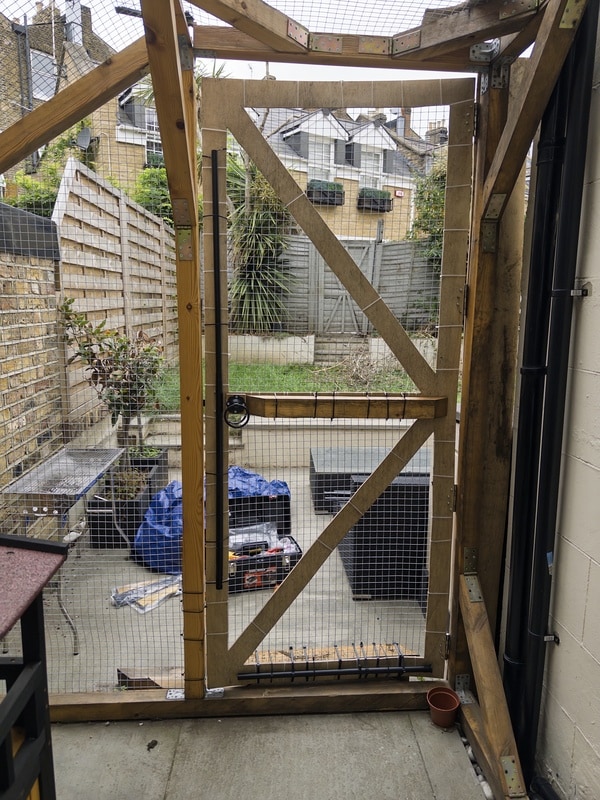 The view from the bedroom:
 (I don't think I have any pictures of the big sheets of thin wood in the flat.)
And with
(I don't think I have any pictures of the big sheets of thin wood in the flat.)
And with 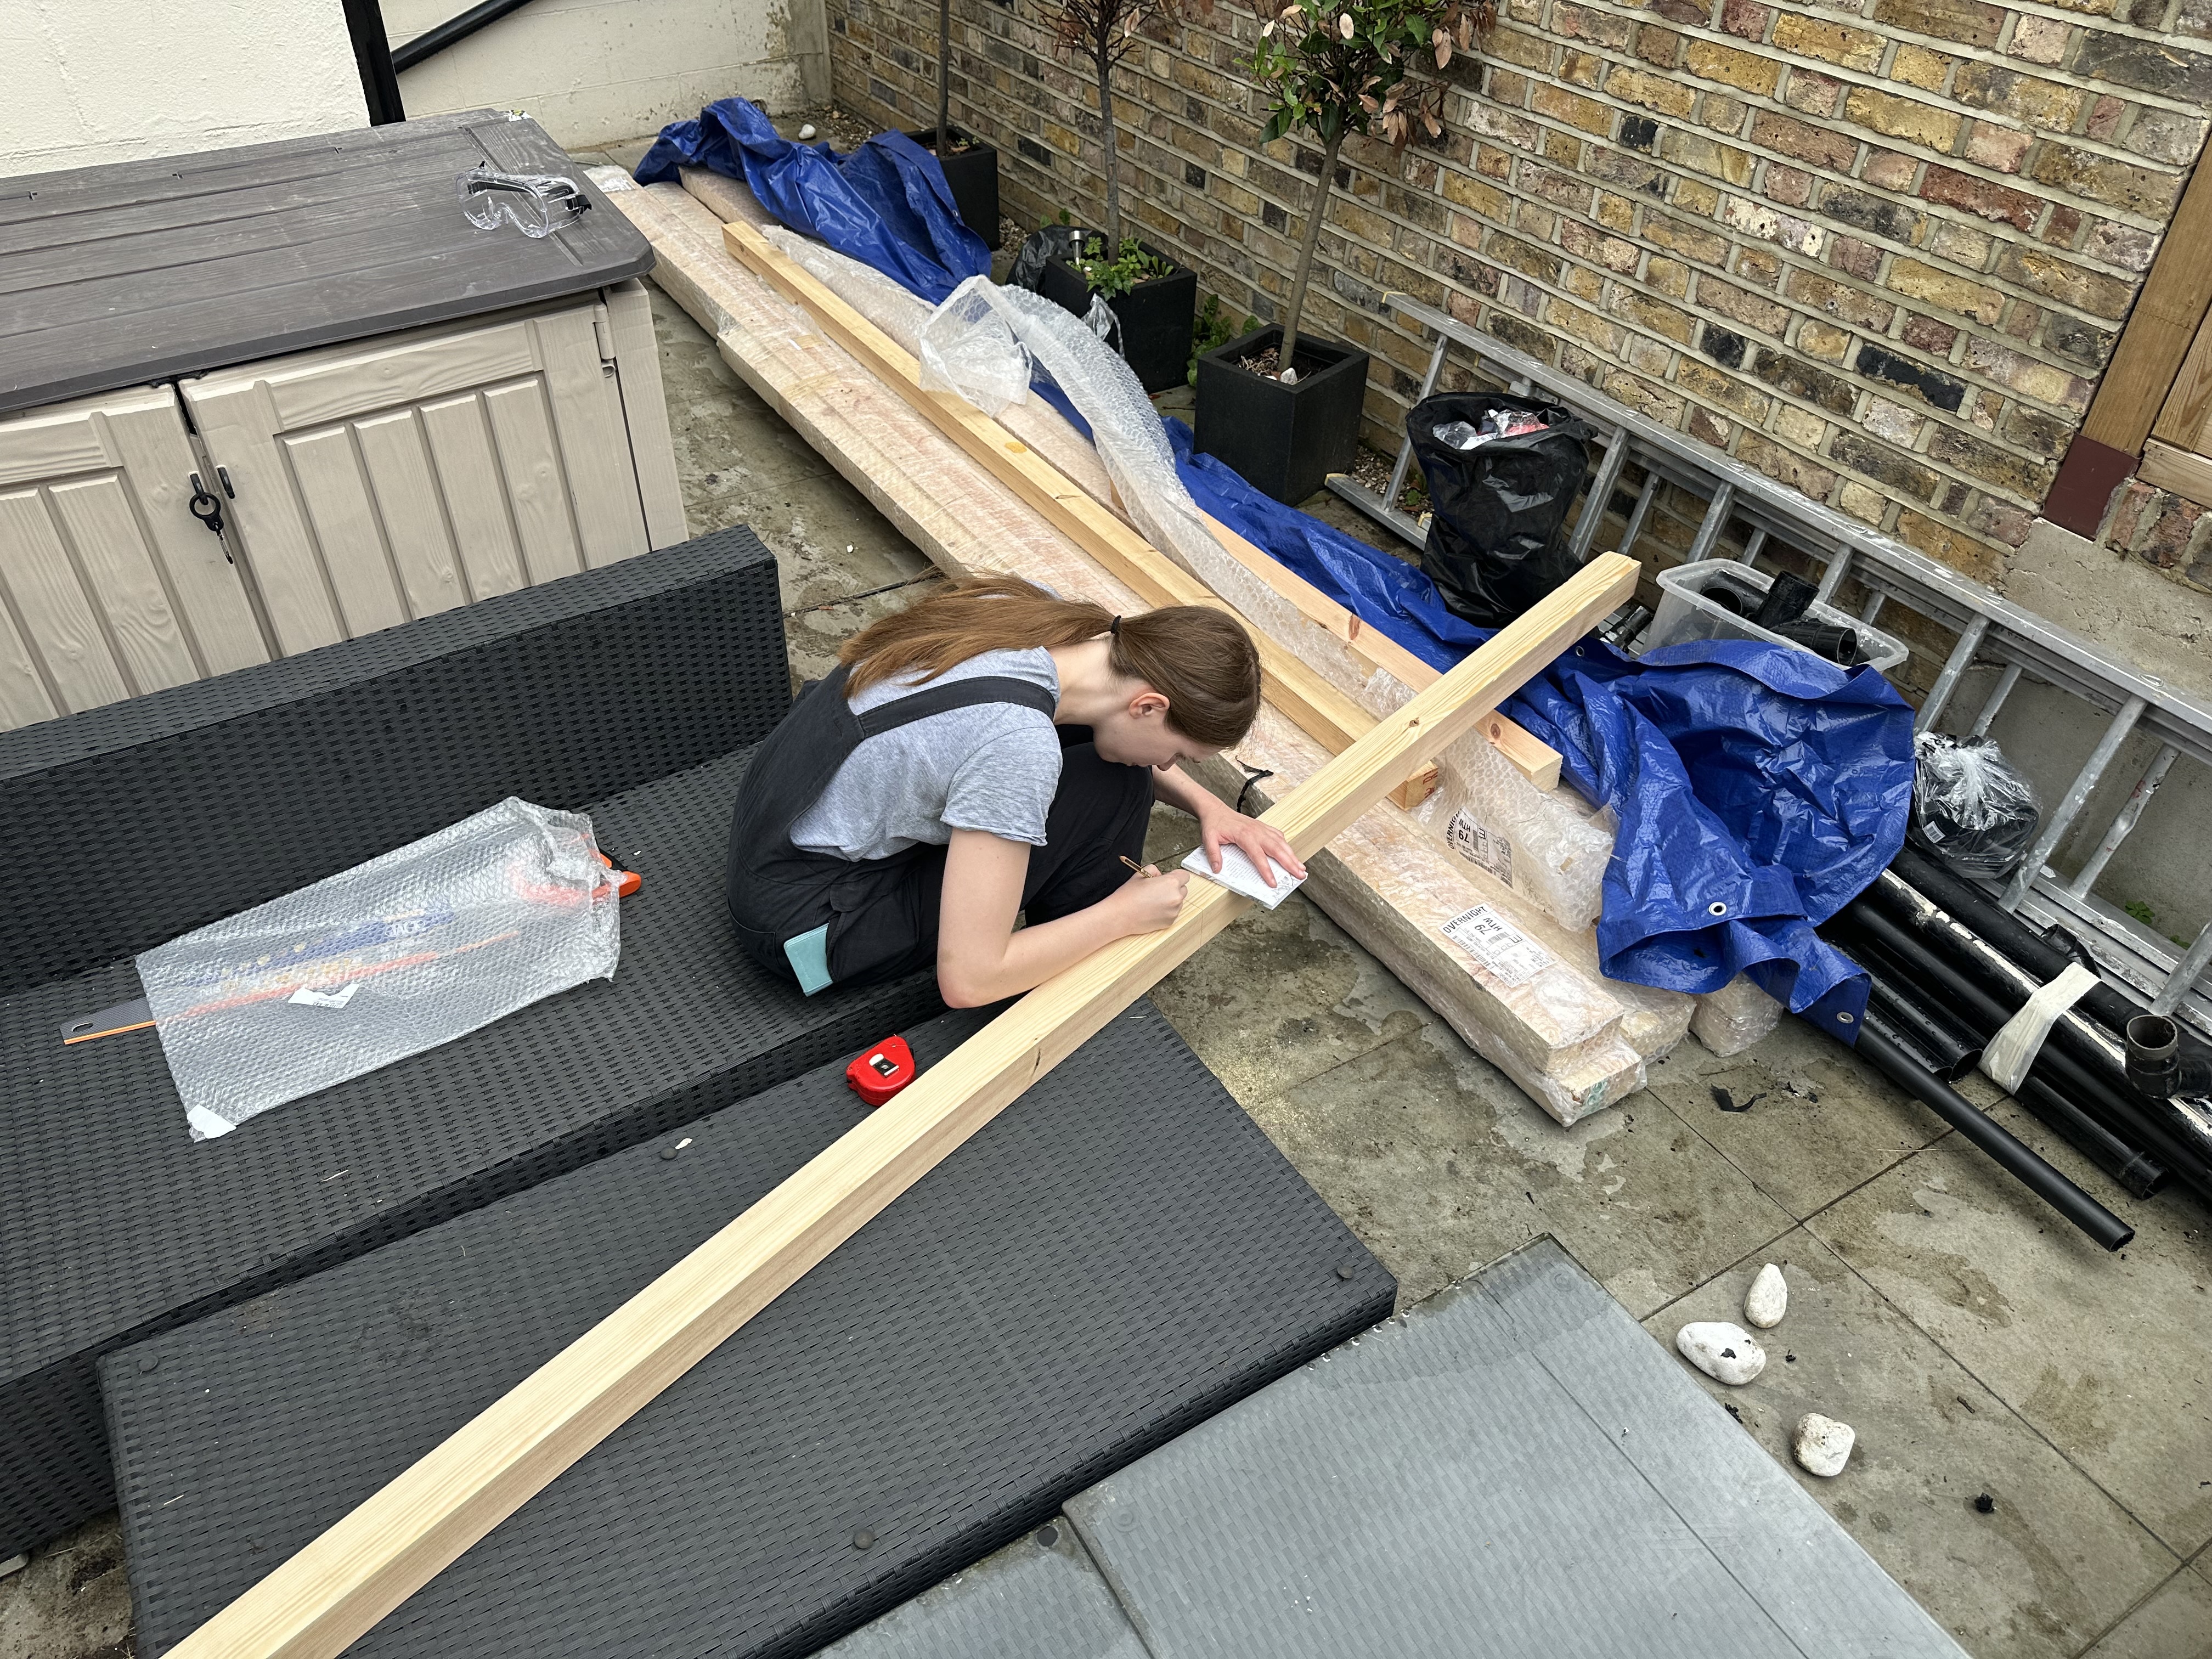 And I'm doing some very professional-looking sawing:
 Though that was quickly interrupted when I scraped my leg with the saw:
 Katherine does sawing too:
 ## Step 1.5: Practice time!
Step 1.5: Time for a little diversion! We wanted to practice putting things
together on a smaller scale, to see if it would even work at all. So we used
some of the surplus from the big beams to make a little practice corner out of
two pieces, connected with a 90° bracket, and reinforced with a diagonal bit
held in place by hinges:
## Step 1.5: Practice time!
Step 1.5: Time for a little diversion! We wanted to practice putting things
together on a smaller scale, to see if it would even work at all. So we used
some of the surplus from the big beams to make a little practice corner out of
two pieces, connected with a 90° bracket, and reinforced with a diagonal bit
held in place by hinges:
 It actually turned out a lot sturdier than I had expected.
## Steps 2 & 3: It's varnish o'clock
Happy with the outcome of the practice corner, it was time to take all the
cut-up wood, lay them out in the garden, and varnish them, so we didn't have to
be as careful about covering them with a tarp every night. In England, it
sometimes rains. Who knew. See how pale they are in this picture:
It actually turned out a lot sturdier than I had expected.
## Steps 2 & 3: It's varnish o'clock
Happy with the outcome of the practice corner, it was time to take all the
cut-up wood, lay them out in the garden, and varnish them, so we didn't have to
be as careful about covering them with a tarp every night. In England, it
sometimes rains. Who knew. See how pale they are in this picture:
 Once all the big bits were varnished, we started putting together the frames for
the walls. Here's our first rectangle:
Once all the big bits were varnished, we started putting together the frames for
the walls. Here's our first rectangle:
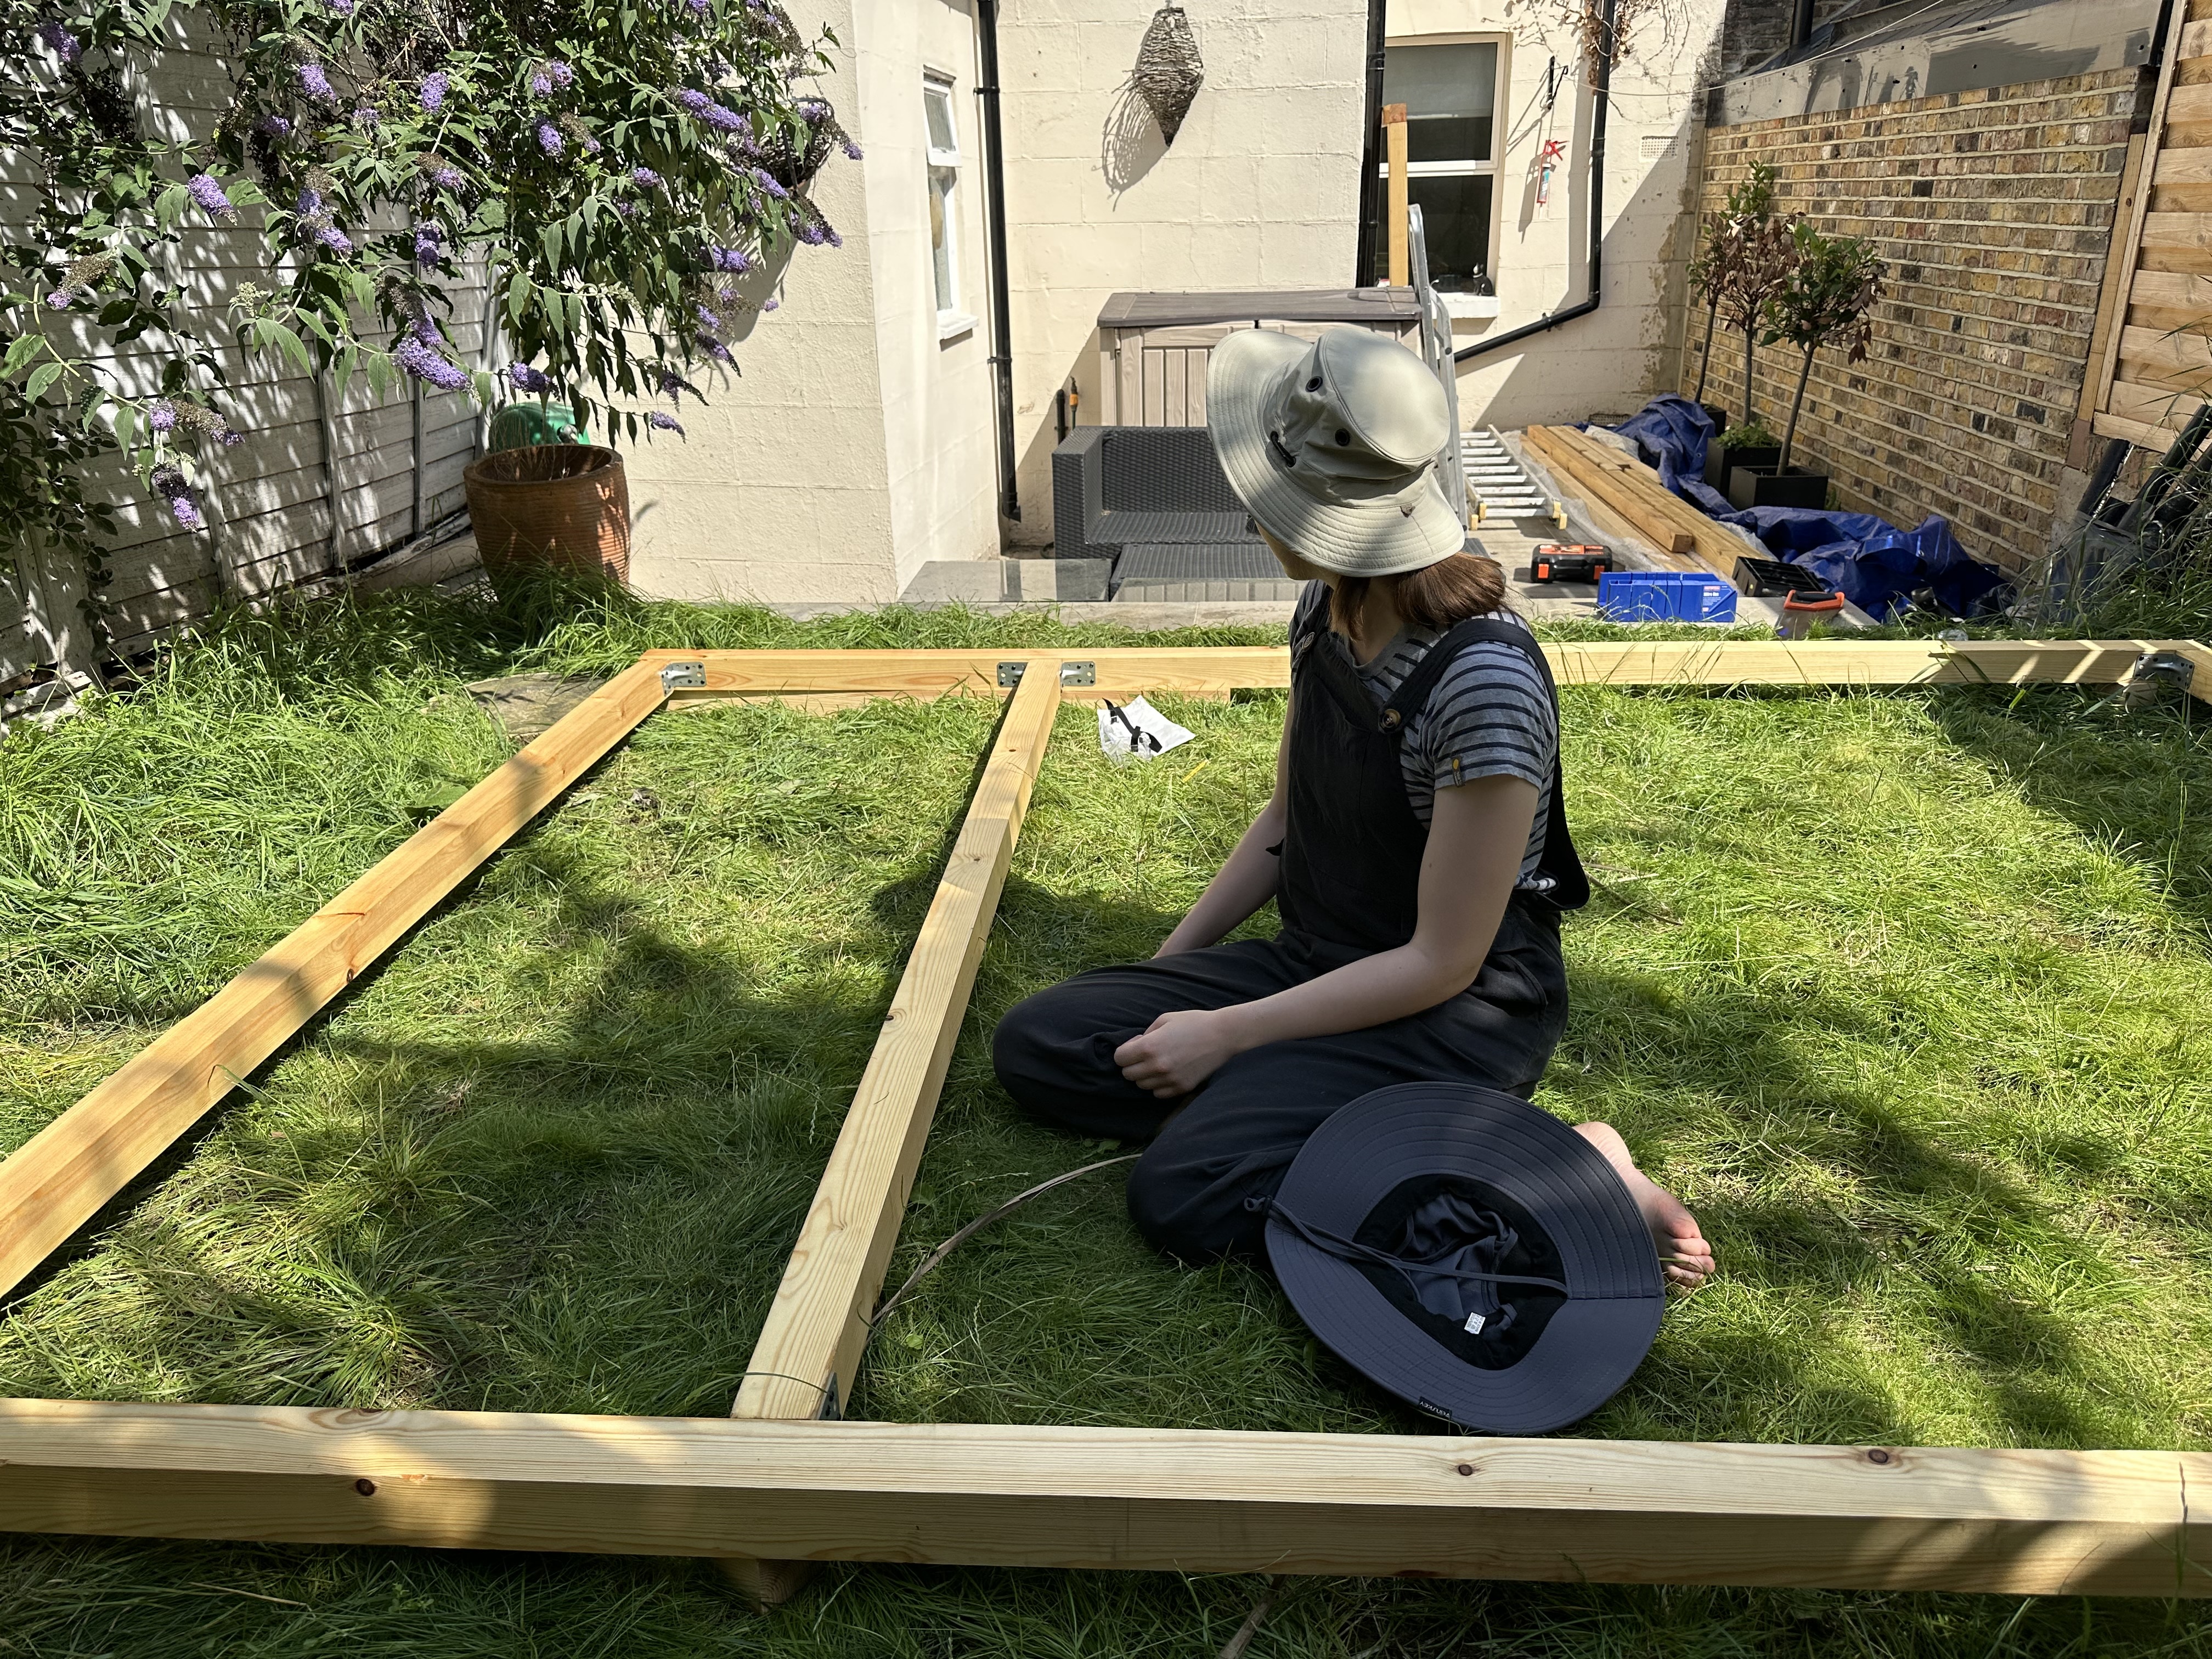 Here you can see the effect of the oil coating a little better; the rectangles
are kind of a nice golden colour:
Here you can see the effect of the oil coating a little better; the rectangles
are kind of a nice golden colour:
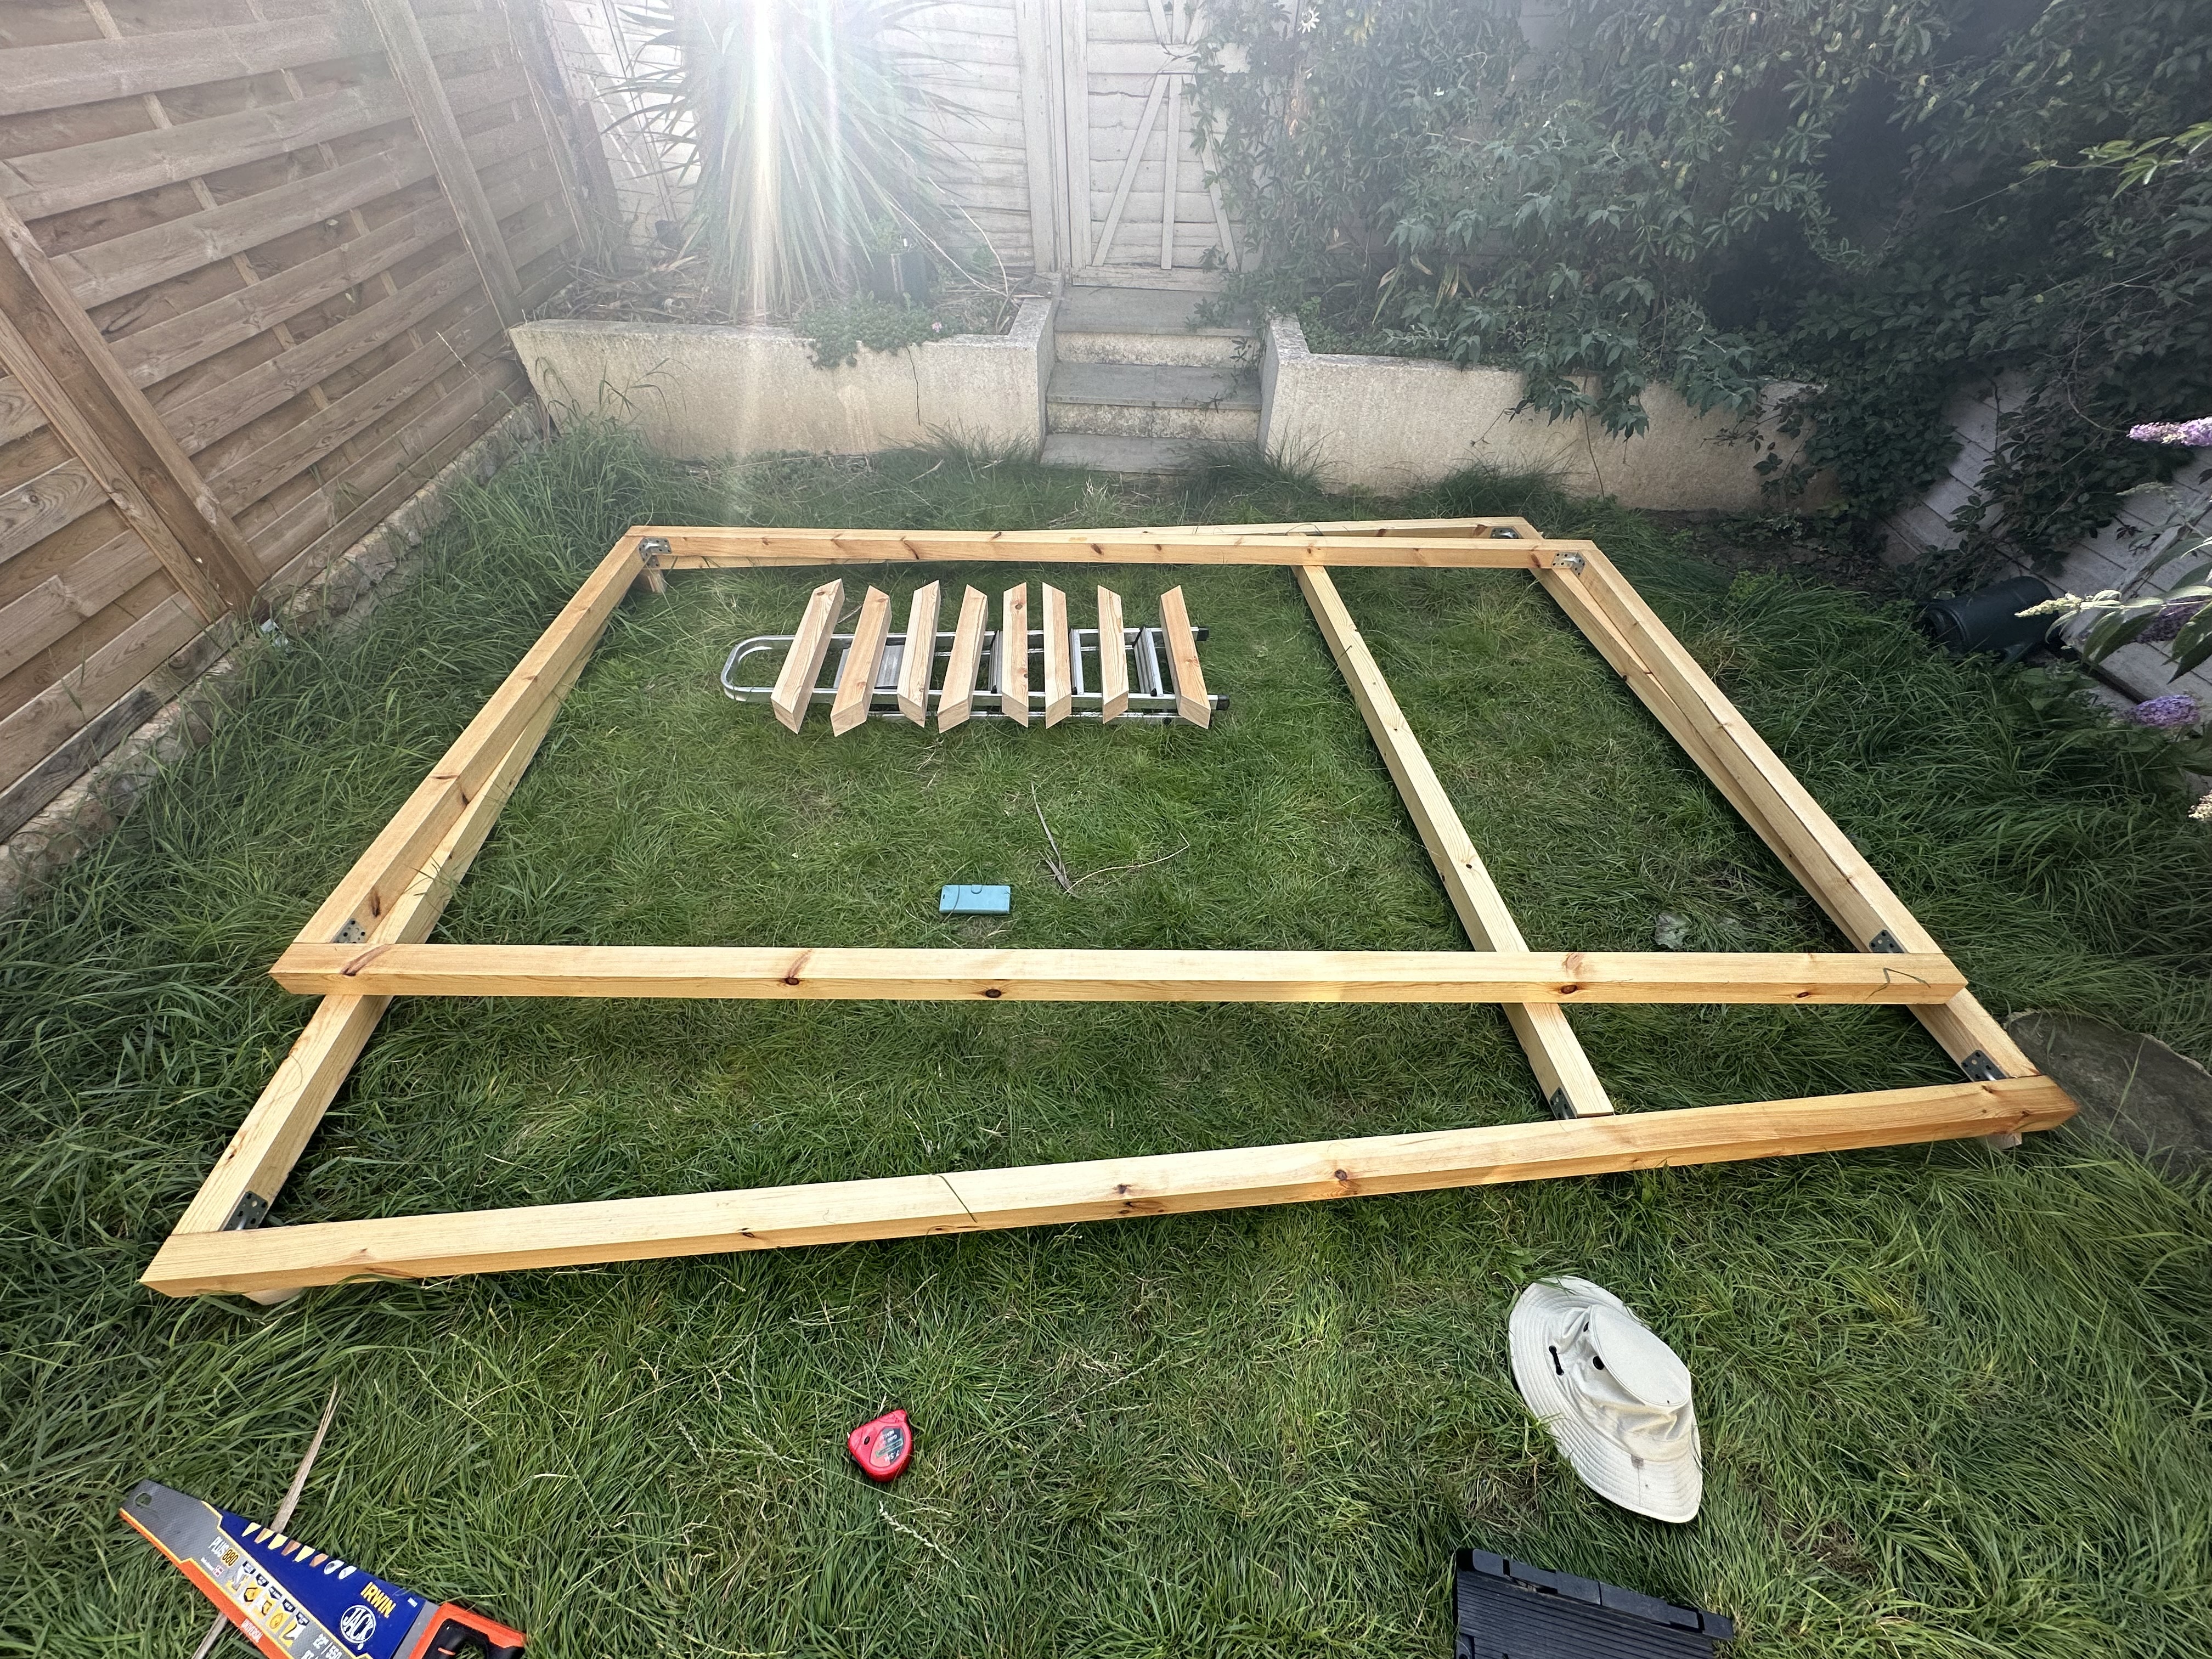
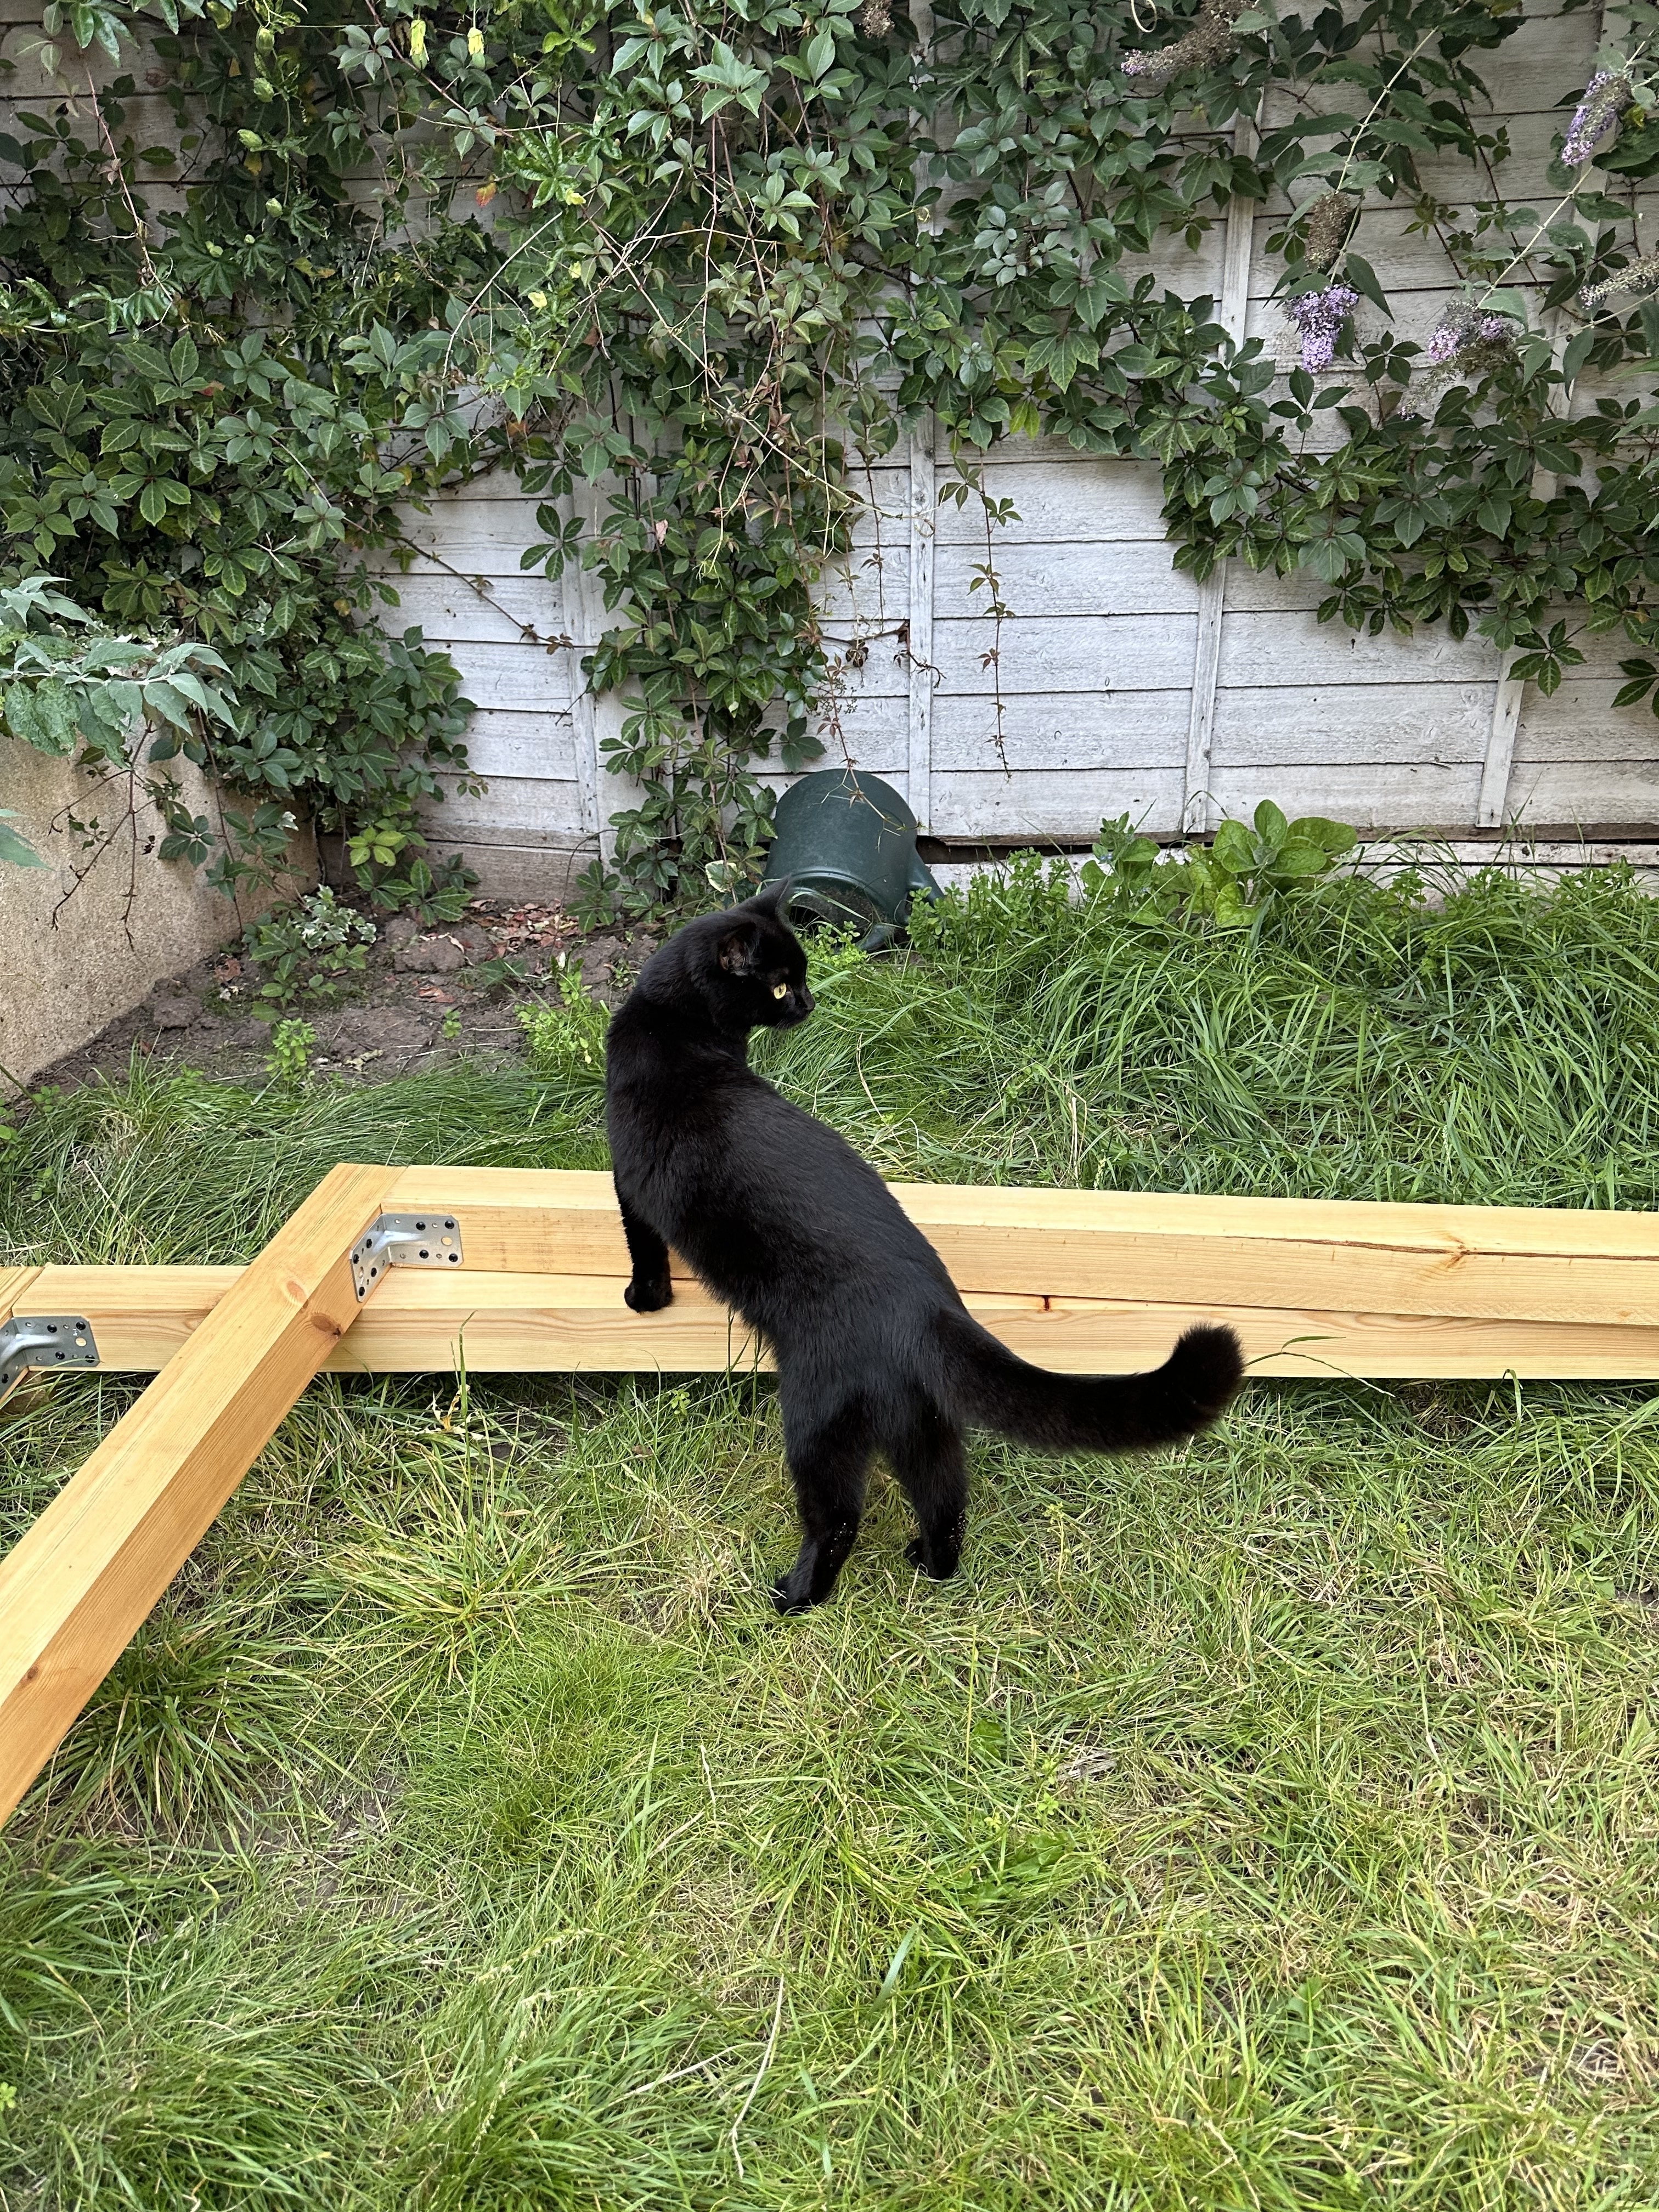 We added some diagonal bits to stabilise the whole structure:
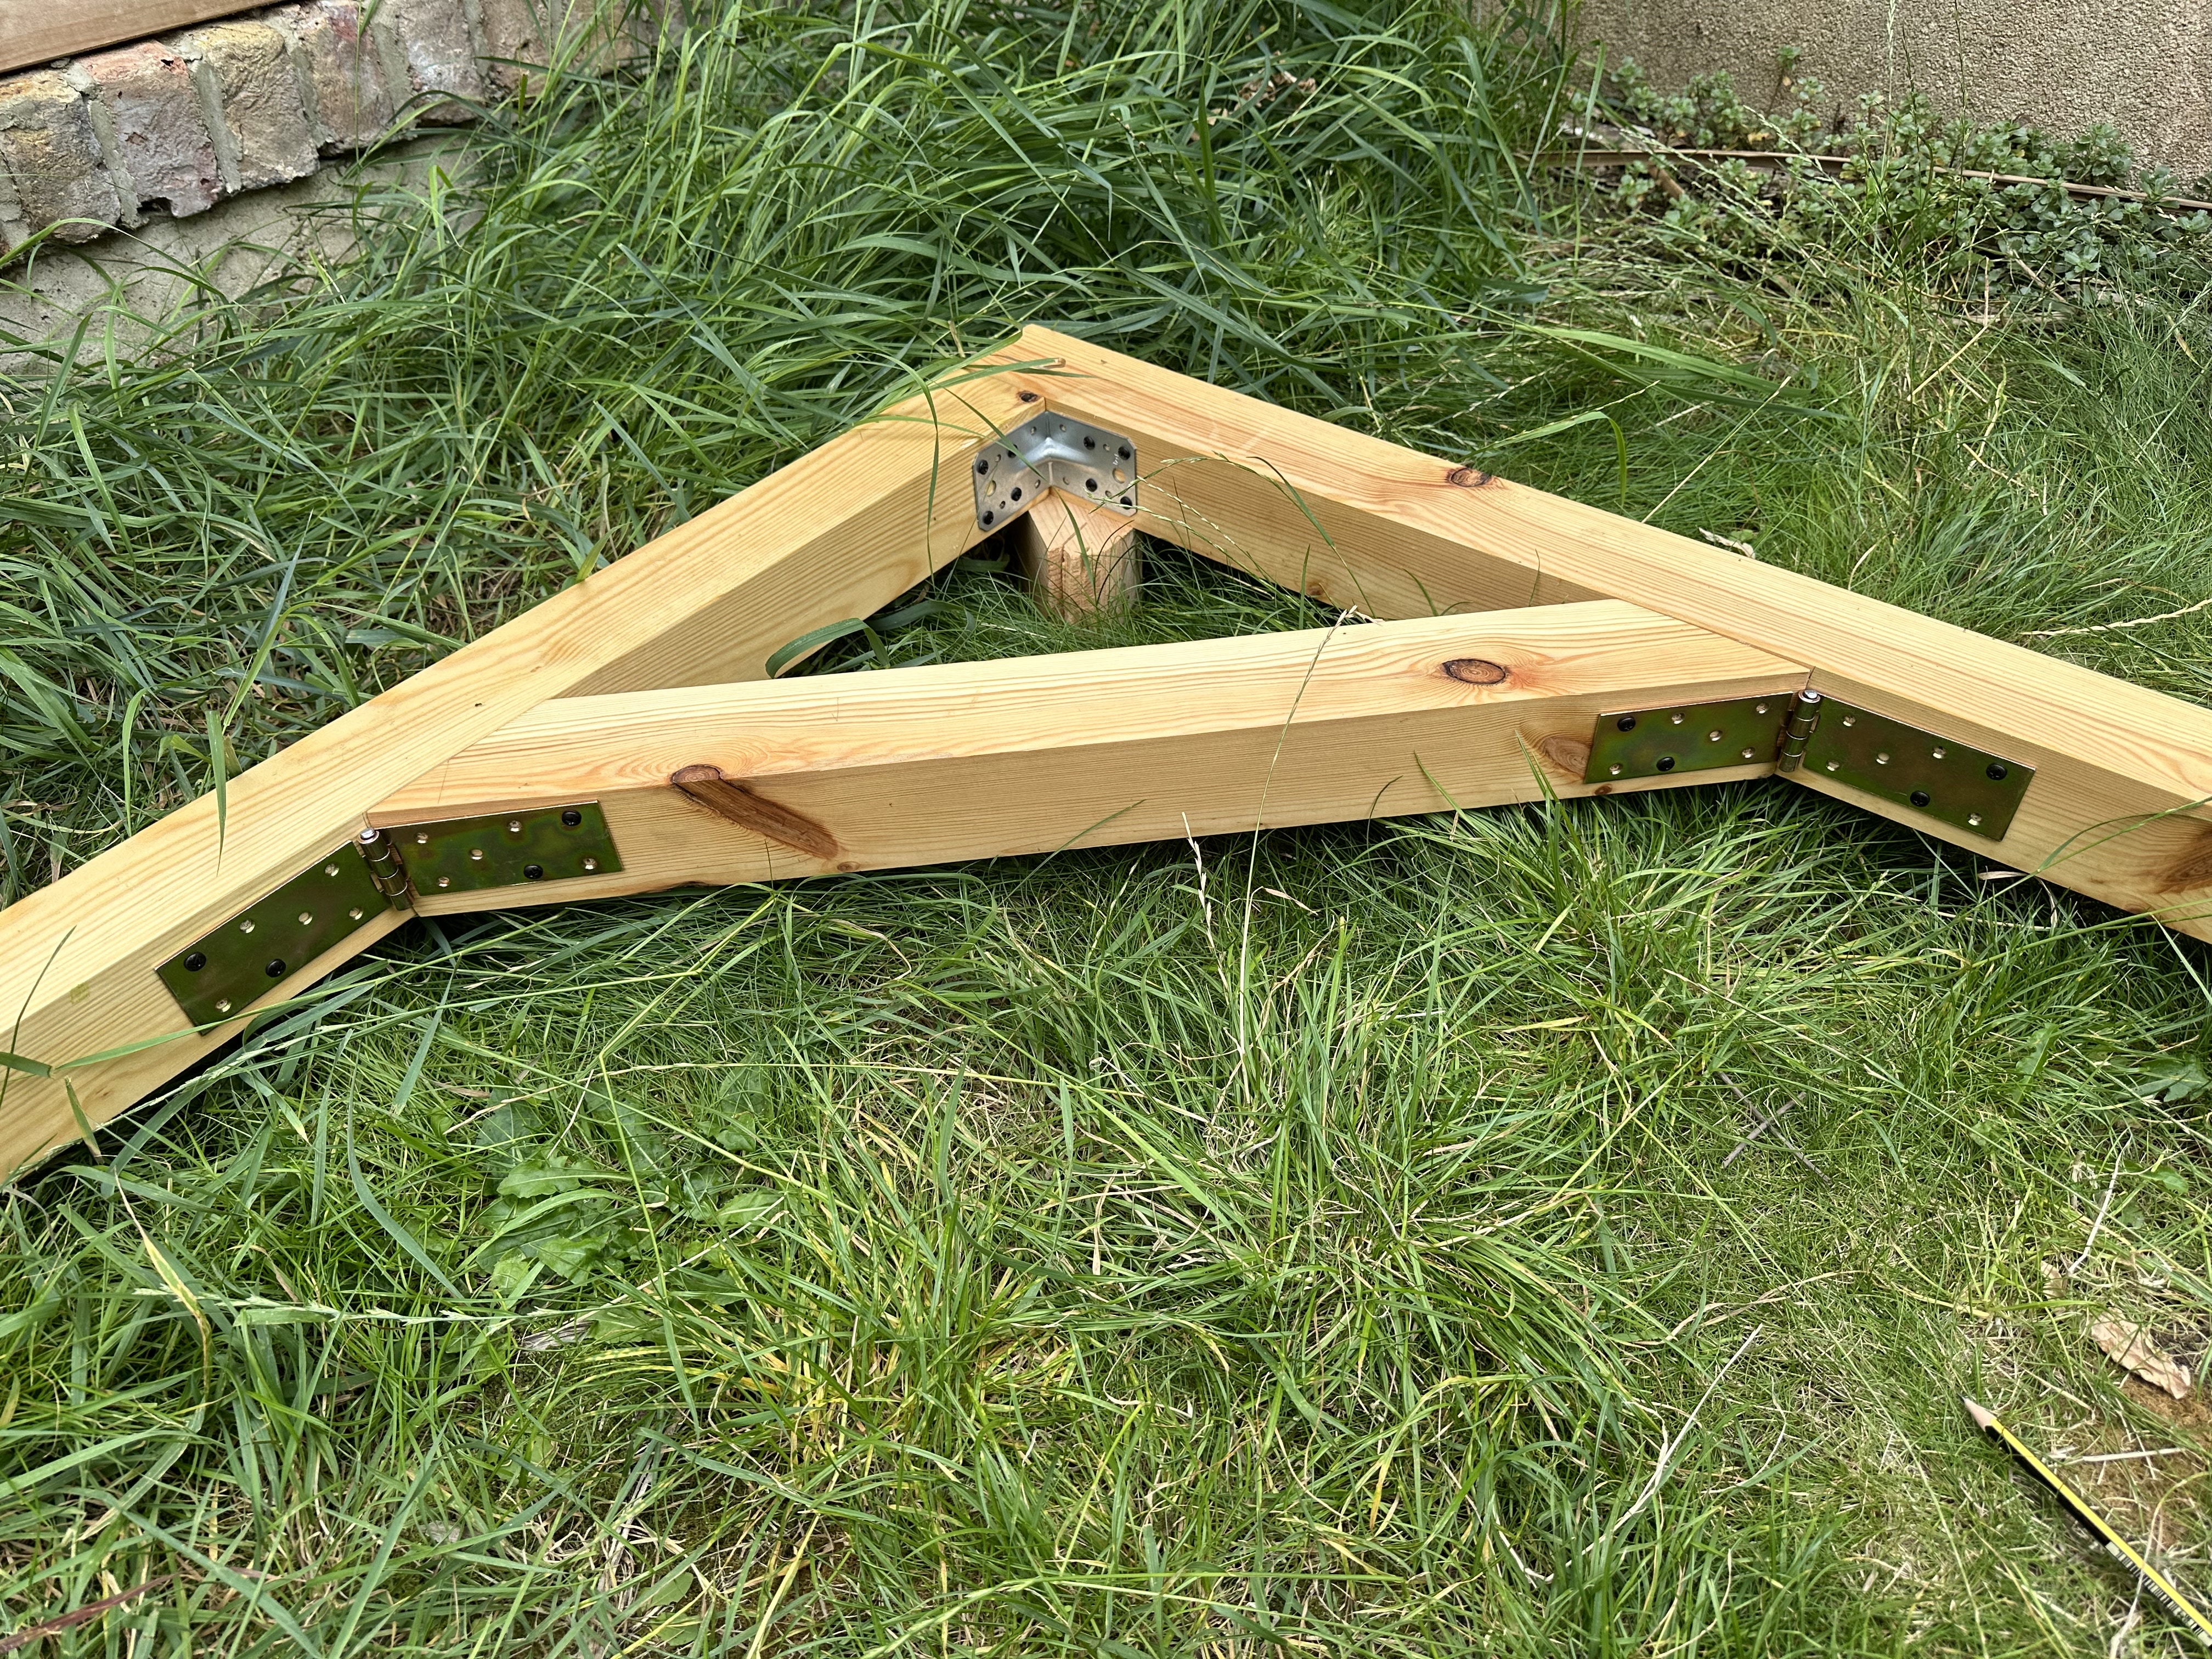 After the first wall was done, we put it aside, so (1) we could marvel at its
beauty in the context of where it would one day be assembled, and (2) so we'd
have space on the grass to assemble the next wall.
After the first wall was done, we put it aside, so (1) we could marvel at its
beauty in the context of where it would one day be assembled, and (2) so we'd
have space on the grass to assemble the next wall.
 Here's the next wall. This one won't be flush to a building wall, so we need
mesh to cover it.
Here's the next wall. This one won't be flush to a building wall, so we need
mesh to cover it.
 I think this is the point at which we're delayed for months and months due to
bad weather, so suddenly we go from summer to the middle of winter:
I think this is the point at which we're delayed for months and months due to
bad weather, so suddenly we go from summer to the middle of winter:
 Around this time we also started to get worried about the fact that we hadn't
_really_ planned all the way through how we would assemble the walls, and we
were discovering that the fact that the patio area is far from rectangular was
actually going to be a problem. Katherine's dad came over to help us do some
exciting trigonometry and decide whether to make the final foundation
rectangular or some crazy shape.
Around this time we also started to get worried about the fact that we hadn't
_really_ planned all the way through how we would assemble the walls, and we
were discovering that the fact that the patio area is far from rectangular was
actually going to be a problem. Katherine's dad came over to help us do some
exciting trigonometry and decide whether to make the final foundation
rectangular or some crazy shape.
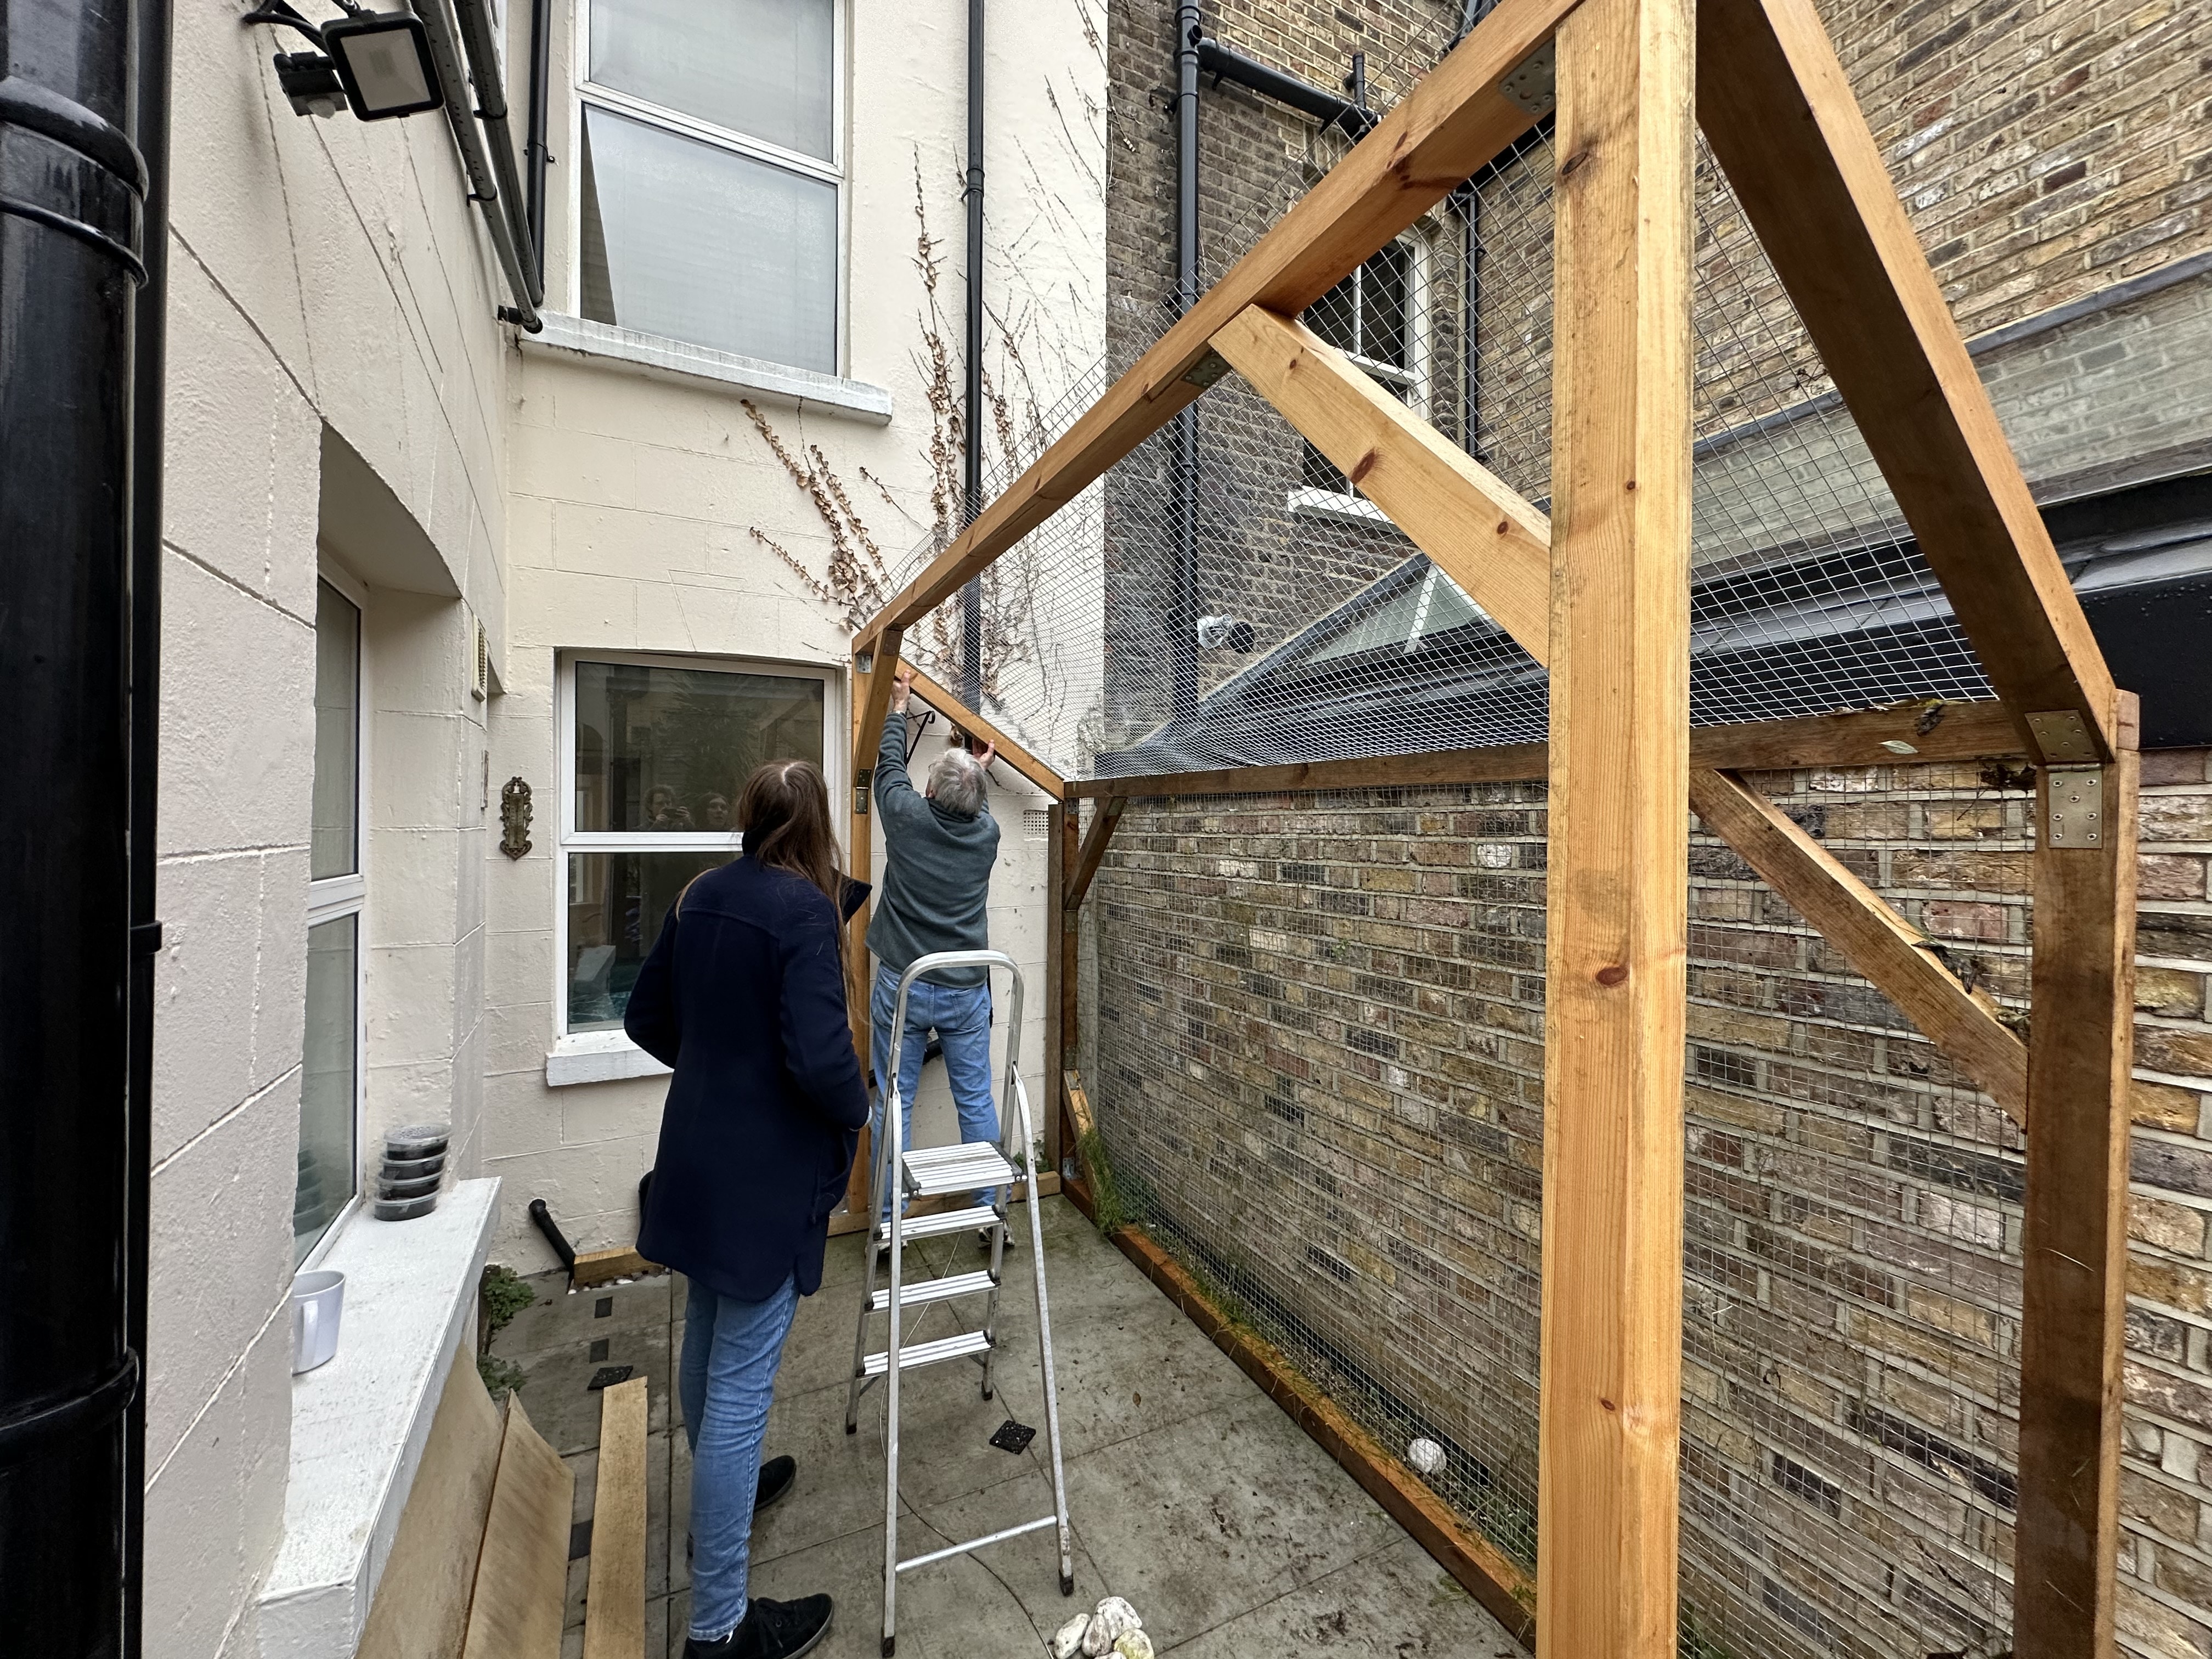 In the end, we decided to make the frame rectangular, to make it easier for us
to connect all the corners. Here's the finished catio, with Jinx inside looking
forlorn. (In the meantime, he even got that nice house within a house!)
In the end, we decided to make the frame rectangular, to make it easier for us
to connect all the corners. Here's the finished catio, with Jinx inside looking
forlorn. (In the meantime, he even got that nice house within a house!)
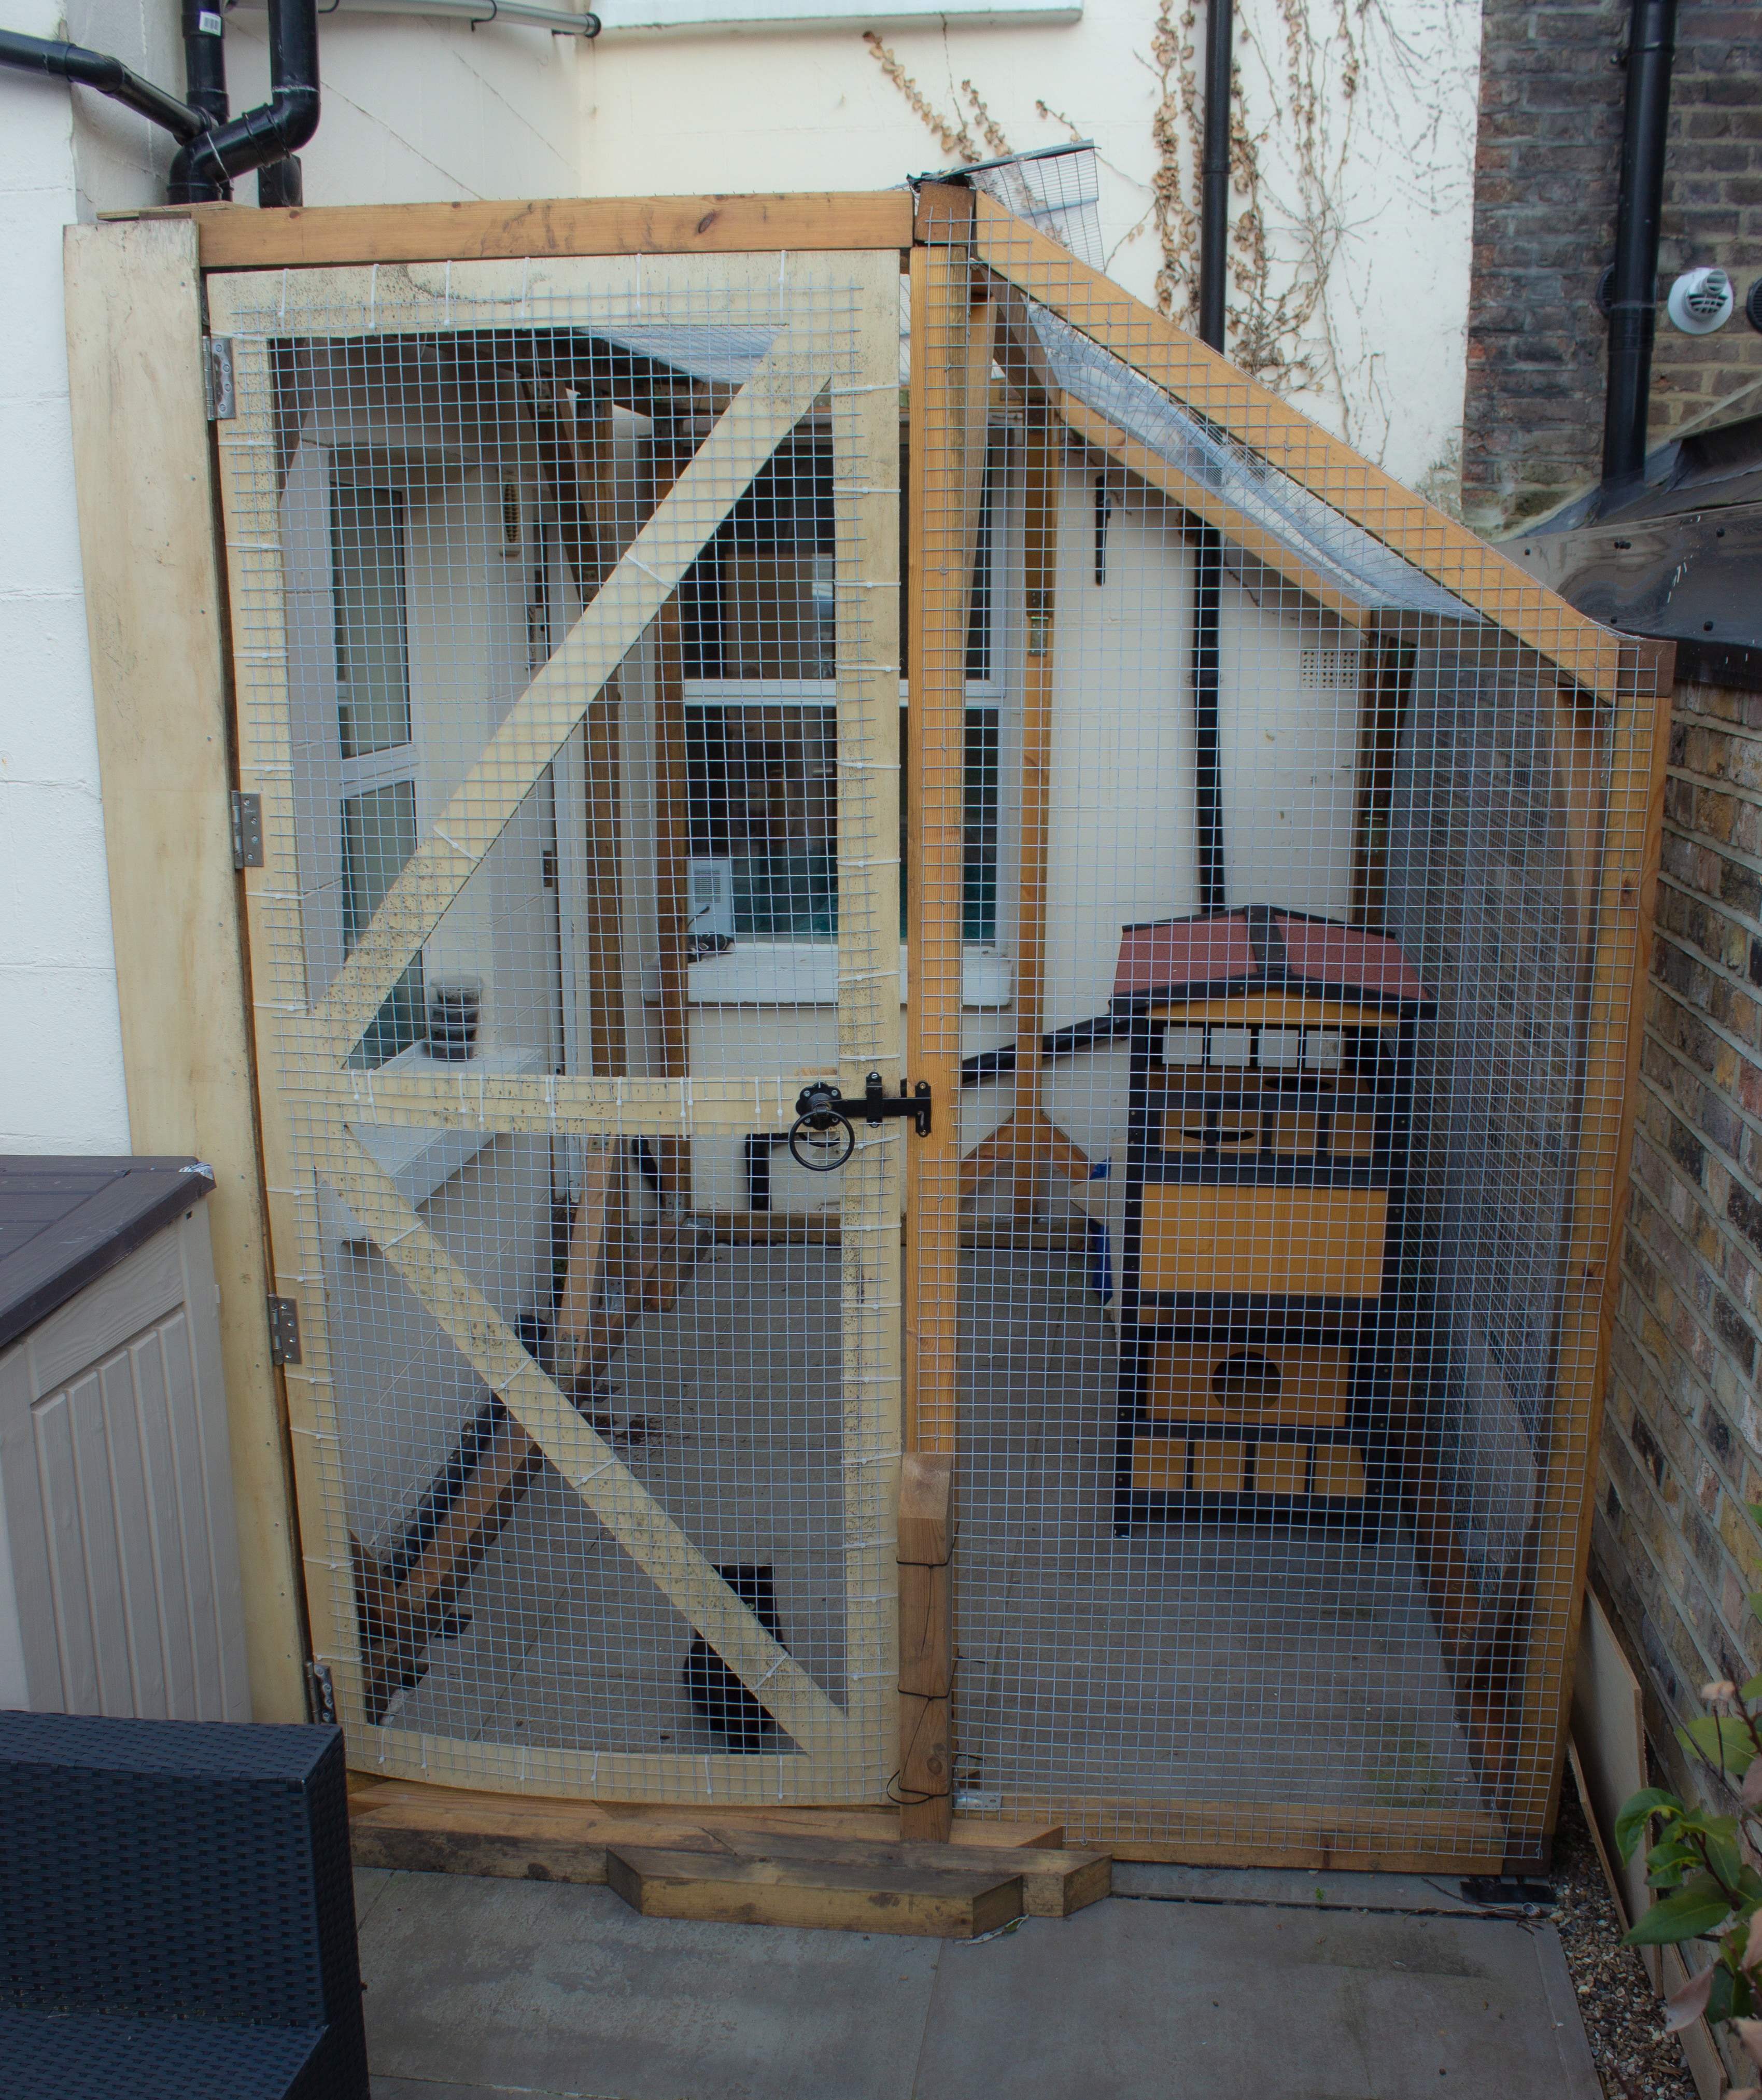 The door is made of a big plane of thin wood, with sections cut out, and mesh
zip-tied over it. I was most worried that the hinges or locking mechanism would
be a problem, but they worked a charm. The real challenge with the door is that
it's bending quite a bit.
The door is made of a big plane of thin wood, with sections cut out, and mesh
zip-tied over it. I was most worried that the hinges or locking mechanism would
be a problem, but they worked a charm. The real challenge with the door is that
it's bending quite a bit.
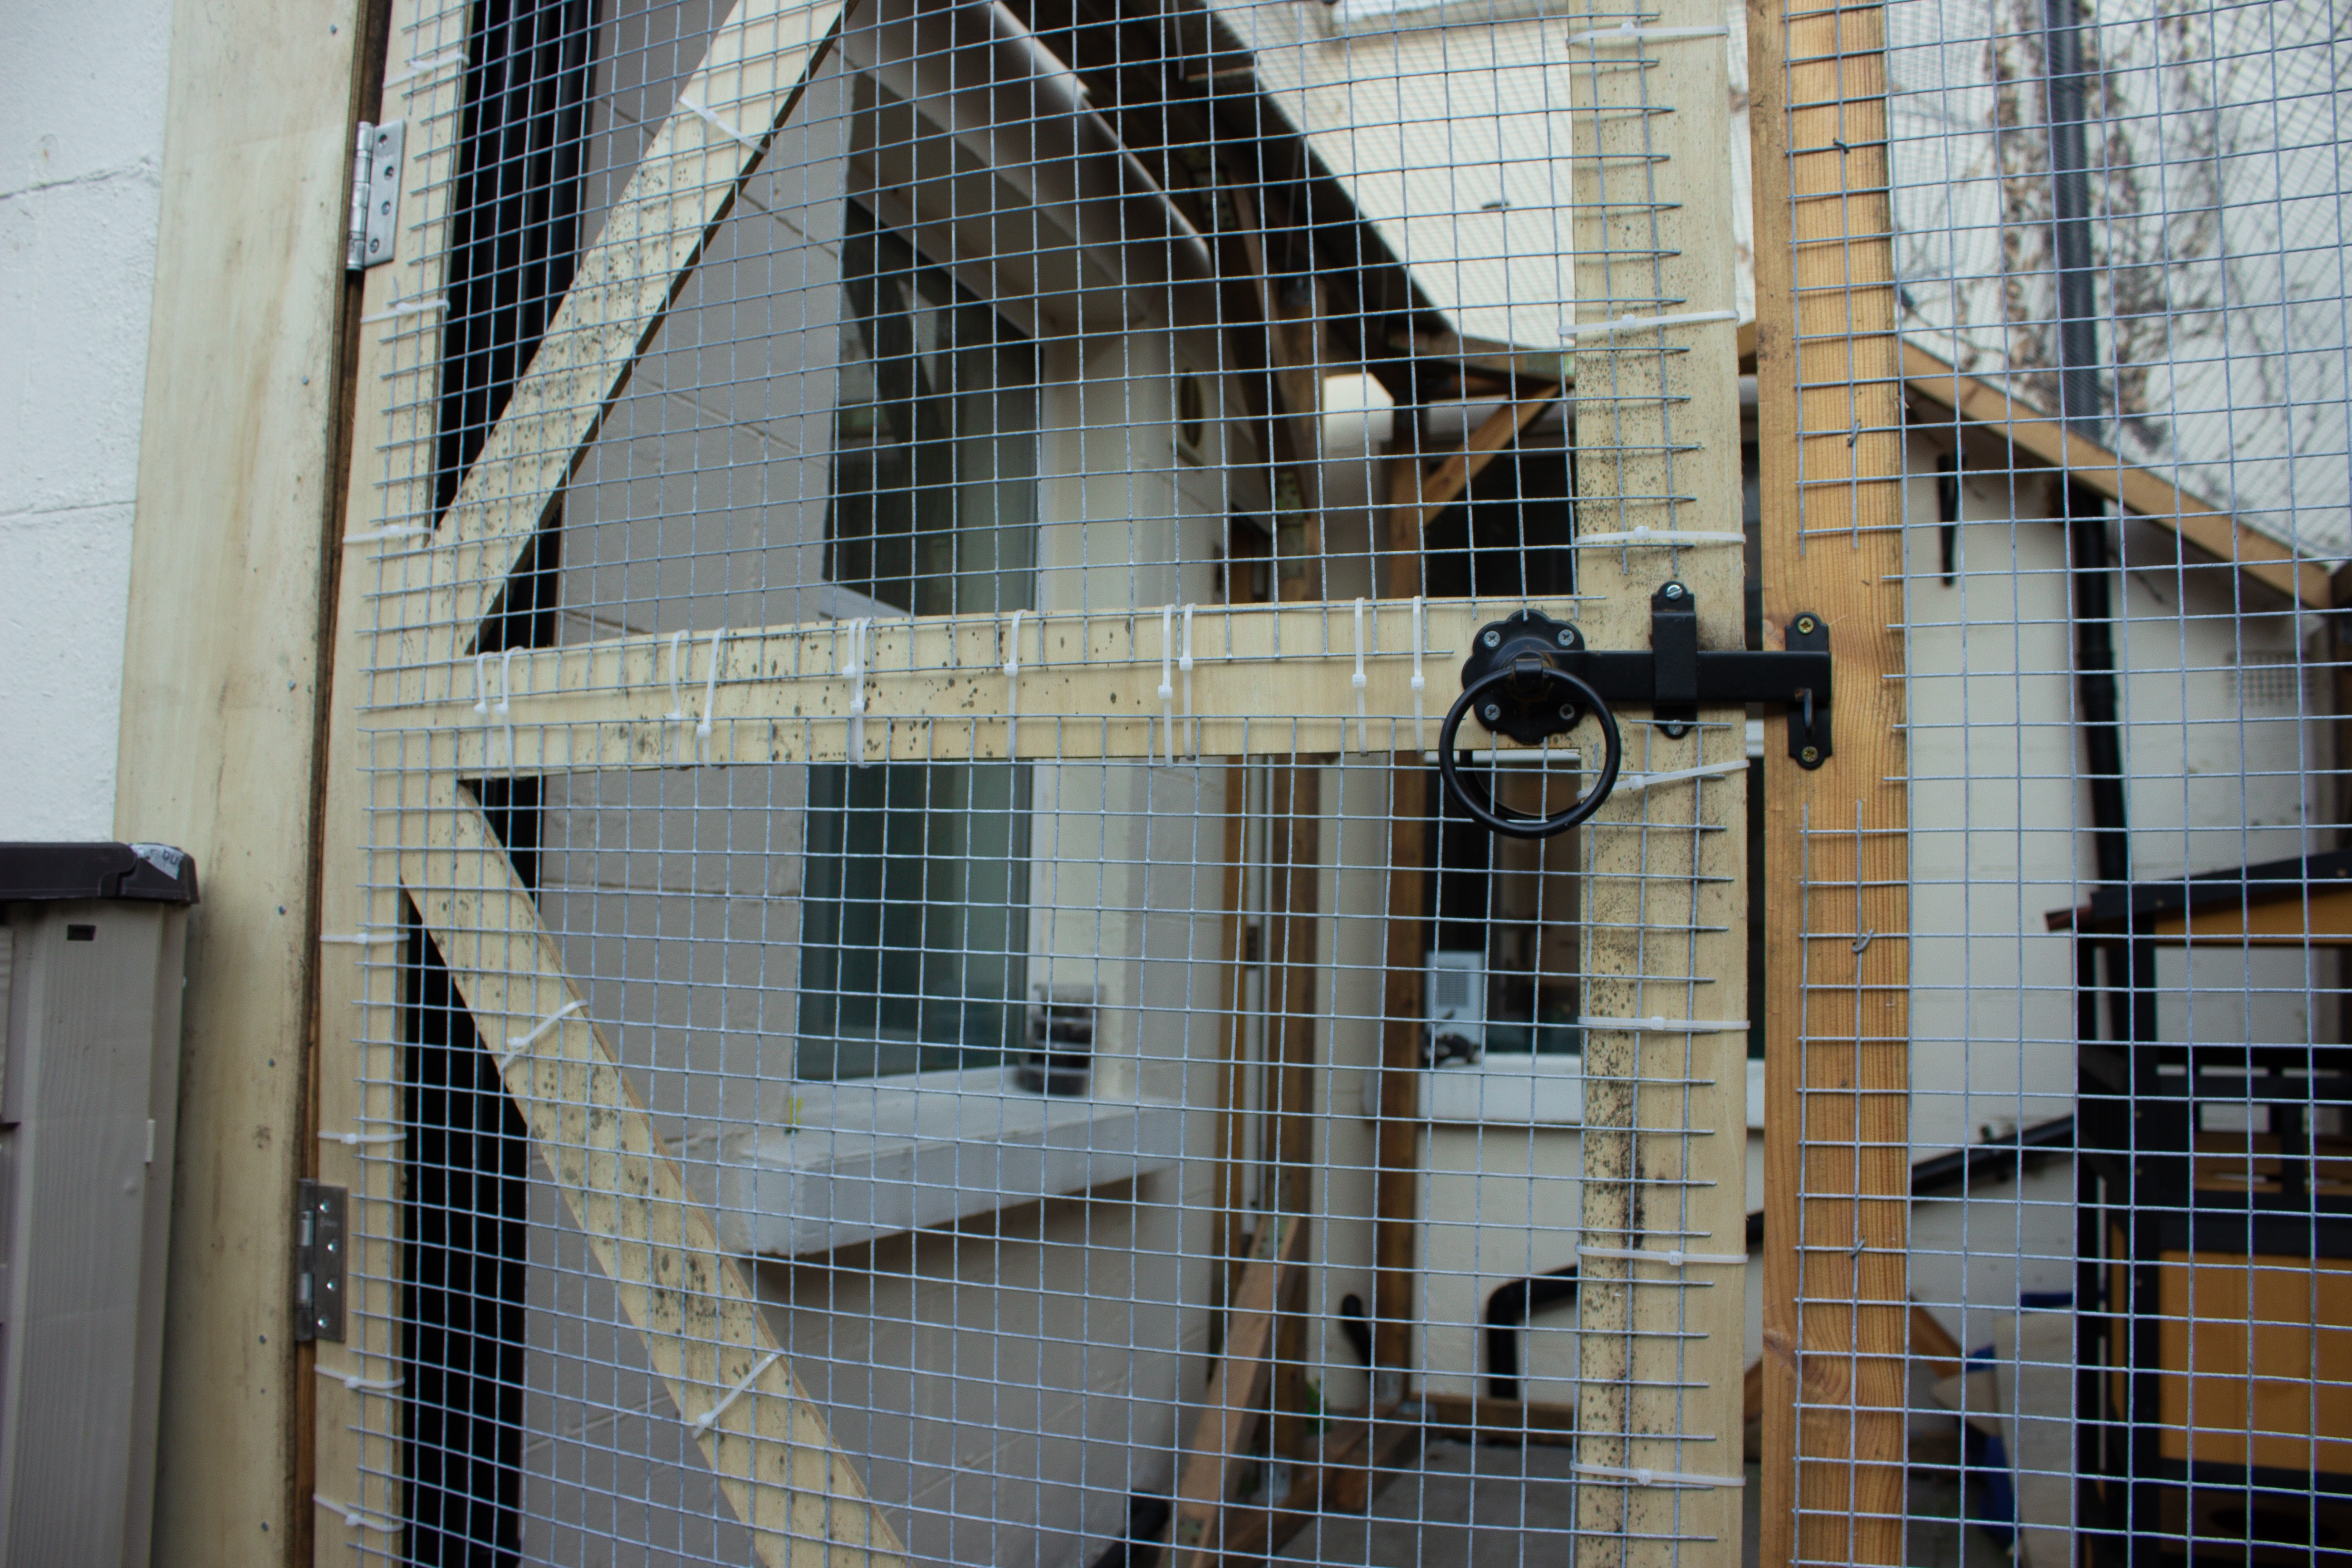 You can already see it in the picture above, but over the months it's gotten a
lot more severe. Without any better solution in hand, we've added some metal
pipes to straighten the door. Maybe that will help:
You can already see it in the picture above, but over the months it's gotten a
lot more severe. Without any better solution in hand, we've added some metal
pipes to straighten the door. Maybe that will help:
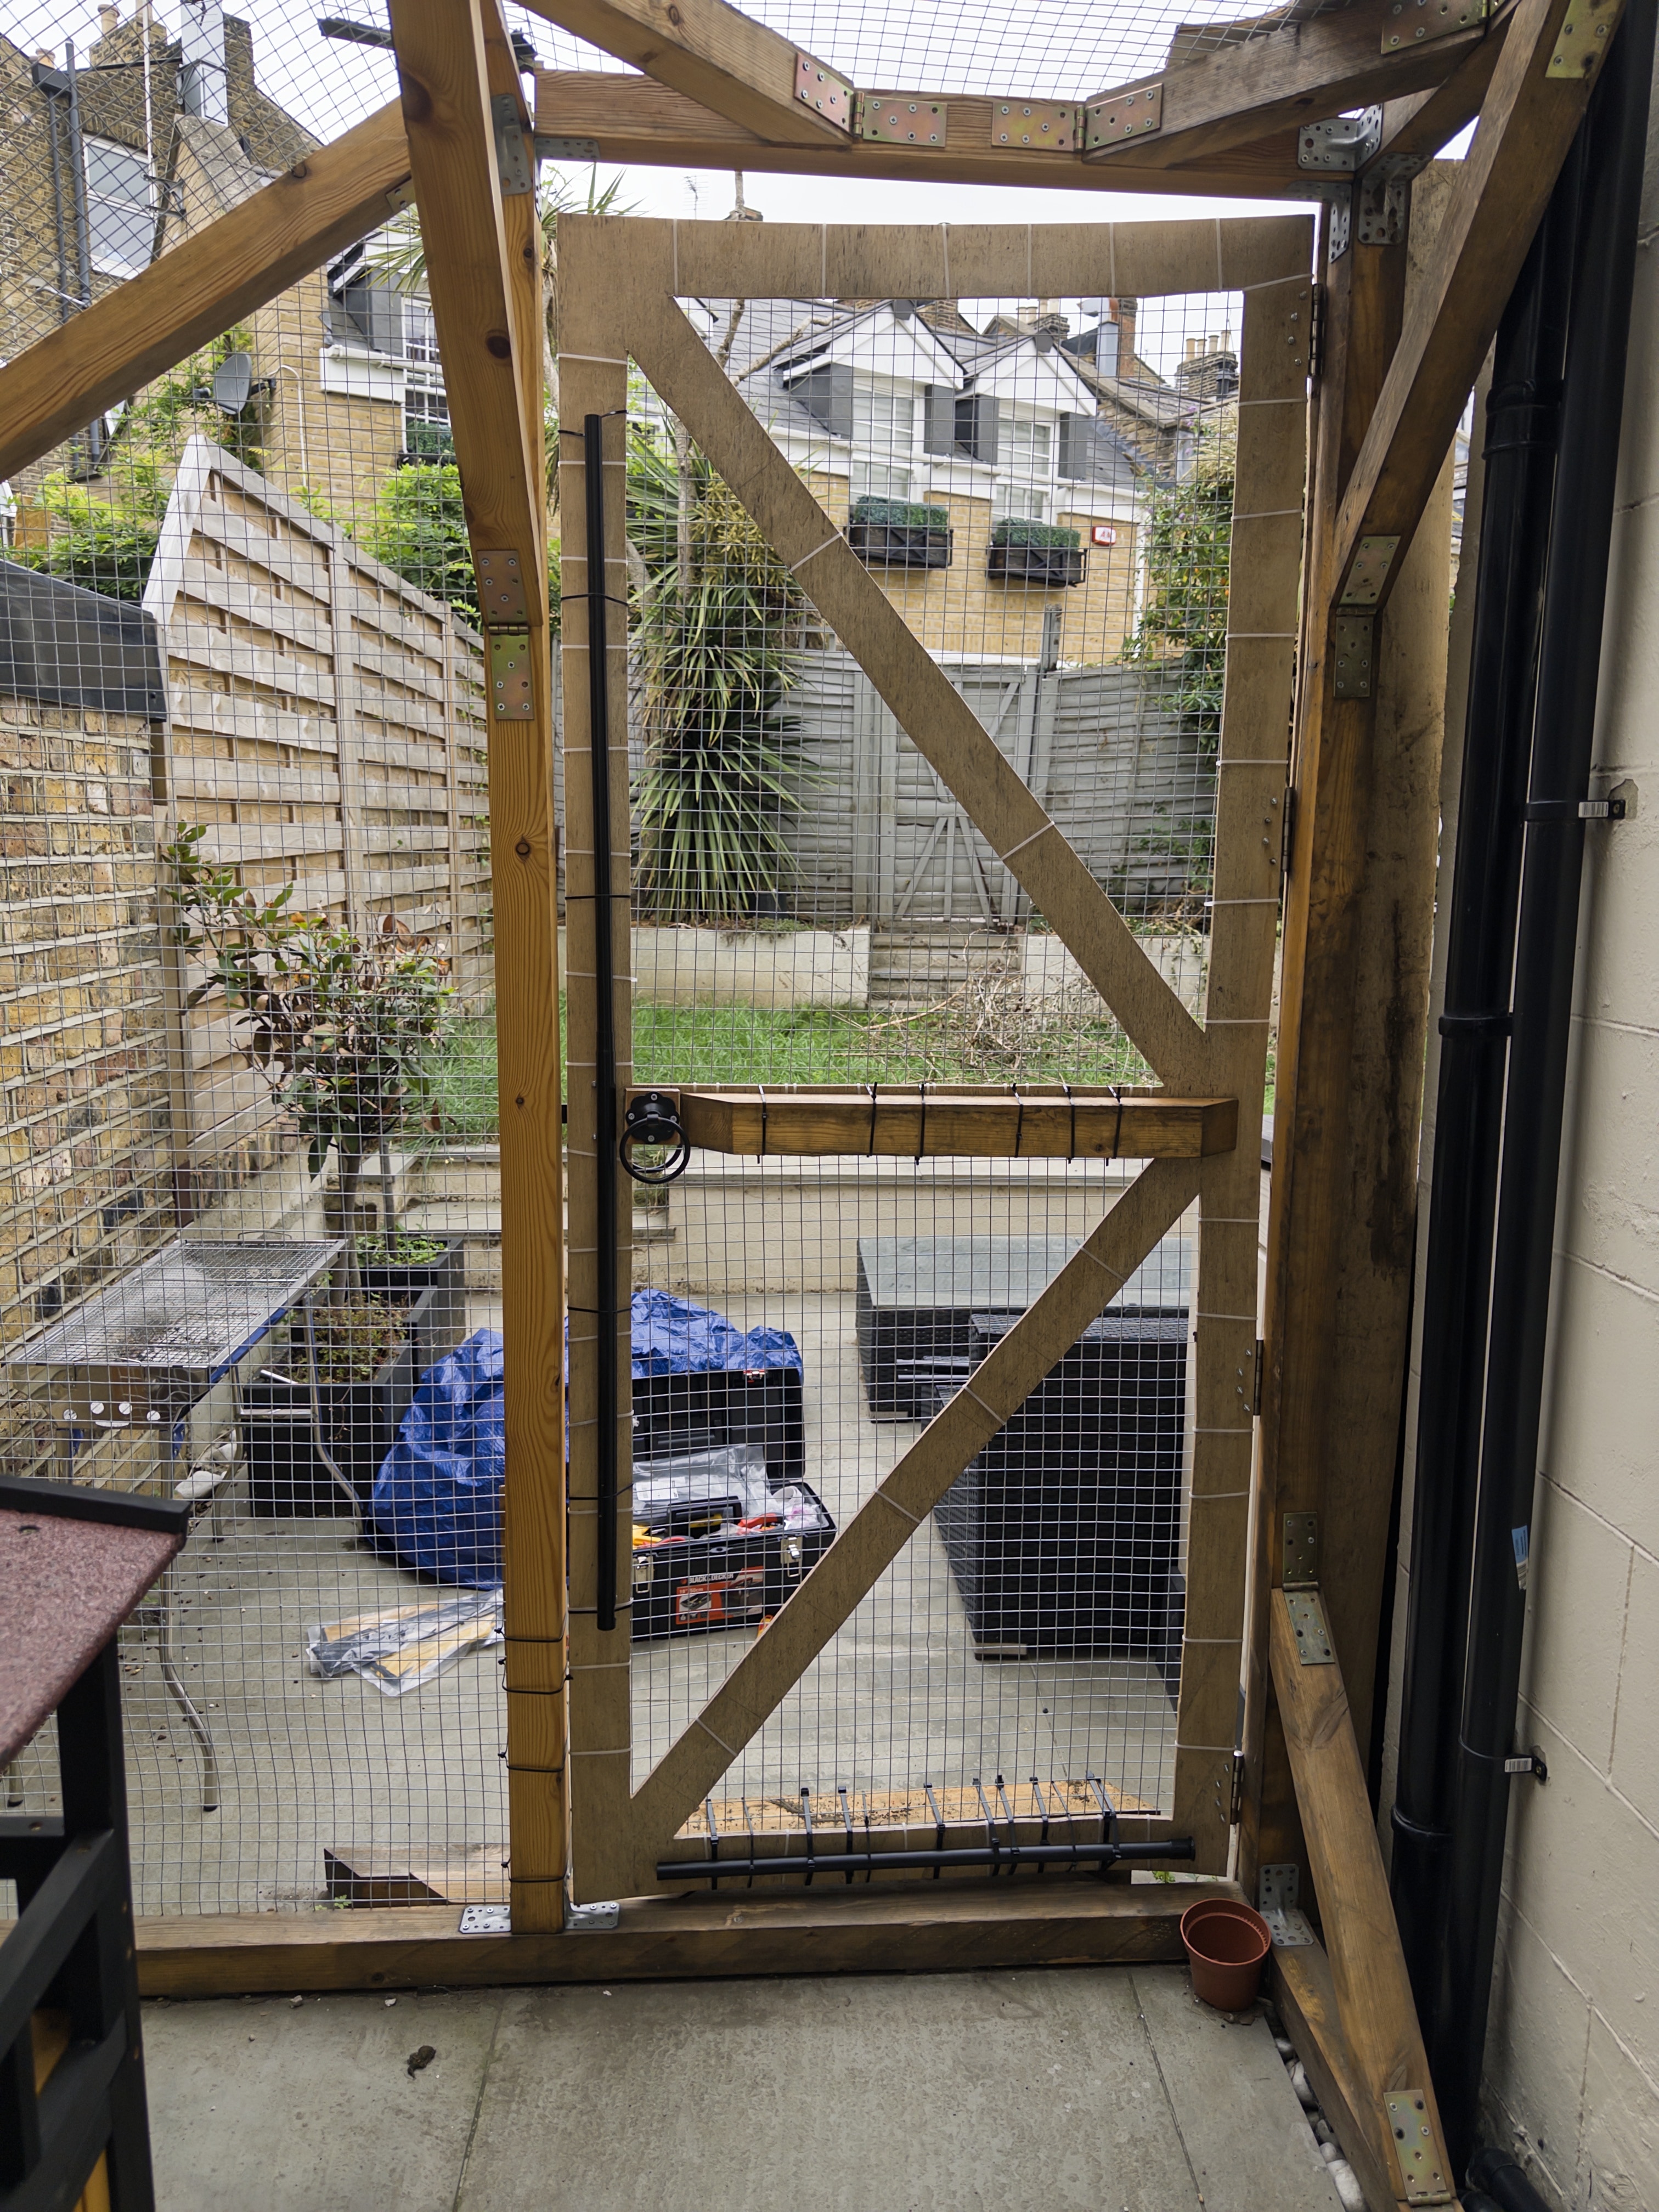 The view from the bedroom: